How to Make a Cane Wrapped Vase (An Easy DIY)
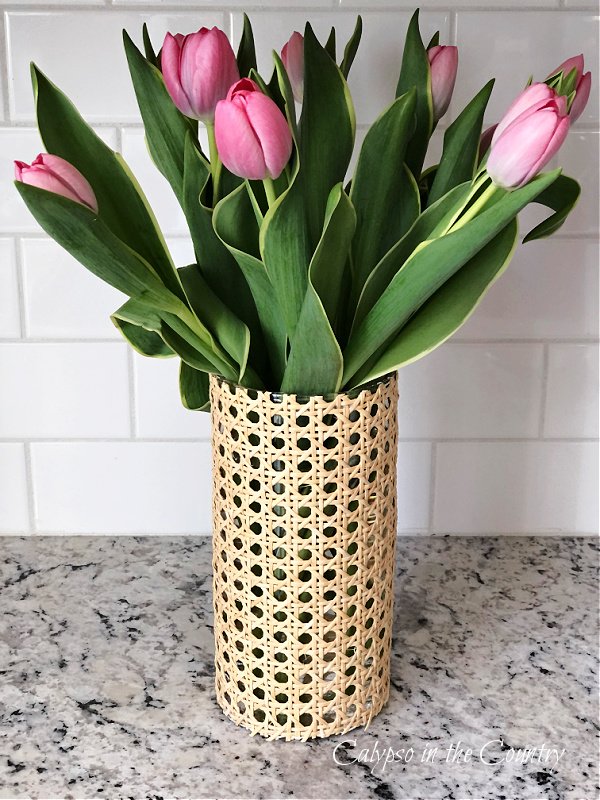
Are you loving the cane trend we’re seeing in home decor lately? As a fan of the tropical- British Colonial style, I’ve always been attracted to furniture and decor made with cane. So needless to say, I’m thrilled to see more of a selection in the stores. Of course, I’m always looking for ways to decorate on a budget so I tried an easy DIY caning project – a cane wrapped vase.
*For your convenience, please note that this post may contain affiliate links. If you make a purchase after clicking my links below, I will receive a small commission (at no additional cost to you).
Cane Wrapped Vase – An Easy DIY Project:
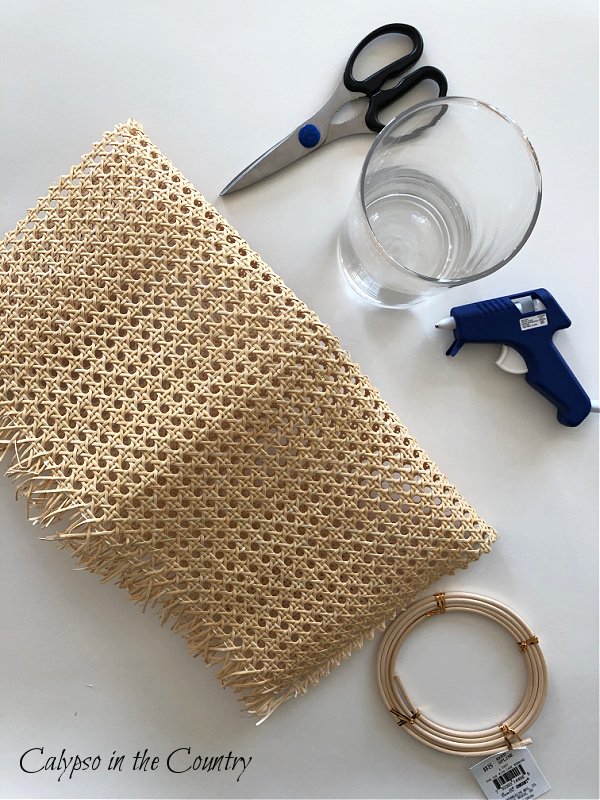
Supplies Needed to Make a DIY Cane Wrapped Vase:
Cane Webbing (my cane webbing set came with optional trim)
Cylinder Vase (mine is 8″)
How to Make a DIY Cane Wrapped Vase:
Wrap the piece of caning around your vase and measure the size you need.
For my vase, I wanted the cane webbing to cover the full vase but I’ve seen some with it going halfway up. Just measure for the look you want.
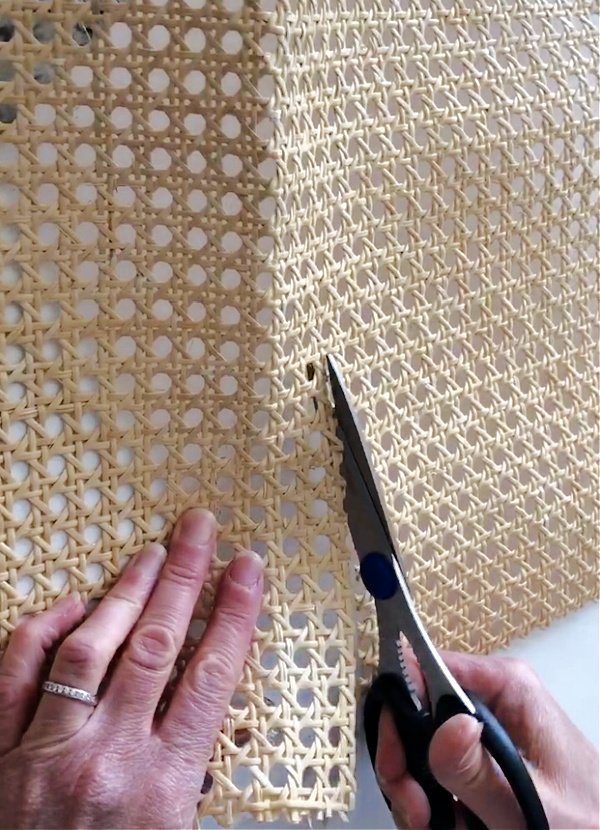
Cut the cane with sharp scissors.
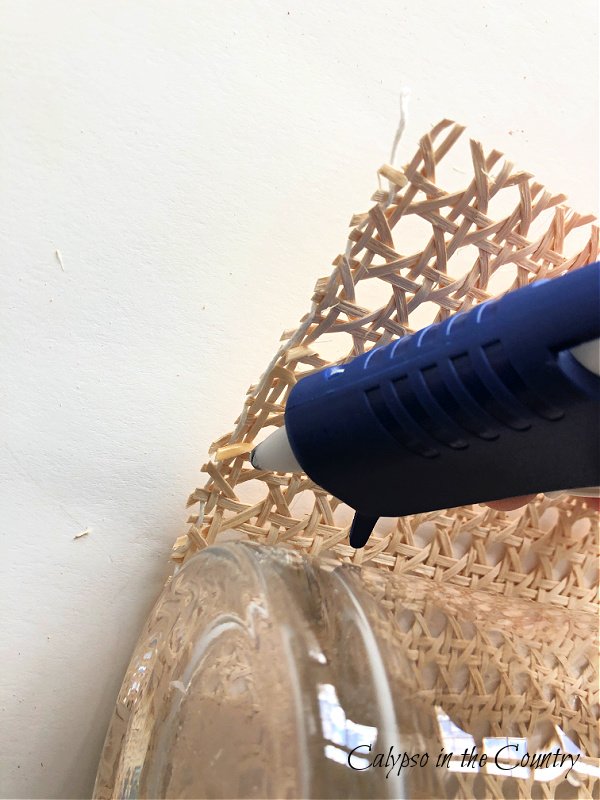
Apply glue to the edge of the caning while wrapping it around the vase.
When applying the glue, I switched back and forth between the top and bottom of the vase to make sure the cane stayed on.
You have to move quickly before the glue cools so be careful you don’t burn yourself!
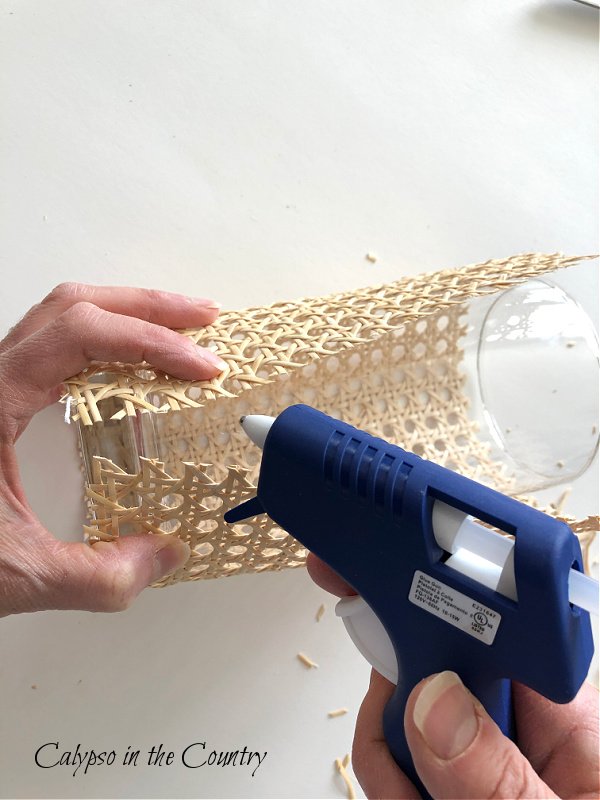
Apply the hot glue along the seem where the cane meets.
Be sure to pull the cane tightly and try to get it to line up the best you can. Worst case scenario, turn your cane wrapped vase around so the seem is hidden in the back! (Thankfully, mine ended up pretty straight.)
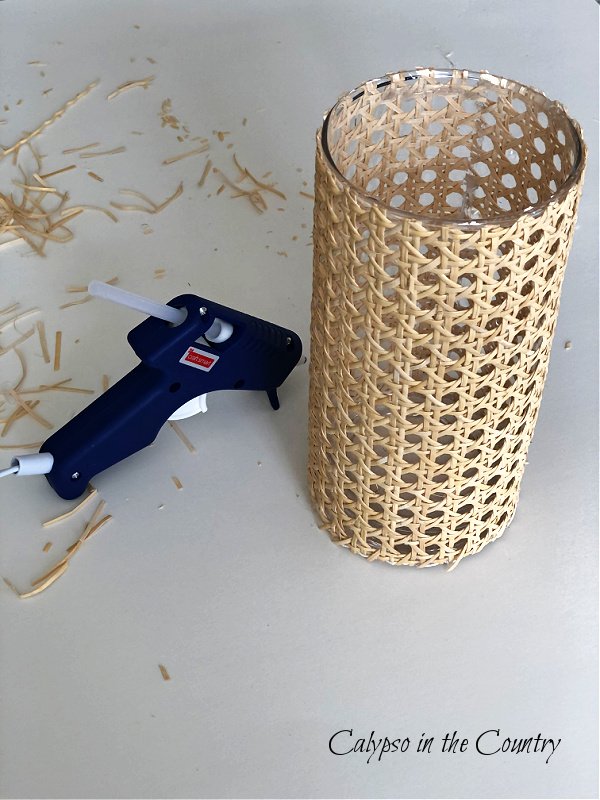
Trim off any stray pieces of cane from the top or bottom of the vase.
At this point, you can choose to wrap the top and/or bottom of the cane vase with a trim. When I attempted to use the binding included in my cane webbing kit, it was too stiff to work with. I softened it by soaking it in water but still wasn’t happy with the results so I decided to leave my vase without the trim.
Overall, I’m happy with the way my cane wrapped vase turned out. After all, I am calling this an “EASY DIY” so there’s no need to complicate it!
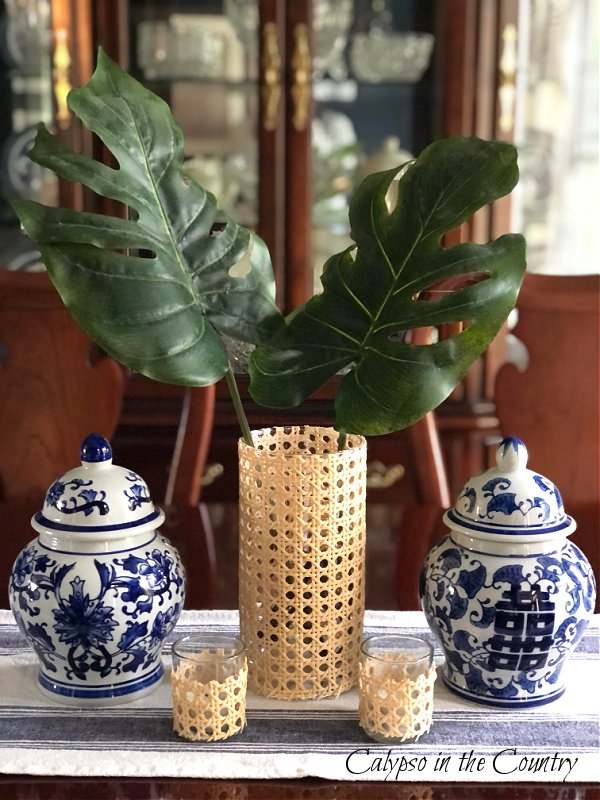
And since it was such an easy project, I used extra pieces of caning to wrap a couple glass votives. Recently, I included them on my outdoor tablescape too! I also included the cane vase when I decorated a bar cart.
* For even more summer DIY projects, be sure to read – DIY Summer Decor Ideas!
Hopefully, I’ve inspired you to create a cane wrapped vase of your own!
**If DIY isn’t your thing, here are some rattan and cane wrapped vases you can buy:
What’s your latest DIY project?
 Follow along so you don’t miss a post!
Subscribe by email – HERE
Pinterest/ Instagram / Facebook / Twitter


Great project, Shelley! I’m glad to see cane come back in style. This is also a great way to upcycle a florist vase or one you pick up from a thrift shop. You are going to enjoy using this all summer. My 100+ year old bed is Curly Maple with caning.
Thanks Paula! Yes, I’m loving the selection of cane I’m seeing in stores these days. And how nice that your 100 year old bed has it – goes to show that cane is classic. My coffee table in my living room has caning under the glass. I’ve always loved the look!
What a great project. It adds so much to such a simple vase. I love it. Thanks for sharing this.
Thanks so much, Carol! Every now and then I’ll get in the mood to create something – and making a cane wrapped vase was pretty easy. Glad you liked it!
When I was very young, my mom’s dining set had caning. She found a solid wood set when I was in elementary school. I haven’t seen any since then, until lately. I love a budget-friendly DIY decor piece! I’m updating my home for summer with beachy items. If I find some caning I will have to try it! Thanks for sharing on Happiness is Homemade at LifeasaLEOWife.com. We’d love for you to share on my other link parties You’re the Star Blog Hop and Traffic Jam Weekend!
Isn’t it great how cane has become popular again? It sounds like your mom’s dining set was beautiful. Thanks for hosting the blog hops!
Shelley
Congratulations! You’re post is one of our features on this week’s Happiness is Homemade! Thanks again for sharing!
Thanks so much – what a nice surprise!
Super cute idea! I love it!
Thanks Stacy!
Shelley, this is gorgeous and I love this idea. Perfect for spring and summer. I’d love to share a link to your DIY vase in my weekly recap blog post.
Thanks so much Jen! And I’d be flattered to be included in your weekly recap! Thanks again and have a happy Easter!
Shelley
Great craft!
Thanks Amber!