Easy DIY Paper Christmas Decorations (How to Make Mini Trees)
Now that November is here, I think we can start talking about Christmas decorations. Even though I haven’t decorated my home yet, I have attempted a few Christmas crafts. Today, I’ll show you how I made some easy DIY paper Christmas decorations…cute mini trees!
*For your convenience, please note that this post contains affiliate links. If you make a purchase after clicking my links below, I will receive a small commission (at no additional cost to you).
Mini Trees – Easy DIY Paper Christmas Decorations:
A simple craft almost anyone can handle…
Last year in the stores, I remember seeing some very basic little Christmas trees made out of metal and ceramic. In fact, I own a few ceramic ones and have used them on a Christmas table setting. Since I like the look of those trees, I came up with the great idea to recreate the look using card stock.
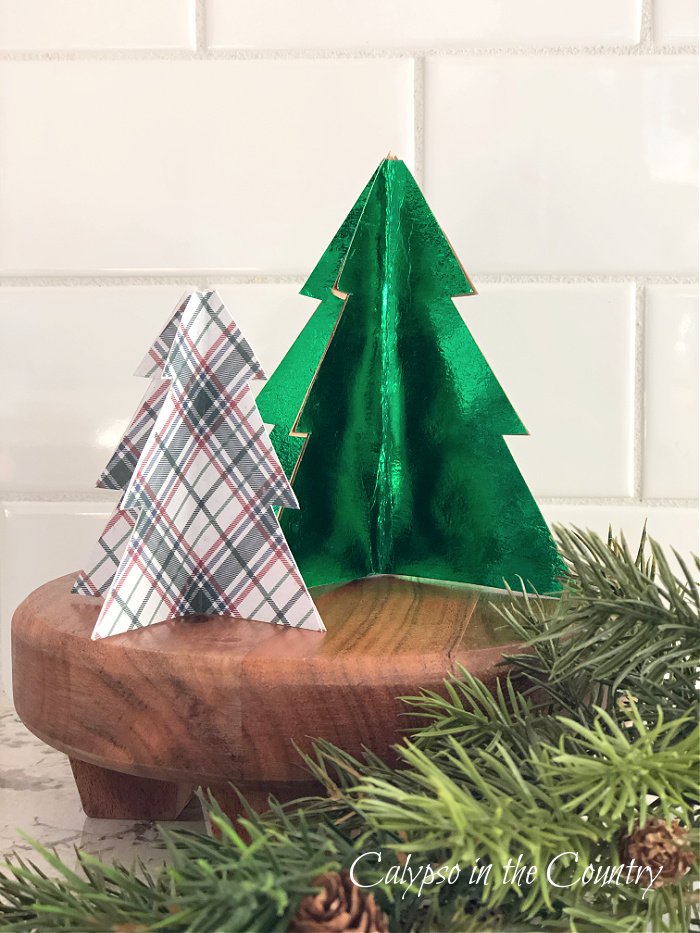
Basically, the only DIY projects I attempt are home decor related and super-easy. So, this one is no different…
Supplies to Make DIY Mini Tree Decorations:
- Christmas Plaids Paper (card stock) or green foil card stock
- all purpose scissors
- strong glue stick
- pencil
- ruler
- string or ribbon to make the trees into ornaments (optional)
Instructions for DIY Paper Christmas Decorations:
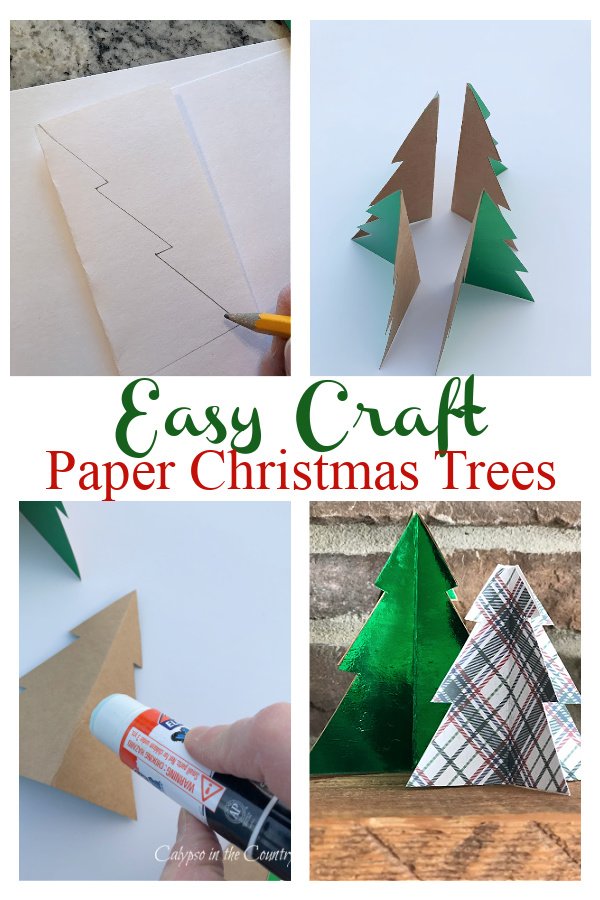
First, fold a piece of card stock paper in half and draw a simple tree template.
For mine, I used a ruler to keep the lines straight. You can make these any size you want. On my first try, I started with a 5 inch tree template.
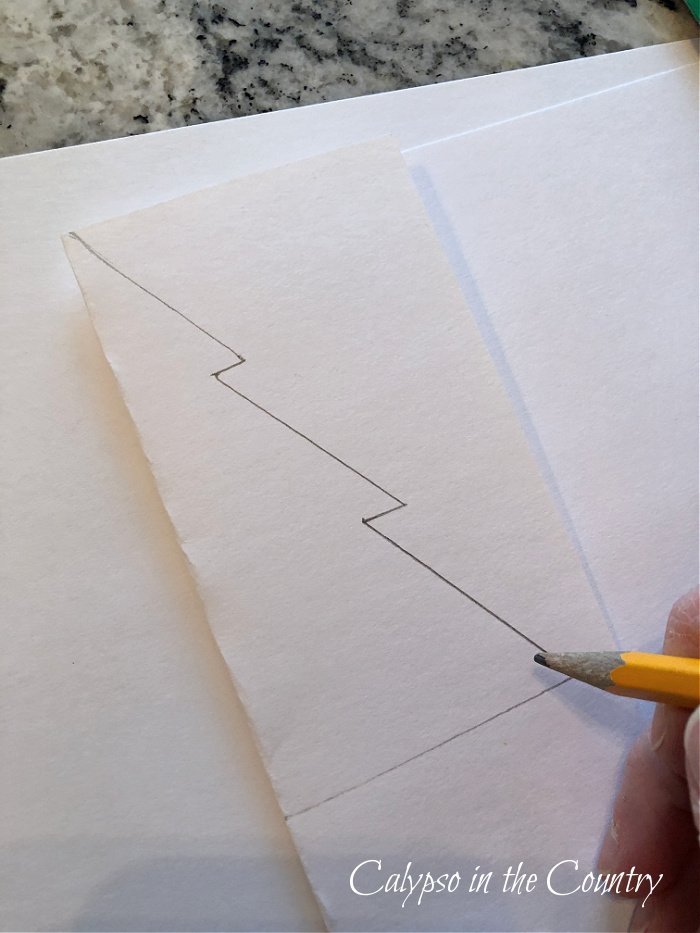
Cut out the template and unfold the paper to see what your tree will look like.
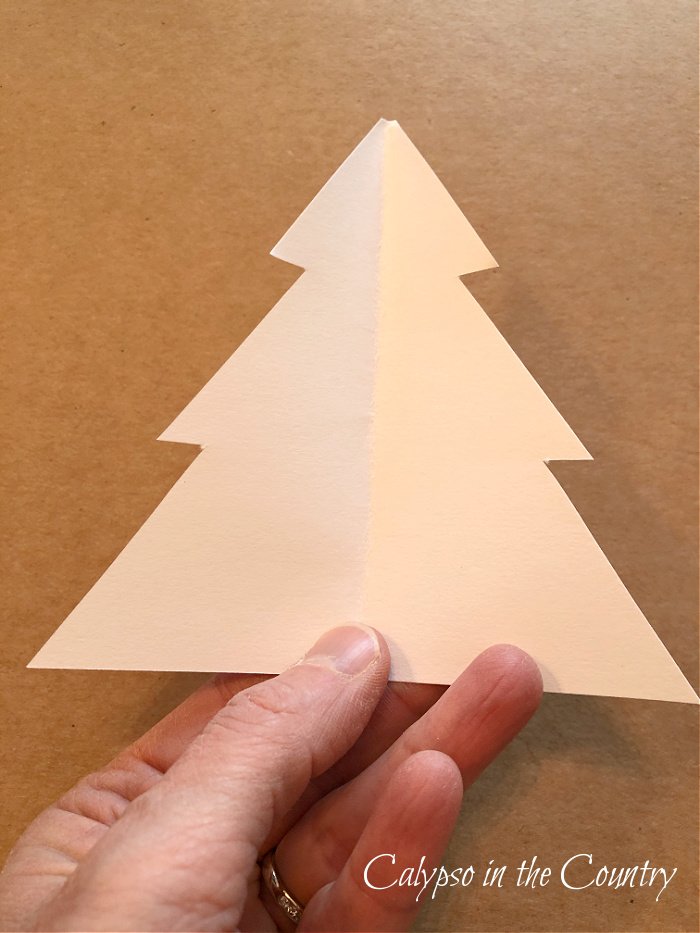
Now, use the template to trace your trees on the back of the decorative card stock you chose.
When I did this, I folded the card stock first.
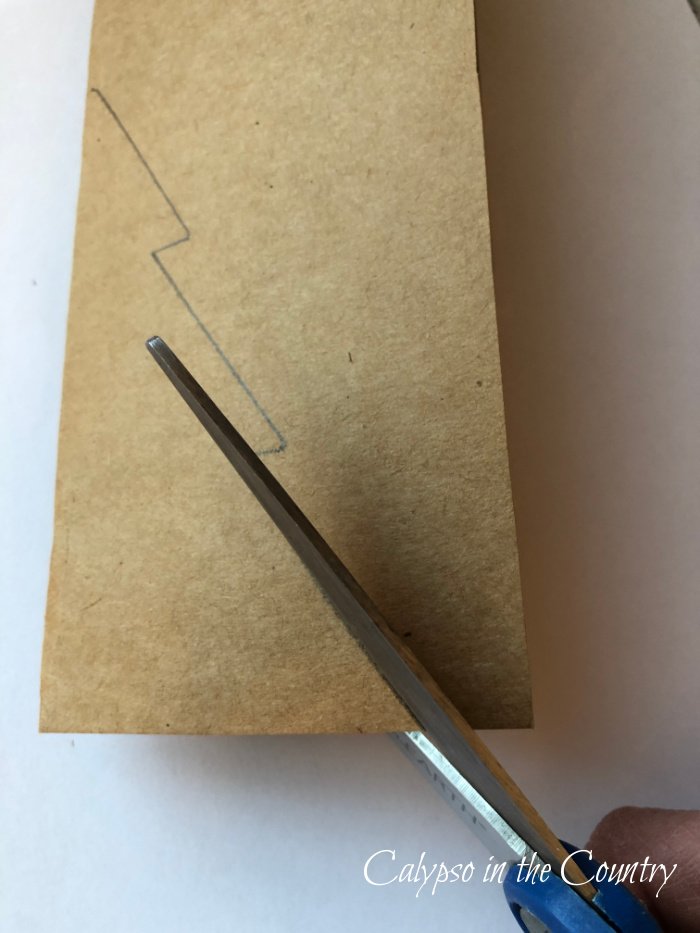
Cut the card stock and unfold your first paper tree.
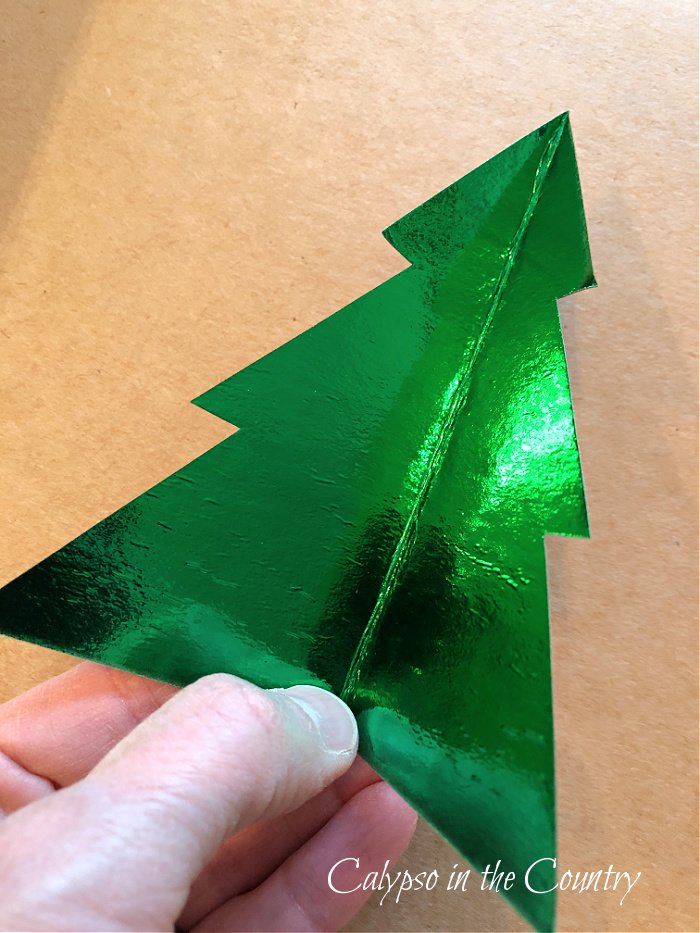
Repeat those instructions until you have 4 little Christmas trees.
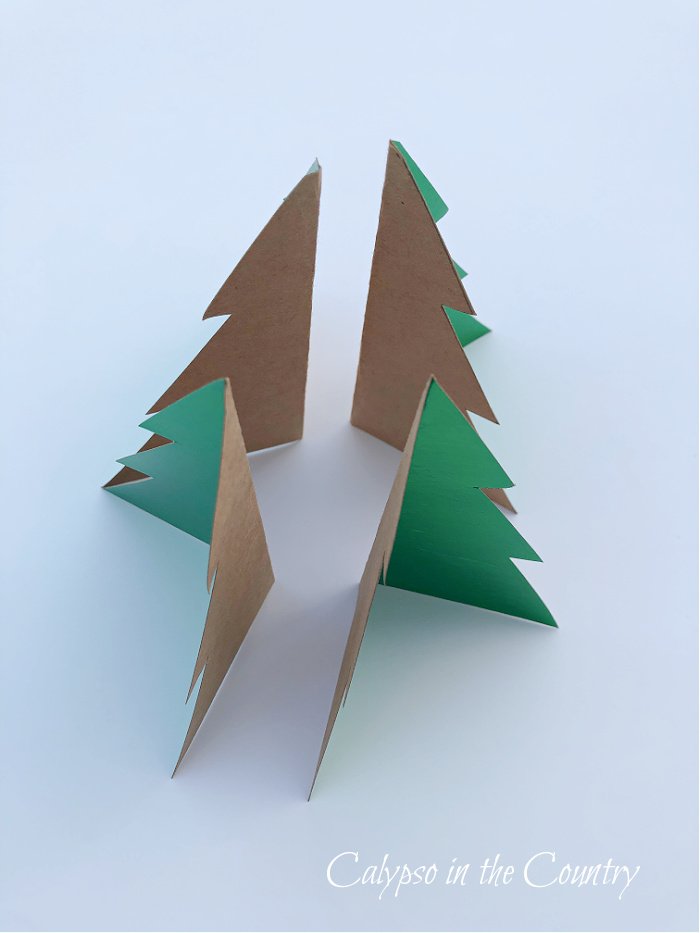
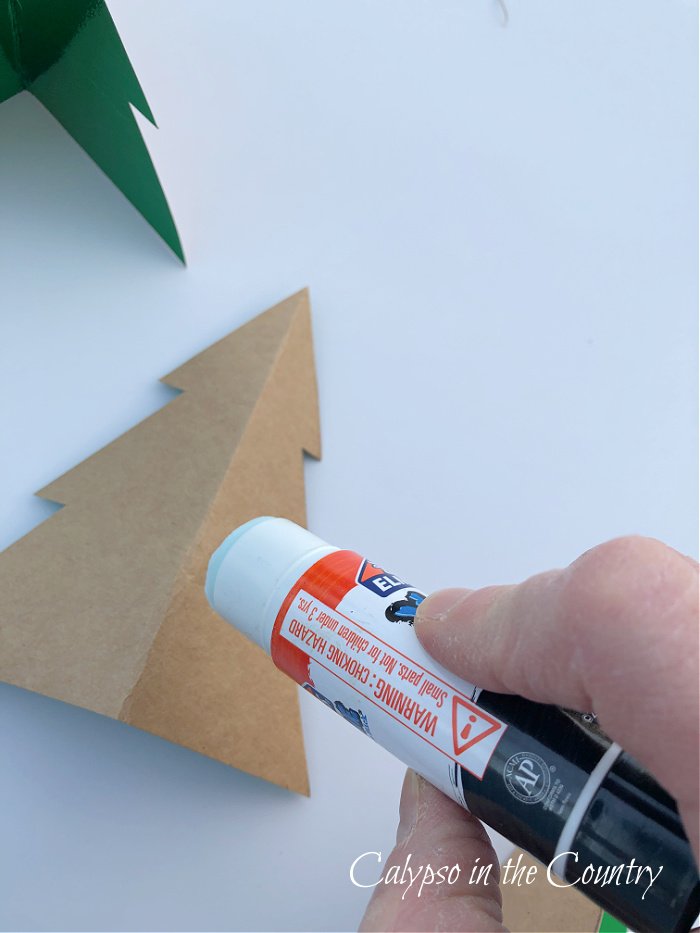
Apply glue to the backs of each of the paper Christmas trees.
For me, a strong glue stick worked fine. Though, I’m not sure if I’d recommend a glue gun because that glue tends to dry fast. With a glue stick you have a little time to slide the pieces around to make them line up.
Once all four pieces are in place, stand your paper tree and let it dry.
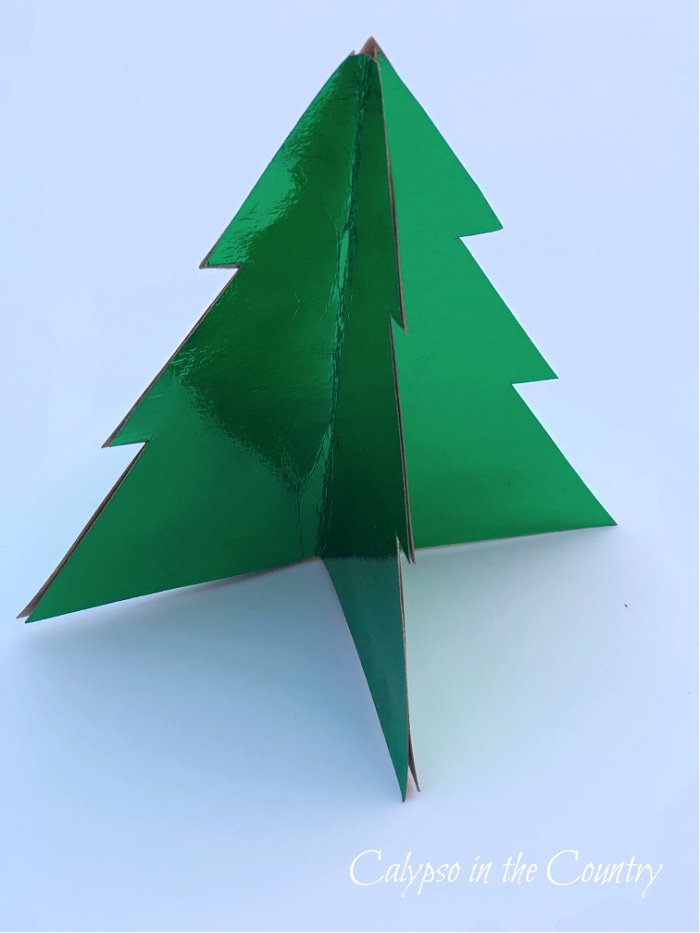
As you can see in the photo above, the creased part ended up a little uneven. When I chose the foil card stock, I was thinking I wanted a shiny metal appearance but didn’t realize it might be hard to fold.
Luckily, I found a book of Christmas plaid card stock while shopping at Michael’s. Not only was it on sale, but it’s filled with beautiful plaids in a bunch of different colors. I’d imagine you could find something for any Christmas color scheme. (If Michael’s runs out, I’m sure you could find something like this in any of the craft stores.)
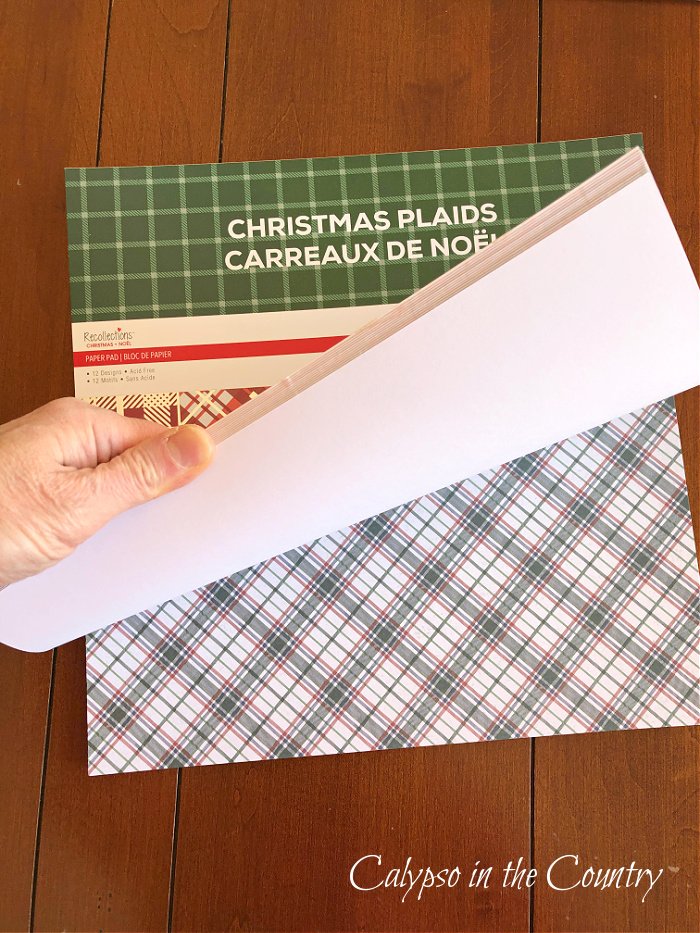
From the book, I chose a cute plaid and created a 3 inch paper tree using the step by step instructions above. Yes, the paper card stock folded a lot easier than the foil one. Live and learn, right?
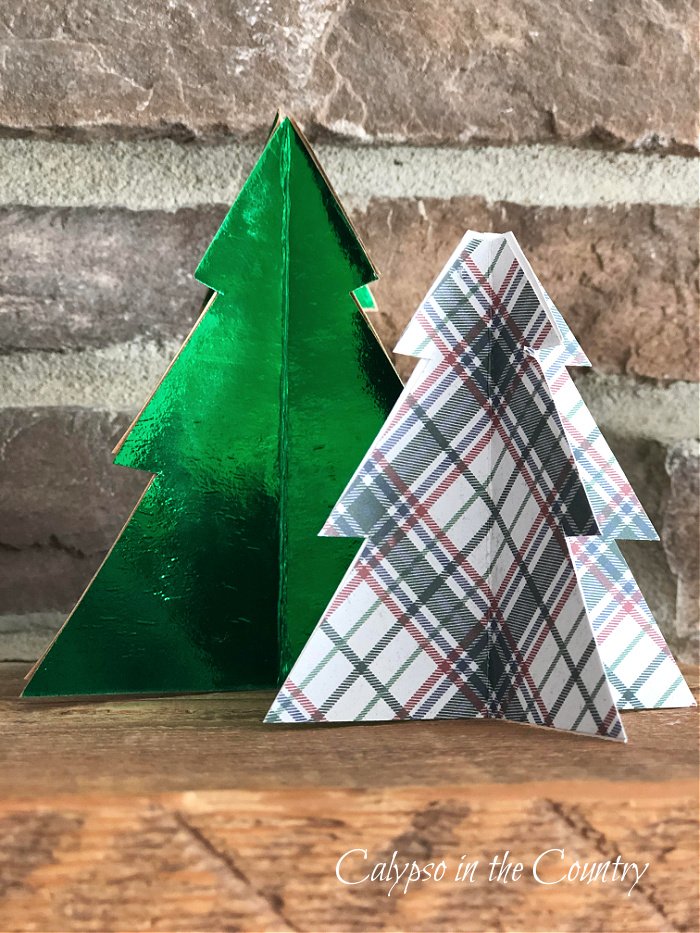
Now, my plan is to make a bunch of these paper trees and mix them in with all my white ceramic Christmas houses. If I get ambitious, I’ll attach string or ribbon to some and make paper Christmas tree ornaments to hang.
Speaking of ornaments, here’s an easy DIY to make gingerbread ornaments!
Hopefully, I’ve inspired you to create your own DIY paper Christmas decorations!
Rather than spend a ton of money buying decorations this holiday season, just make your own!
*For more super-easy Christmas DIY projects, see how I decorated with wrapping paper!
Once again, here are some sources for the DIY paper mini tree decorations:
- Christmas Plaids Paper (card stock) or green foil card stock
- all purpose scissors
- strong glue stick
- pencil
- ruler
- string or ribbon to make the trees into ornaments (optional)
What kind of DIY Christmas decorations have you made?
Follow along so you don’t miss a post!
Subscribe by email – HERE
Pinterest/ Instagram / Facebook / Twitter




I love these!!! How simple and pretty these would make on any shelf or in a Christmas vignette!!
Thanks Rachel! I plan to make a bunch more!
Good morning, Shelley. For some reason, I don’t think my trees will come out as pretty as yours. To say that I am craft-challenged is an understatement. Hope you have a wonderful weekend!
Thanks friend! Haha – I only do the super easy crafts so I’m sure you could handle this! Enjoy your weekend!
These trees are BRILLIANT and easy! I’d love for you to join us over at the Creative Crafts Linky Party every Wednesday through Sunday
https://creativelybeth.com/creative-crafts-linky-party/
Followed and Pinned! 🙂
Creatively, Beth
Thanks so much, Beth! Yes, they were super-easy!
So cute, Shelley! A great tutorial!
Thanks Amy!
I love this adorable craft project, Shelley! I am excited to feature your post at this week’s Tuesday Turn About link party. Thank you so much for sharing!
Thanks so much for the feature, Lynne! Enjoy your weekend!