Details of the Painted Cabinet – Rust-Oleum Cabinet Transformations
So, the other day I showed you my Bathroom Reveal.
As I mentioned, I decided at the spur of the moment to paint the bathroom cabinets while the guys were working on the tile floor.
Well, in blog-time, it all looked so quick and easy, but that isn’t exactly how it went.

Here is the finished cabinet.
For some reason, I always think I can do a project, even if I have never attempted it before.
When I started my cabinet project, I kind of just jumped right in. I started sanding the cabinet down and then while taking a break, I decided to read some blogs and find out what other people have done.
As I had read before, there is a new product Rust-Oleum – Cabinet Transformations. I kept finding great reviews on this product and decided this would be the way to go.
So, I went to Lowe’s and asked the paint guy for help. He told me that they just started carrying the kit and didn’t know much about it. He said the store had not been given a demonstration yet. I told him what I knew from the internet and he laughed and said, “Why spend $80.00? Why don’t you just get some primer and paint?” Well, I was wondering that myself but decided I would still go ahead with this new product.
It was scary picking the color because as you may have read, Rust-oleum doesn’t supply paint chips, just a brochure showing the color. I decided I would go with “Pure White” and the paint guy mixed it for me, while reminding me that it could not be returned now that he mixed the color for me…uh, thanks.
So I headed home to start my “fun” project…
These are the steps I took using the Rust-Oleum Cabinet Transformations product:
Step One is applying a deglosser
The deglosser wipes away a lot of the finish from the cabinet.
Yes, I did waste all that time sanding when I didn’t have to…I didn’t take any photos while working on this. Once I started, I just wanted to be done! Actually, it wasn’t’ too bad, just time consuming.
Step Two is applying the Bond Coat
My cabinet needed 3 coats of the bond coat but I am sure it would be different for everyone. Mine needed 3 coats because the wood grain kept showing through. I probably could have done even more but you have to wait 3 hours between coats. My kids kept wanting to get involved so I ended up doing a lot after they went to bed.

The two doors took the longest because I did the front and backs. This is how the vanity looked for about a week.
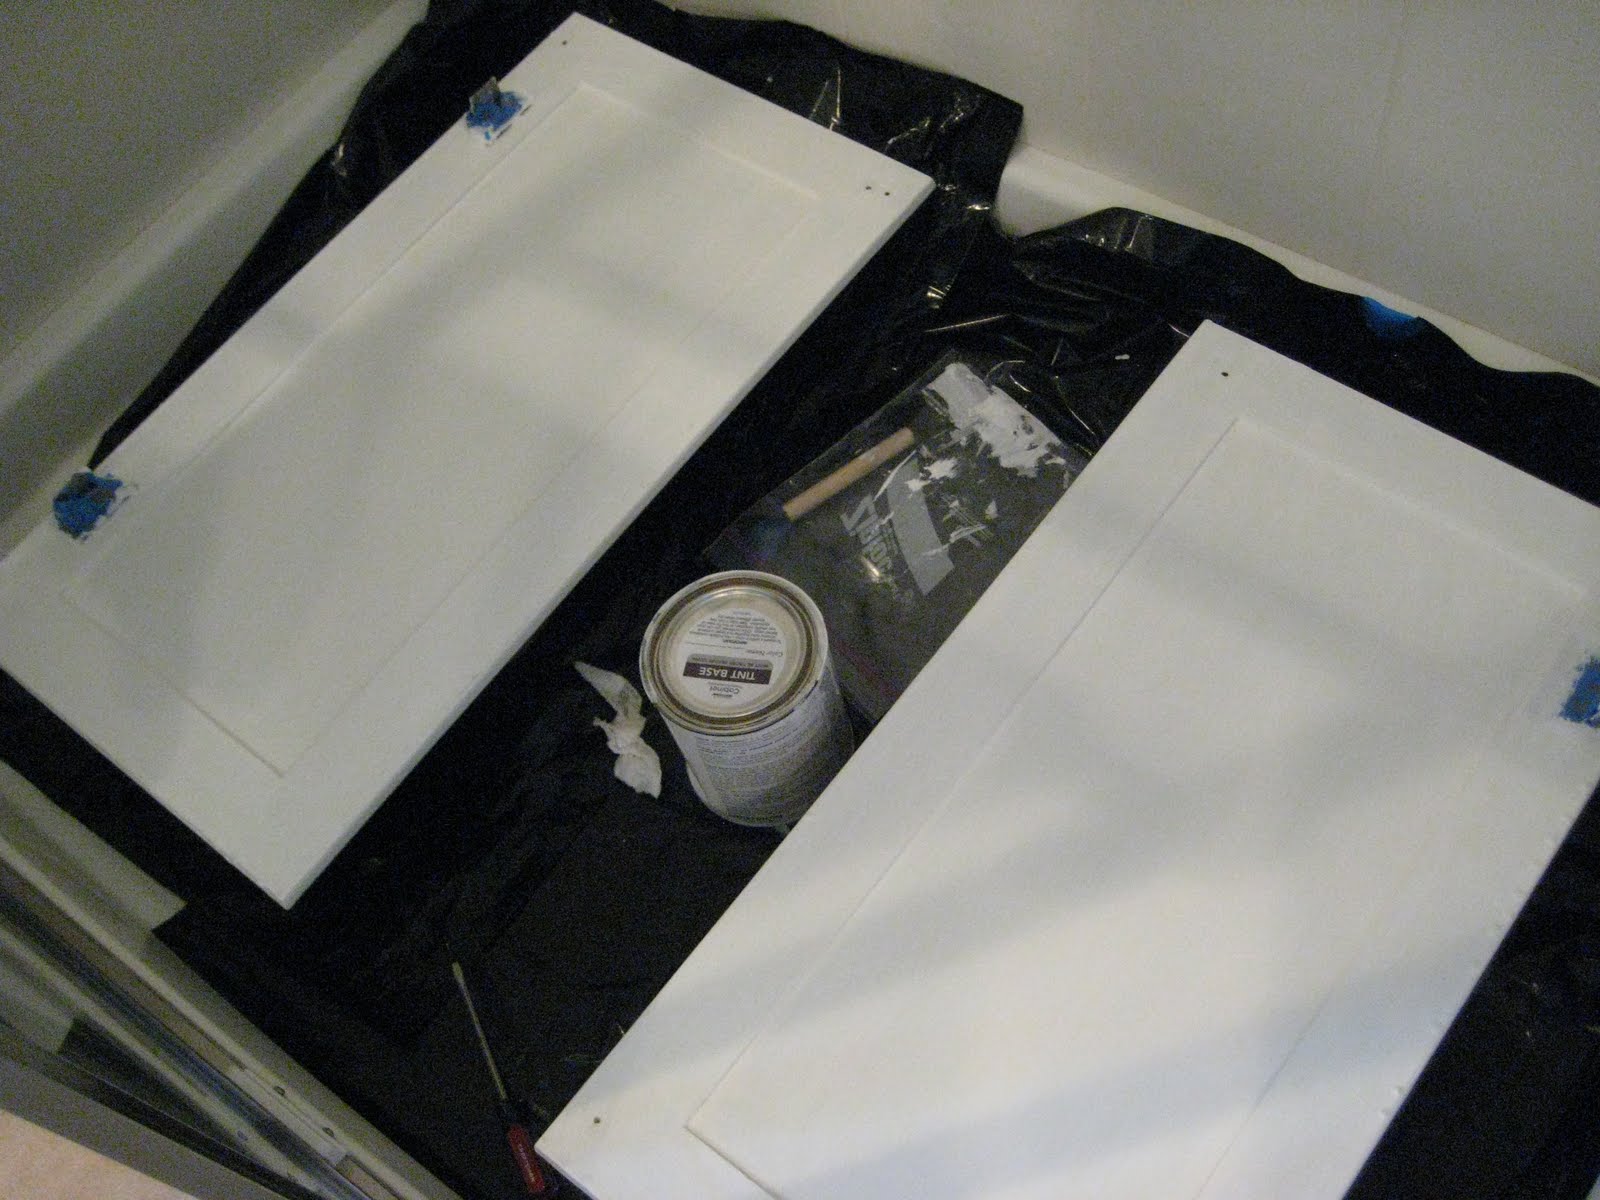
I kept the doors in the shower stall so I could run in and apply coats when needed.

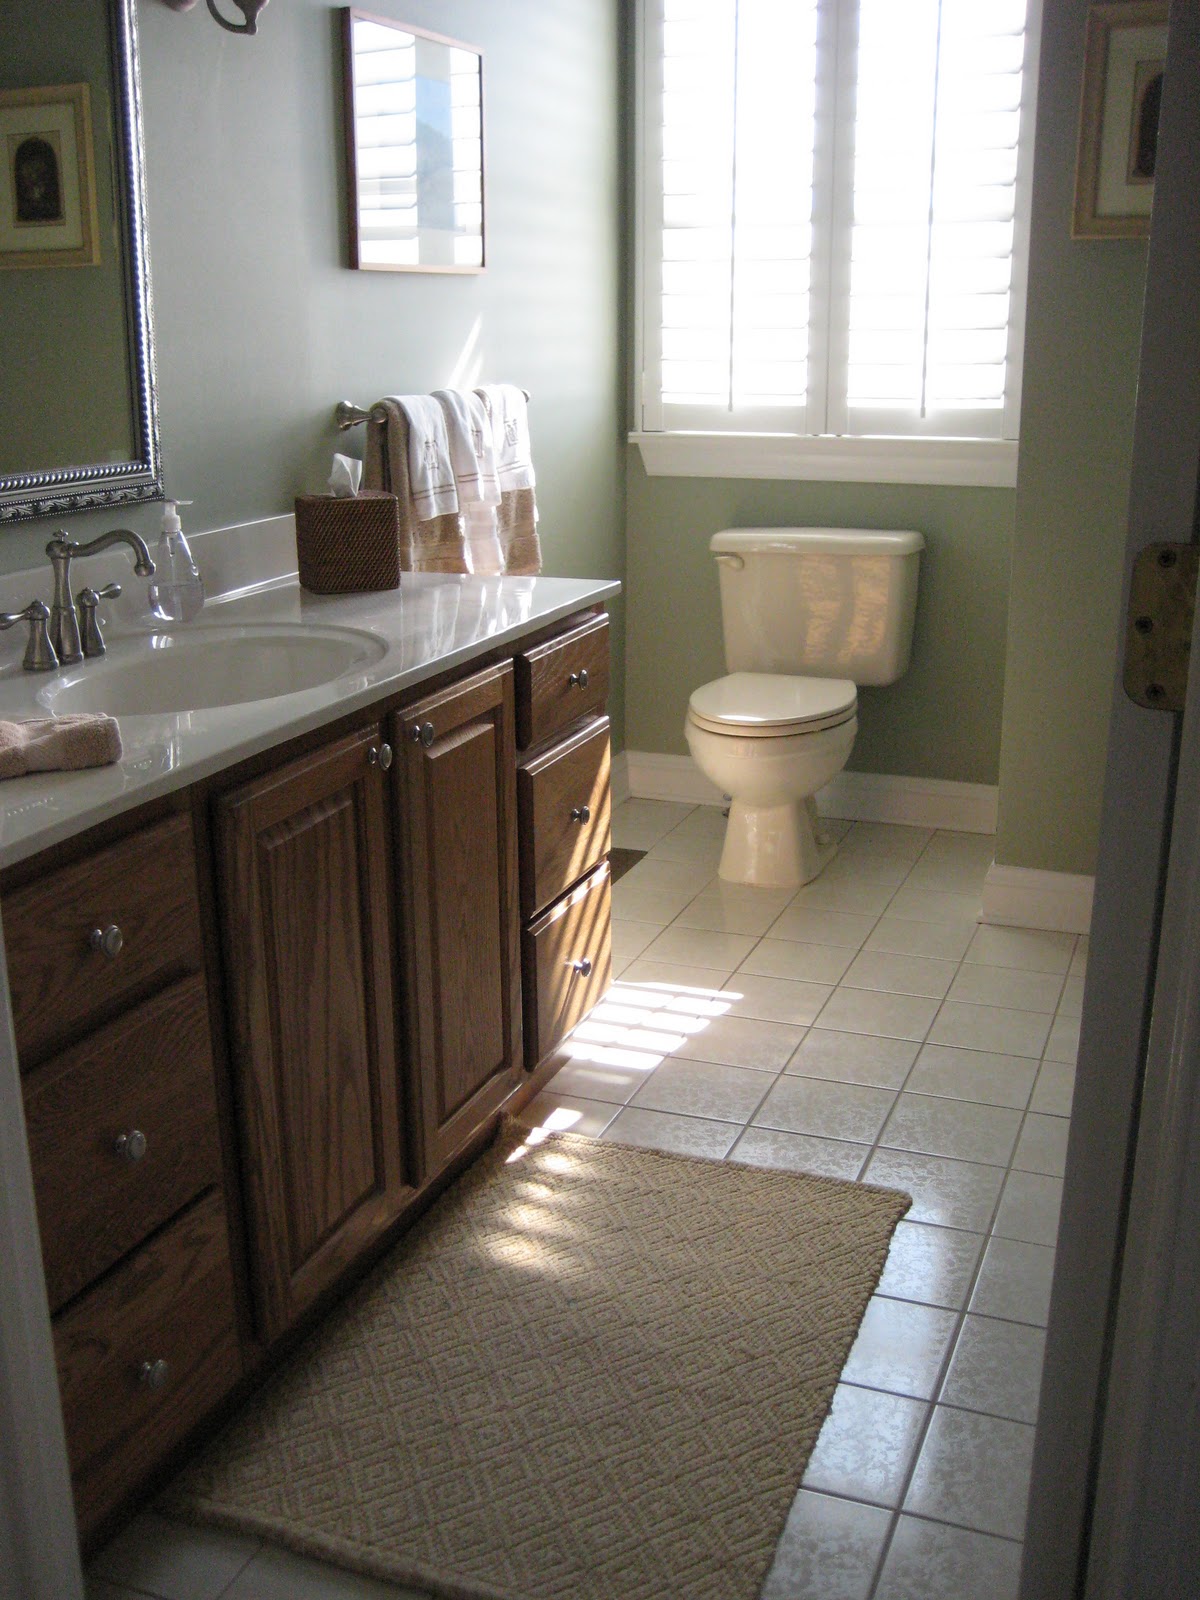
By the way – here is how the cabinet looked before. This picture was even taken before I changed the faucet!
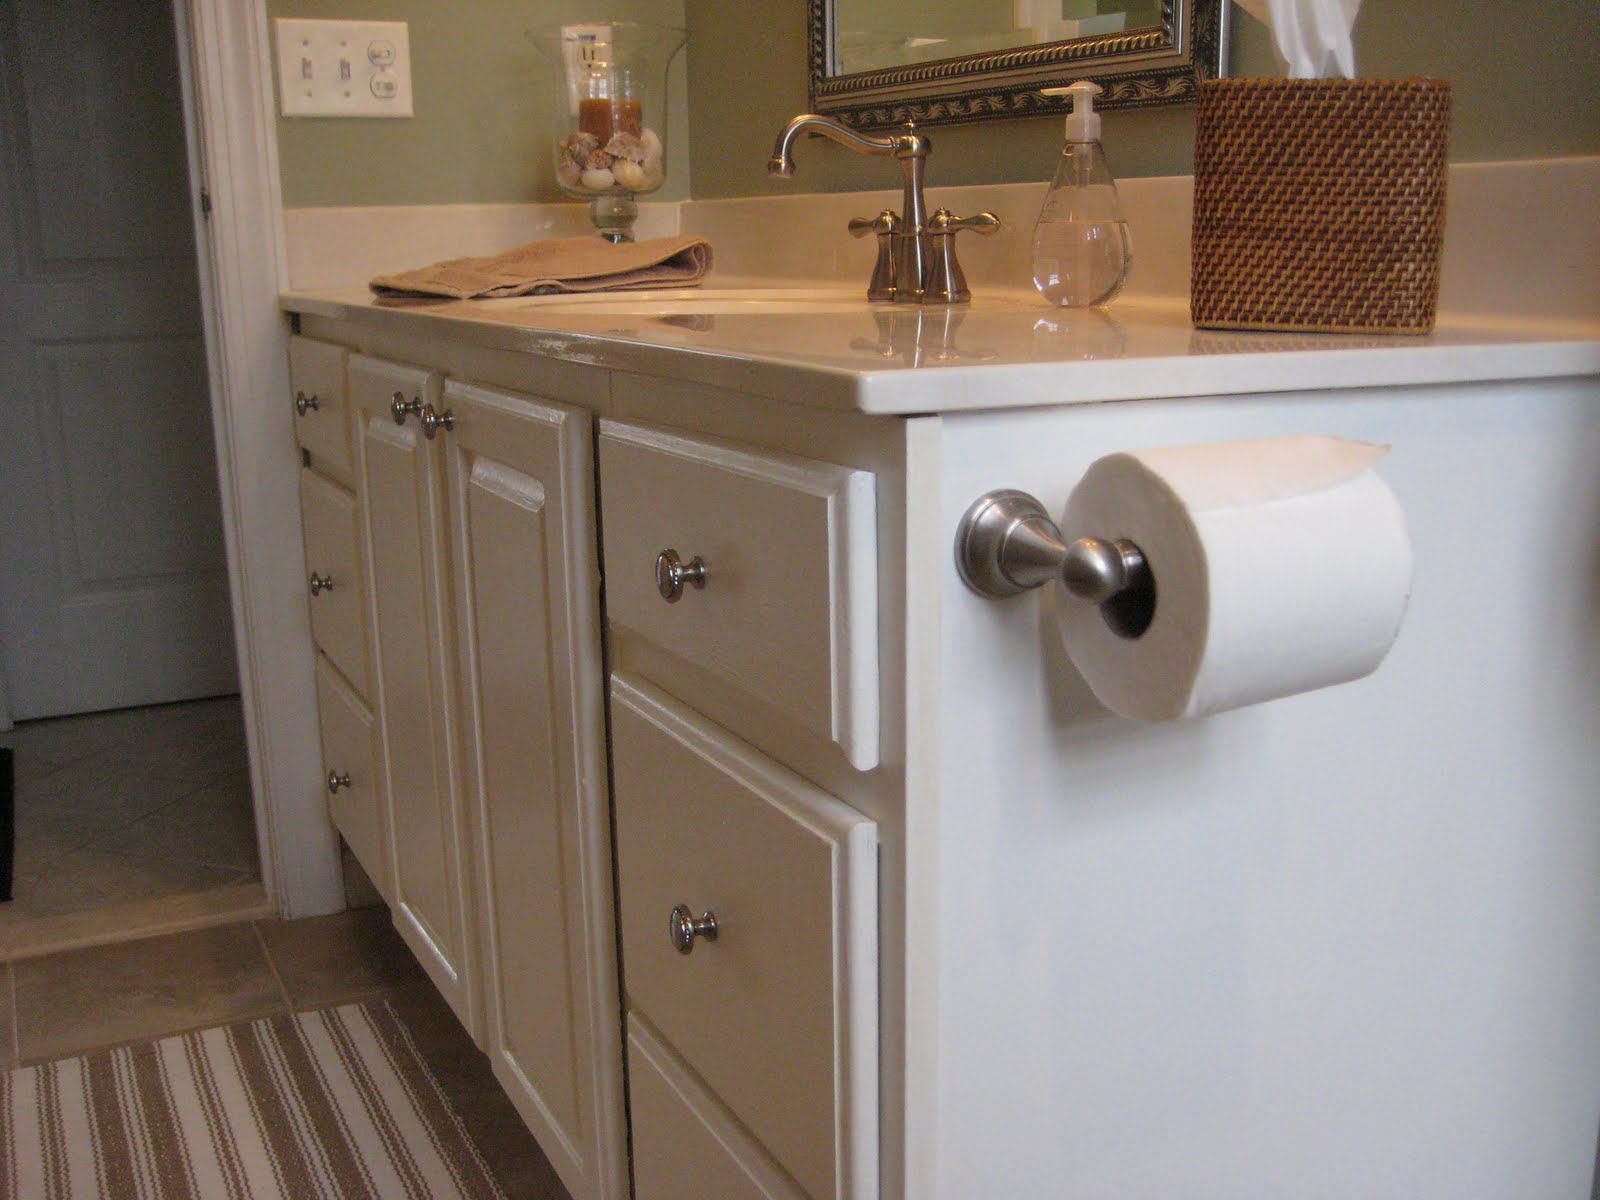
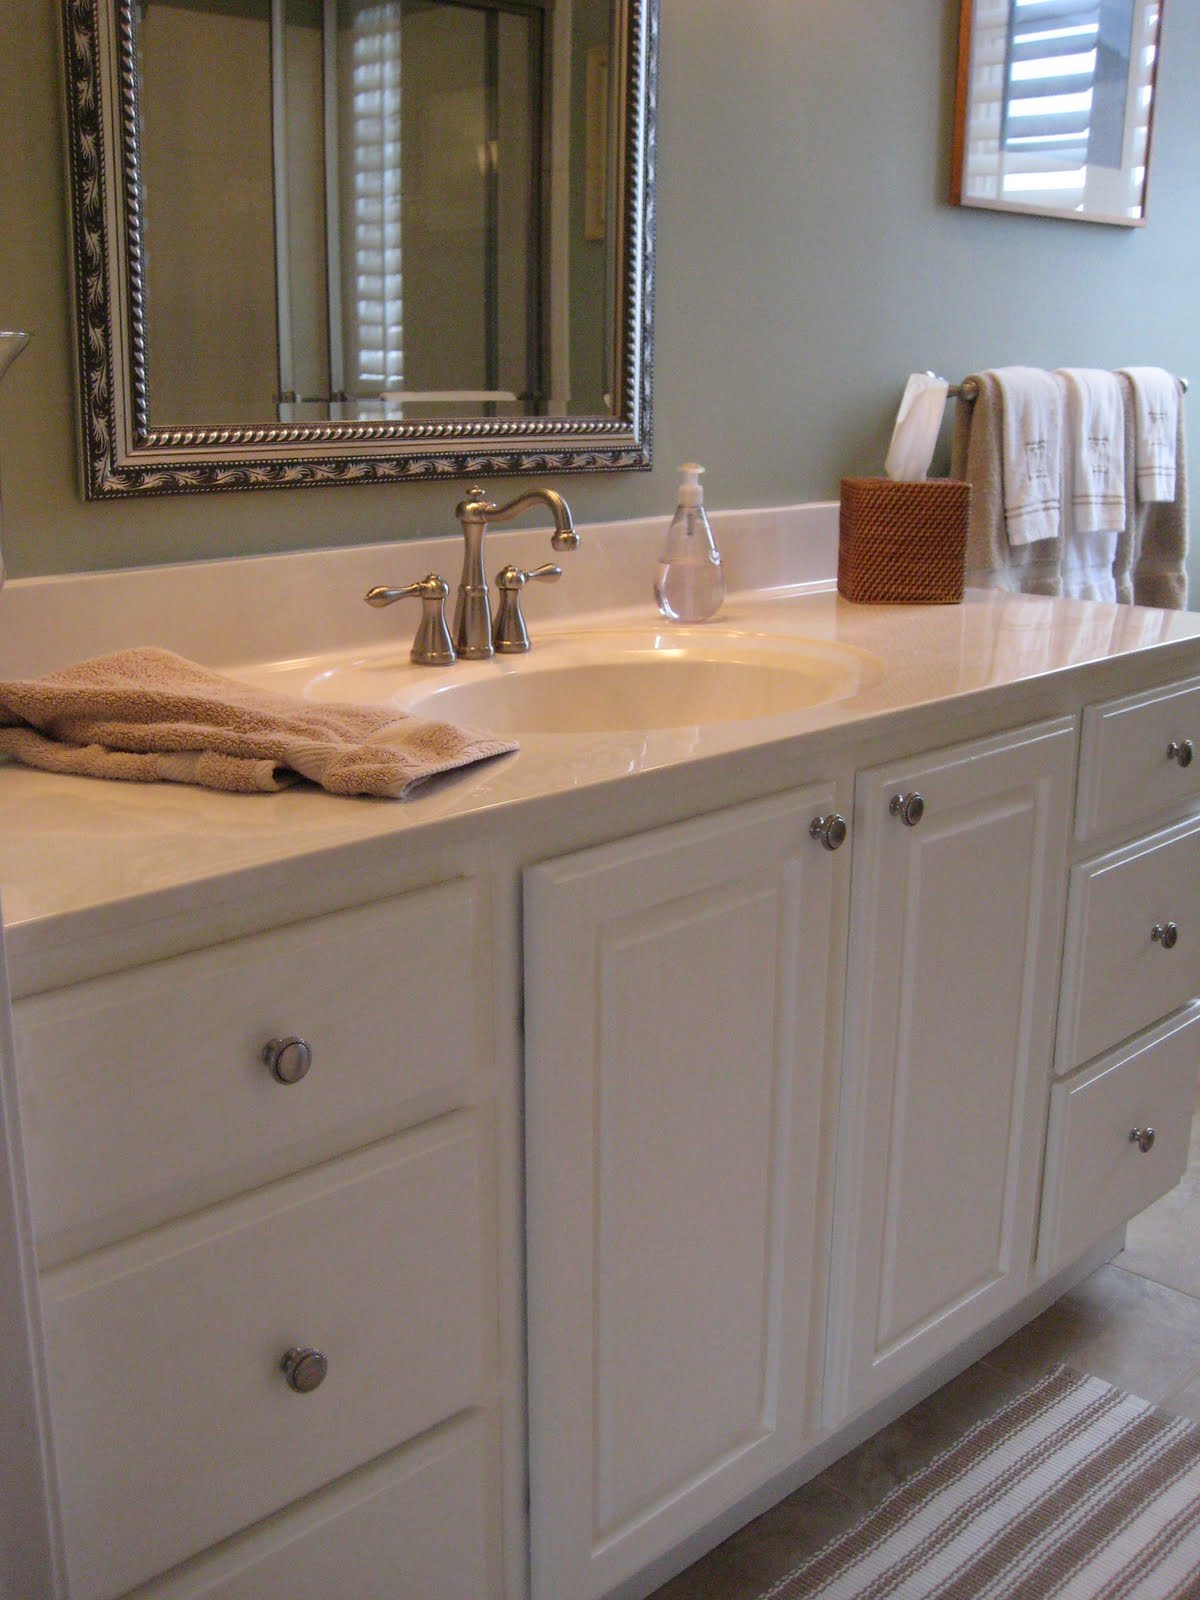
And here it is finished!
Finally, I got everything done and put back together.

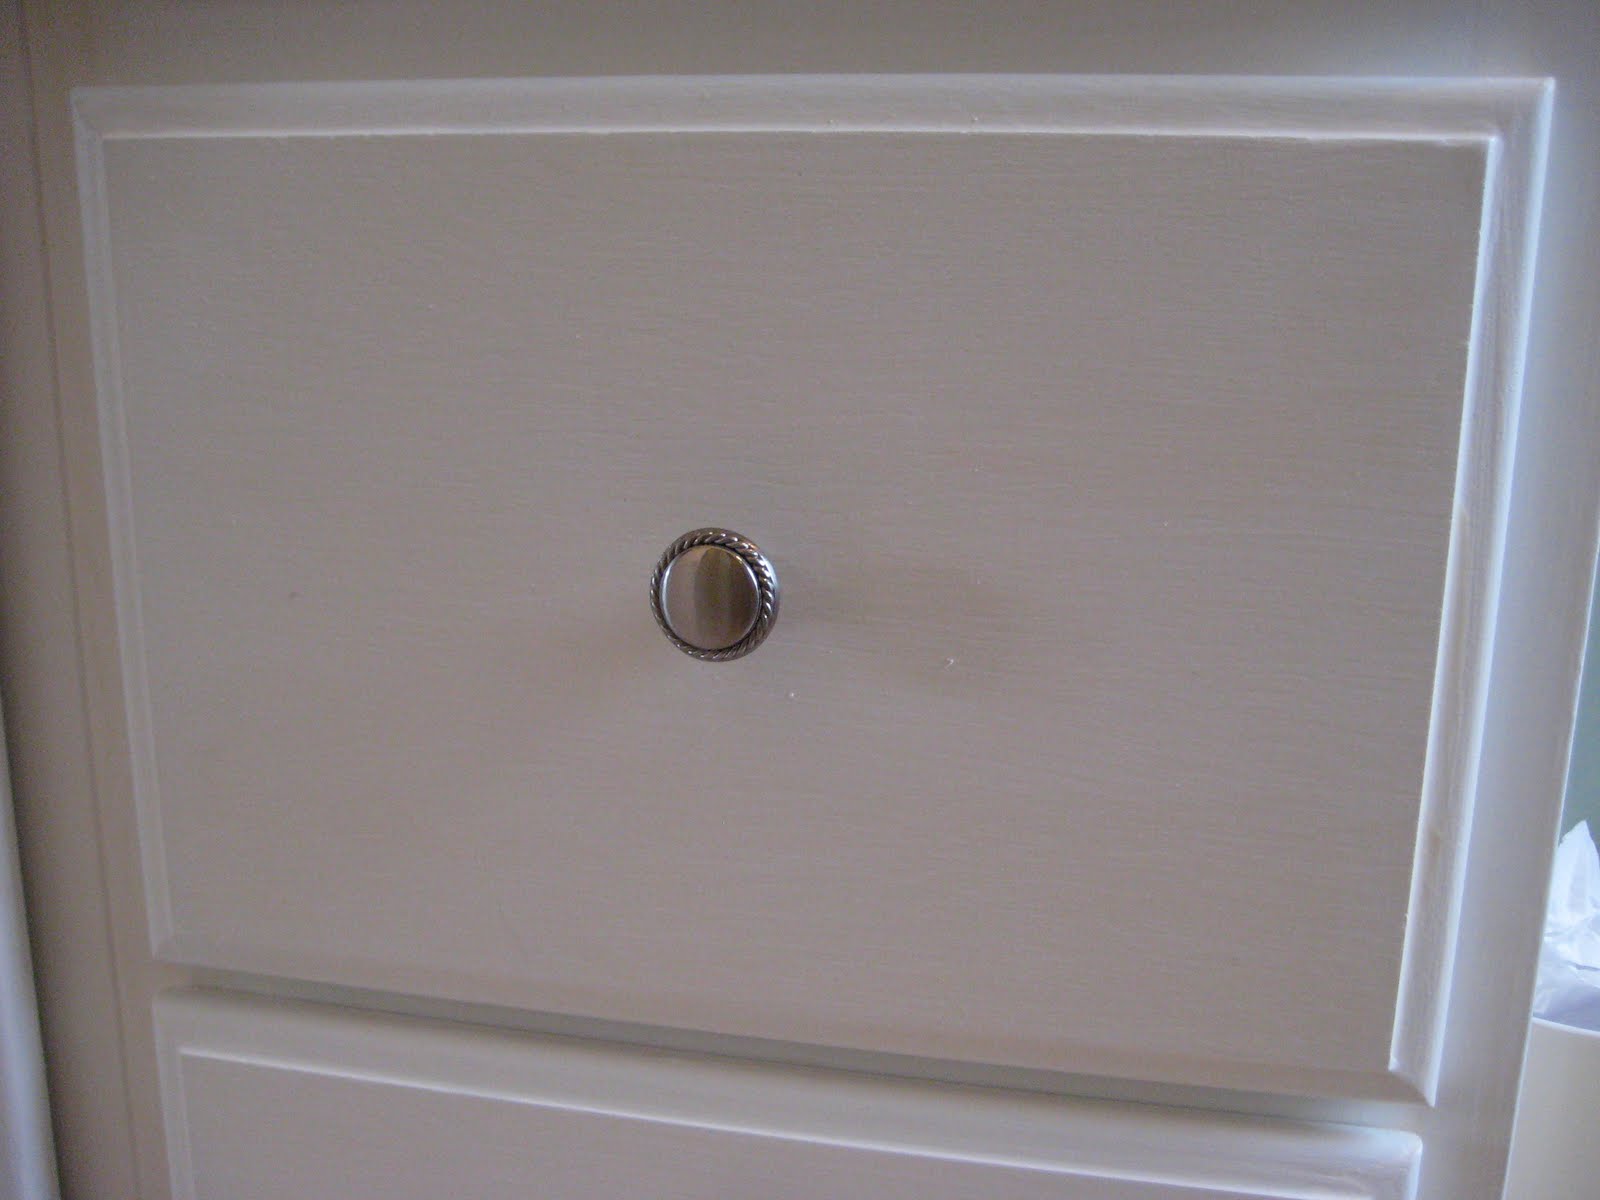
You can probably see a little of the wood grain here but I’m not going to obsess over it.
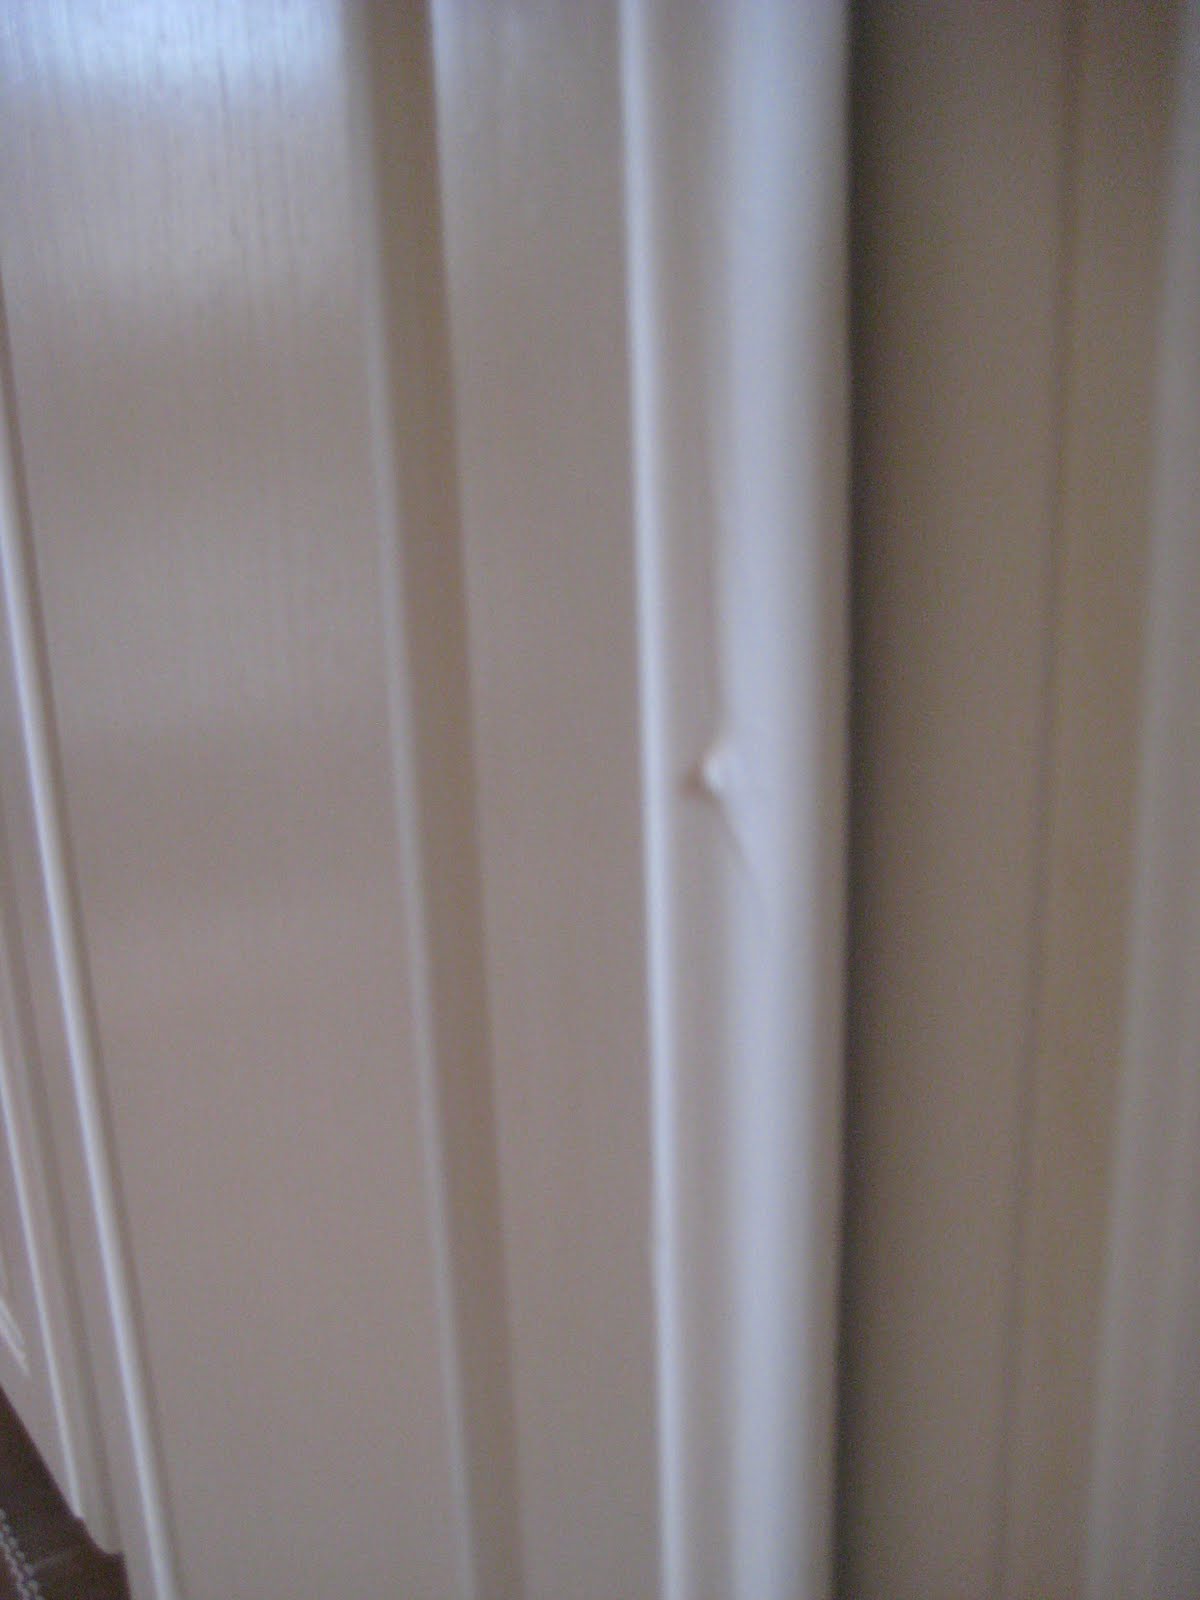
In another spot, you can see a little bubble from the top coat. The top coat dries pretty hard so once it’s done, it’s done.
Oh yeah, I would like to add that the kit comes with an optional glaze which would be applied after the white bond coats.
I decided not to use the glaze because I wanted it to turn out more white and the glaze would have brought out even more of the grain.
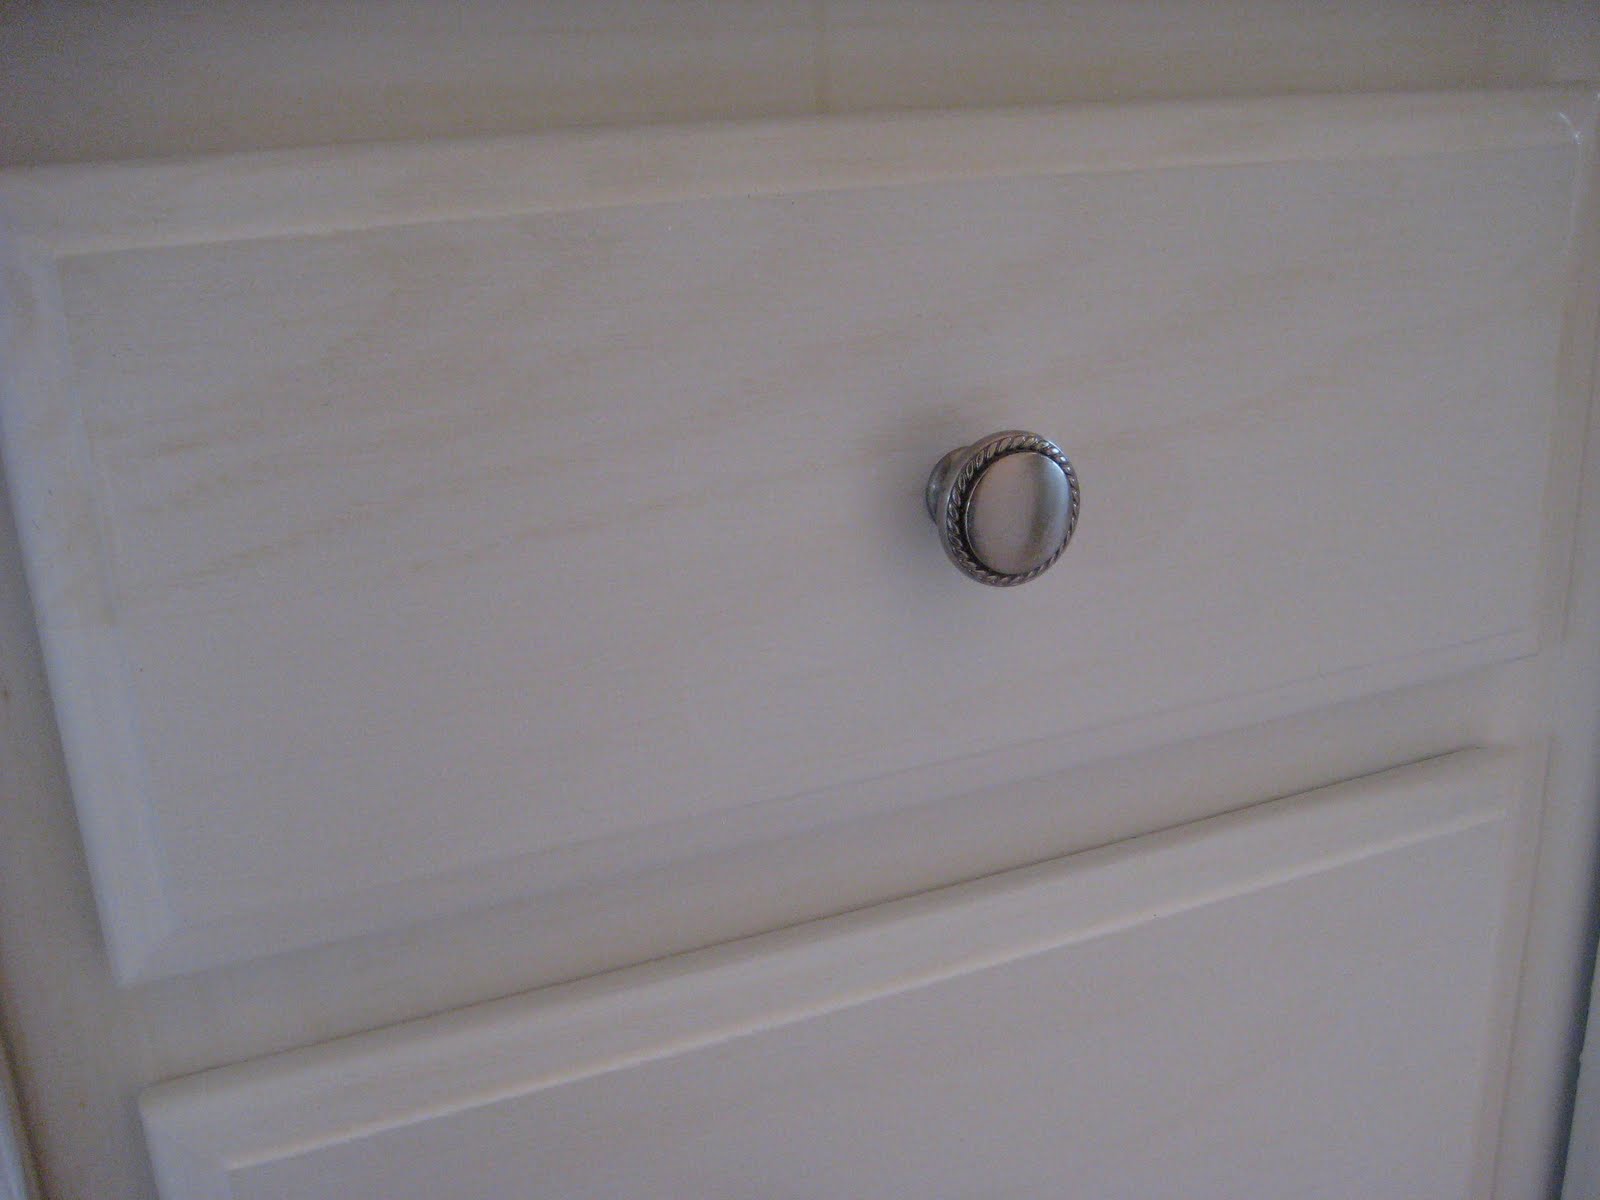
Here you can see some more of the wood grain coming through. Oh well… Maybe I will go over that drawer one more time!
Either way, it is still better than this:
Once again…the AFTER:
Overall, I am pretty happy with how it turned out. It’s not perfect, but then again – my kids use this bathroom all the time. It wouldn’t stay perfect for long anyway!
For tips on how to paint a bathroom cabinet with latex paint, see this more recent blog post.
What was your first paint project?

I’d love for you to follow along so you don’t miss a post!

Gorgeous bath, just gorgeous! Thanks for joining my newbie party.
beautiful! you did a fantastic job, and I know when I do mine I will be anticipating the final outcome as well. I didn't really see the grain showing through all that bad, and what I did see, I think it looks like it's supposed to be like that! I love the green wall color you chose!
Looks great! White is much improved choice over previous wood look. I am visiting from Debbiedoos newbie party!
Looks great! I was curious about this product. My brother is buying a house and is going to need some cabinet painting help…I might just stick to primer and paint!
Overall, I still think the Rust-Oleum Cabinet Transformations is a good product…you just have to be really careful with each step. Also, I think it would be great for people who are using a darker color and/or glaze vs. the bright white. There is not much room for error with the white – especially for an inexperienced person like myself!
Your paint job looks GREAT! What a difference that bright white has made. I hope you are happy with it, you did a good job and now that bathroom is really pretty. My first paint job was painting furniture, my little table-desk in my office. I would like to paint more, but I'm not convinced that it will look good in our house painted. But the wood is ugly, so I'm not sure what I will do. Wait for the next trend maybe!!!:DHugs, cindy
Looks outstanding…I'ma big fan of white!!!Blessings,Linda
Found you over at Faded Charm, great job on the cabinets… I'm going my kitchen now. your newest followerPattie The Shabby Chick
Very pretty 🙂
welcome welcome! I'm so glad you found me and joined in the party this week! Your bathroom makeover is awesome! Great tips on your tiling bit too. I'm wanting to redo our bathroom also, and you gave me some tips I hadn't thought of before. Your cabinetry looks gorgeous! Nice job. Thanks so much for sharing this at Transformations and Treasures!
Super-nice job on the cabinet. We are moving into a house with similar cabinetry, & we are trying to decide if we want to go white (that's what we've had for the last 6 years in our current house) or go very dark. We were thinking dark because the floors & counters are very light, but your floors and counters are light & the white looks very nice. Hmmm? Back to the drawing board, I guess. LOL!!! I'm a new follower & would love to have you visit & maybe follow back.CAS
It looks wonderful and it's nice to see the finished product from the new kit!
Your bathroom looks stunning. I have been thinking of trying this product as well…Now I'm wondering…is it worth the extra money?
Thanks everyone. Suzanne, I would say it is worth the money considering you would have to buy paint, primer, possibly a glaze and possibly some sort of top coat all separately. Also, they give you a ton of the Deglosser (which is like a liquid sandpaper) so I have plenty left over for future projects. The top coat really makes the cabinet feel smoothe and finished. It supposedly protects the piece pretty well. Like I said above, you just have to be really meticulous about applying it so it doesn't glob up in areas. It is just a long process working with this product but then again, I don't really have anything to compare it to because this was my first project of this type. Oh – and also, when I was at the Benjamin Moore store the other day, the owner was telling me how they are going to start carrying Cabinet Transformations and he seemed excited about it. They always try things out in the store and he said they thought it was a good product. Hope that helps!
looks great!
I'm always amazed at how paint can transform a space. Love the new lighter and brighter look. It makes your wall color pop! Looks great! XO,~Michelle
Beautiful! Your blog is so great and helpful. I love that. Happy Tuesday!
You did a great job with your bathroom. It is so pretty! You should be so proud of a job well done!
Thanks for the great tutorial. I am going to jump into doing mine now! Your newest follower.