10 Helpful Tips for Tiling a Floor
During our recent guest bathroom update, we learned some tips for tiling a floor… Since I always find it helpful to learn from people who have gone through a similar home renovation, I made a list our our tips for tiling a floor. Hopefully, my tiling tips will save you time and money with your future flooring projects!
Here are My 10 Tips for Tiling a Floor:
1. Hire a professional!
Ha – you weren’t expecting that one first, were you?!! Unless you are very skilled at tiling, hiring someone is the way to go. There is no way I would ever imagine doing this job myself. Looking back, it was worth hiring someone for the demolition of the old tile alone! Our guys did such a great job from start to finish!
2. See if your tile store has their own installers.
We used the store’s installers (after checking references) so it worked out really well. Since they were used to working together, the project ran smoothly. During our installation, the owner of the store even stopped by to see how things were going.
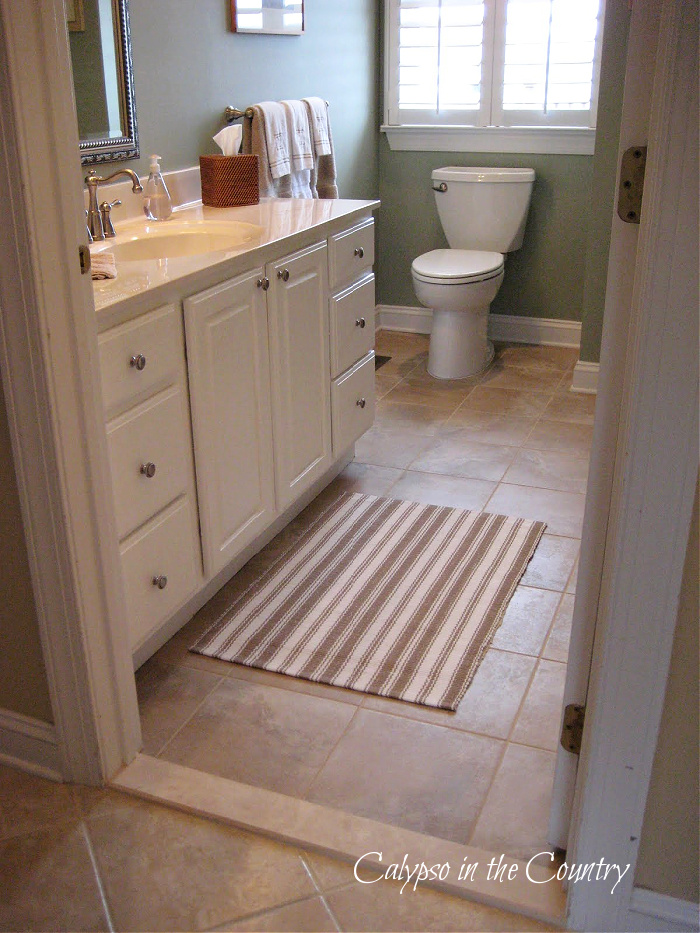
3. Lay the tile under the cabinet/vanity -(not just up to it).
Sure, they could end the tile at the cabinet and not have to move it to go under it. Think ahead though; if you want to replace the cabinet someday, you won’t have to worry about buying one the exact same size or having to replace or repair tile underneath.
4. Keep bringing home new tile samples.
You really have to see the tiles in your own house. At first, I thought I wanted a real contrast between the hall and the two rooms that we were tiling. After bringing home many samples, I decided I wanted the new tile to blend with the hallway tile instead.
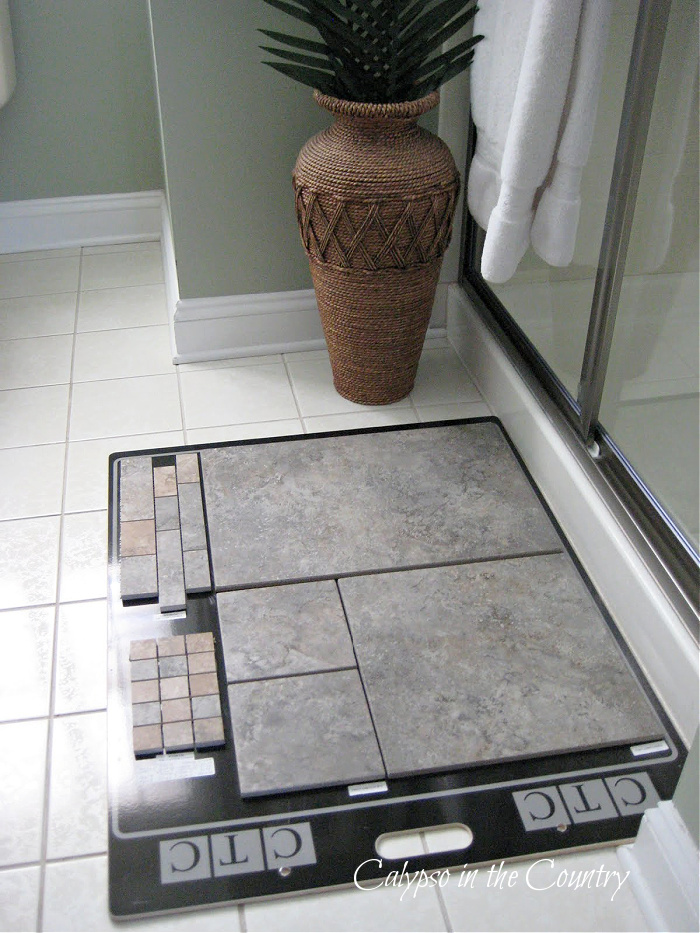
Obviously, I went back and forth on the look I wanted. This was my gray phase…
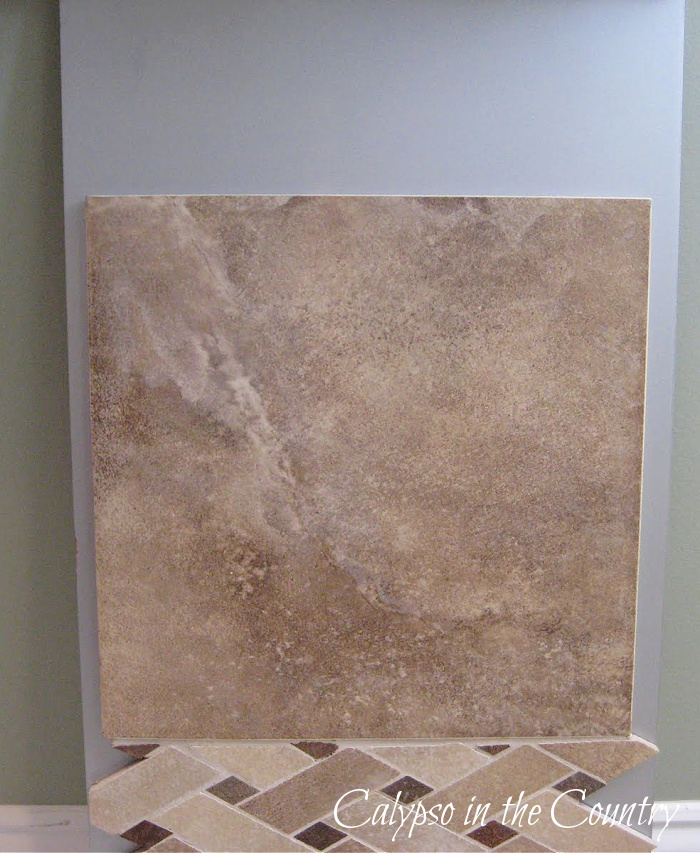
Then I started to think that tan was the way to go…

The one on the left is the tile I chose. The one on the right is the existing hallway. (Trust me, they blend better in person).
5. Choose a darker grout.
I gave up trying to get the old white grout cleaned. Since I am constantly scrubbing my kitchen grout, (which is cream colored), I didn’t want to deal with that again!

6. Pay extra for stain-resistant grout (in addition to getting a darker color.)
Okay, so I haven’t actually had time to test if this is worth it in my house, but my sister-in-law has been happy with hers so I thought, why not give it a try! **2019 Tile Update – 9 years later and the grout is still looking great!
7. Remember, you can change the saddle.
The “saddle” is the long piece of tile in the doorway separating the two rooms. If only I realized this could be changed when I started looking for tile! I think that may have been part of the reason I started looking at gray tiles in the beginning – to match it! Anyway, saddles come in a dozen or so colors to match the tile you are looking for. Our tile guy told us the gray ones are usually the “builder specials”! What a surprise…

Here is the old gray one with a shot of how dirty the white grout was – yuck!

Here is the new tan saddle.
The hall tile is on the left and the new tile is on the right.
8. Choose a tile that is a little rough.
Some tiles can be very smooth and when they get wet, they are as slippery as ice! This is an important tile tip for those of us who worry about safety! My new bathroom and laundry tiles have a little texture and don’t get real slippery.
9. It always costs more than you think!
Don’t you just love hearing that? When I first started tile shopping and would ask tile stores to give me a rough idea of how much it would cost, they would say it would be around $7.00 per square foot to install. I was quite shocked when they came to my house to give me an estimate and it was WAY more than that. Installation is only part of the cost – it’s the DEMOLITION that costs so much! That starts with ripping out all the old tile (and cleaning up the mess).
In my case, they also had to remove and reinstall both the toilet and cabinet in the bathroom, replace the saddles in both rooms in addition to the playroom across the hall so that all 3 matched, move out the washer, dryer and utility sink in the laundry room and hook them back up when finished and remove and reinstall the bottom of the moldings in both rooms! Oh yeah, and we also had some water damage by the back door so they had to replace some of the sub-floor!
In order to save some money, I ended up painting the cabinet myself.

10. Planning ahead makes a big difference!
Of course that is true for everything but if I had REALLY planned ahead way back when we built our house, I would have ordered the same tile for the kitchen, the hallway, the bathroom and the laundry room! The flow would have been much better. Oh well – live and learn!
If you see a tiling project in your future, I hope these ten tiling tips will be useful!
For more information on this bathroom transformation, read these blog posts:
Would you like to share any helpful tips for tiling a floor?

Follow along so you don’t miss a post!
Subscribe by email – HERE
Pinterest/ Instagram / Facebook / Twitter


These are GREAT tips! Everything always seems to cost more than you think, doesn't it? For me, it is also important to pick a fairly neutral tile so that I can redecorate often without being stuck with a certain color.
Your bathroom looks great! Hiring professionals is the only way to go!
I think you have this topic covered very nicely, great job and GREAT tips!Your new tile looks fabulous!
This turned out so well! Love the way they work together and transition so perfectly from one room to the other.I hate it how jobs always, always run over your estimate! I even pad mine and it's still more in the end. Ugh, right?Your room looks great.My brother is a builder and tile installations are his specialty. It is nice having someone in the family to bounce ideas off of, it's just too bad that he and my sister just moved to FL!Great results. Thanks for sharing!xxAlison
Thank you so much for sharing your experience I'm happy to tile a wall now but I'd definitely leave floors to professionals too! Yours are looking fab!Sarahx
Wow…you are amazing. So lovely and first rate.
These are great tips and I love the idea of selecting darker grout…thanks! Hope you have a beachy keen weekend :O)
I second tip #3. My brother and sister-in-law recently moved into a house and wanted to replace the vanity with a pedestal sink. They couldn't do it because the tile didn't go all the way under the vanity 🙁
Your bathroom redo looks incredible! You did such a great job, totally changes the room 🙂 And I love these tiling tips… my favorite (and the one I practiced!) is #1- hire a professional! Ha ha.
Your tiling is beautiful, as is the rest of the bathroom. You have done a great job on it!Hugs, cindy
Great tips!! The only tiling we have tackled is outside..where it didn't matter if it wasn't perfect. I think we'll keep this DIY project for the professionals!