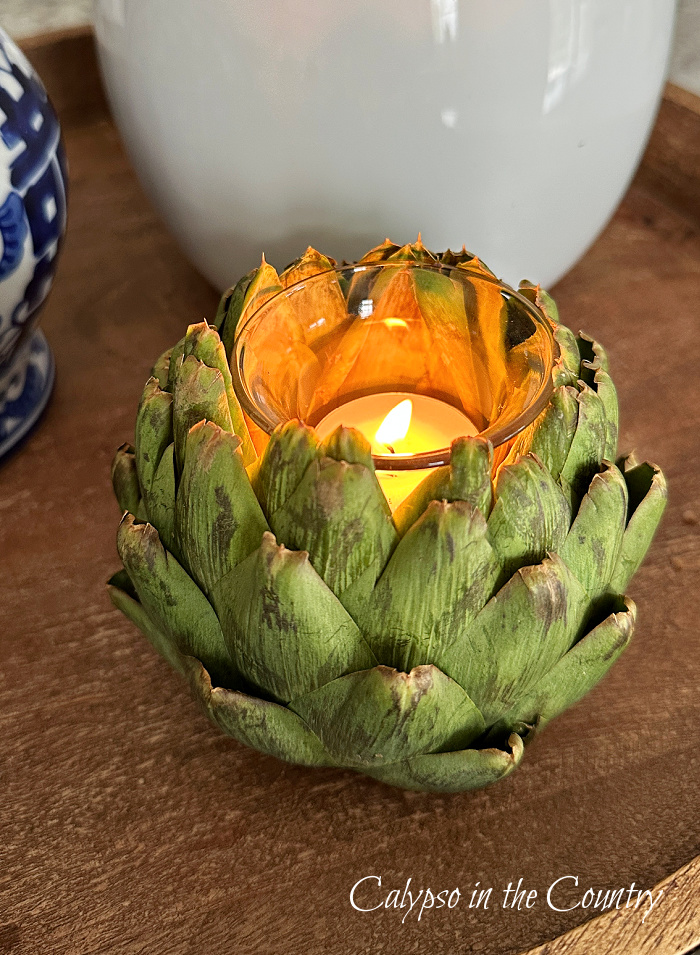
DIY Apple Candle Holders (An Easy Craft for Fall)
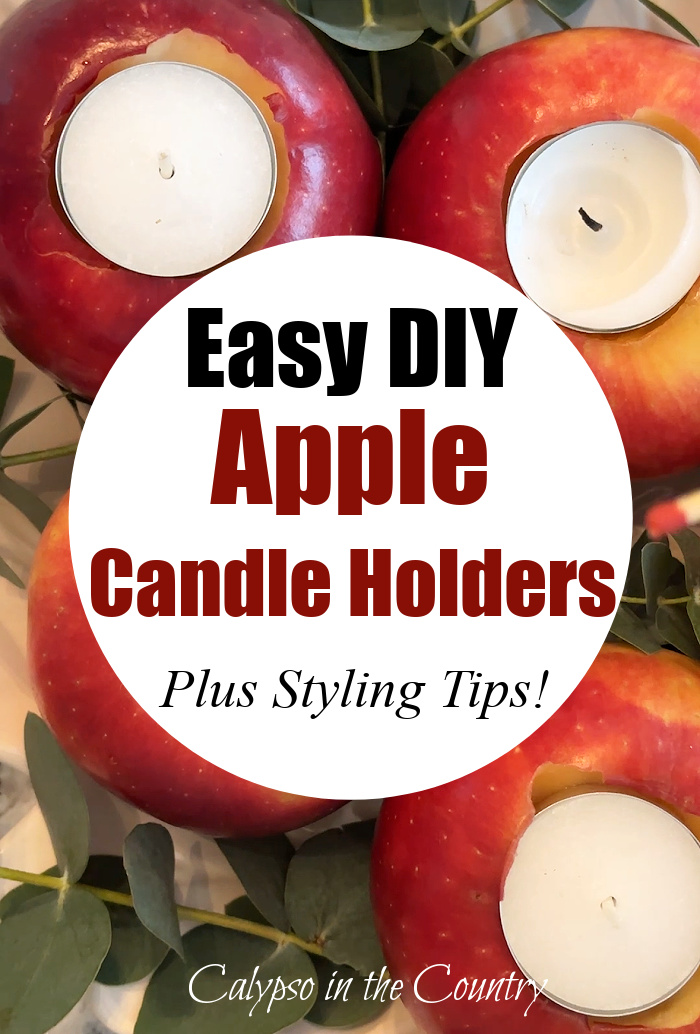
With apple season here, I’ve been thinking of ways I can use them in my decorating. This year, I decided to make DIY apple candle holders! (Tea light holders to be more specific). I tested a few different tools to carve out the hole for the tea light so keep reading to see which method worked best. After the simple tutorial and tips, I ‘ll also show you ways I styled the apple candle holders in my home.
DIY Apple Candle Holders:
Materials List
- Apples (I used Honey Crisp because I liked the coloring and size)
- Tea lights
- Tools: melon baller, Sharpie, pumpkin carving tool, round cookie cutter (comparison below)
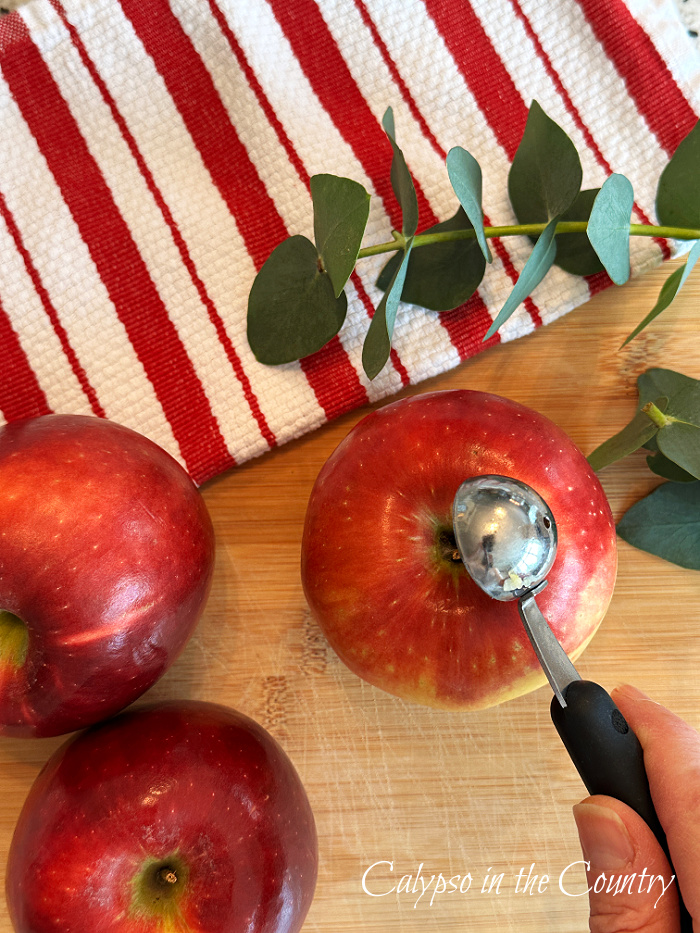
Method #1: Melon Baller
Basically, I dug the melon baller into the apple and scooped. To get the right size for the tea light, I carved in a circular motion until the tea light fit.
Method #2: Sharpie and Pumpkin Carving Tool
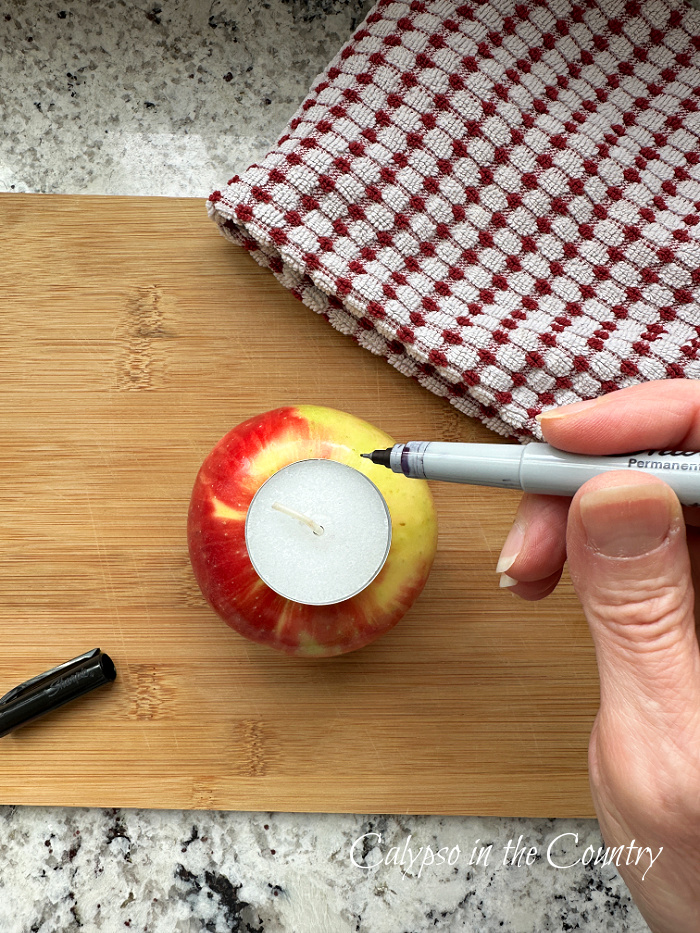
First, I traced the tea light with a Sharpie.
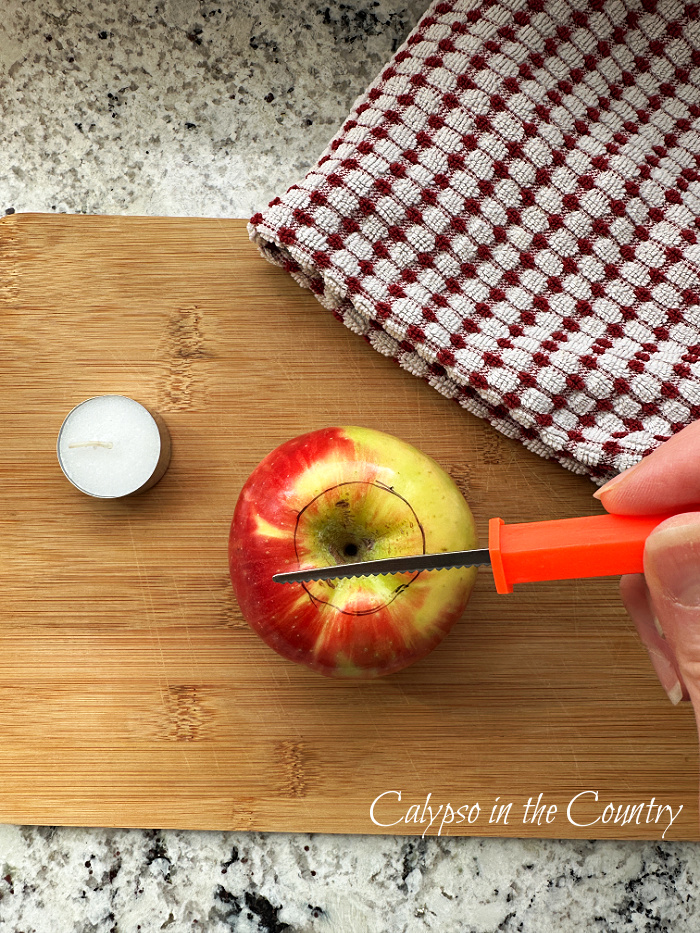
Then, I cut out the circle with a pumpkin carving tool. (Yes, the kind you get in those little Halloween kits.) From there, I carefully dug out the apple with the melon baller.
Method #3: Round Cookie Cutter
For this attempt, I pressed a round cookie cutter into the apple and twisted it. Using the circle as a guide, I dug out the rest of the hole with melon baller.
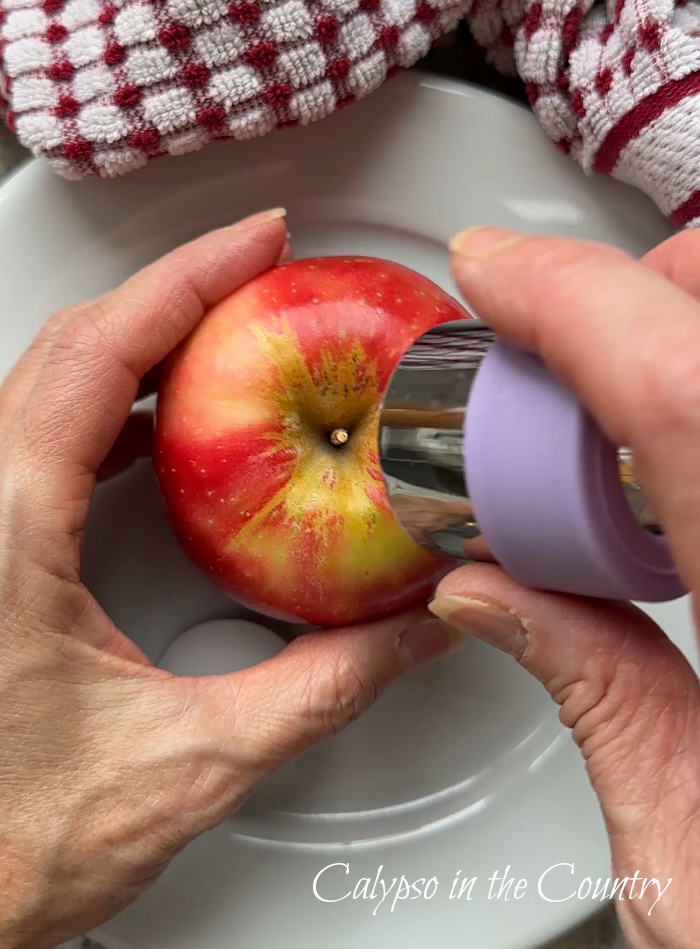
Which Method Worked Best?
As you probably guessed, the Sharpie with the pumpkin carving tool worked the best! Because of the small blade, I was able to easily follow the circle I made from the Sharpie.
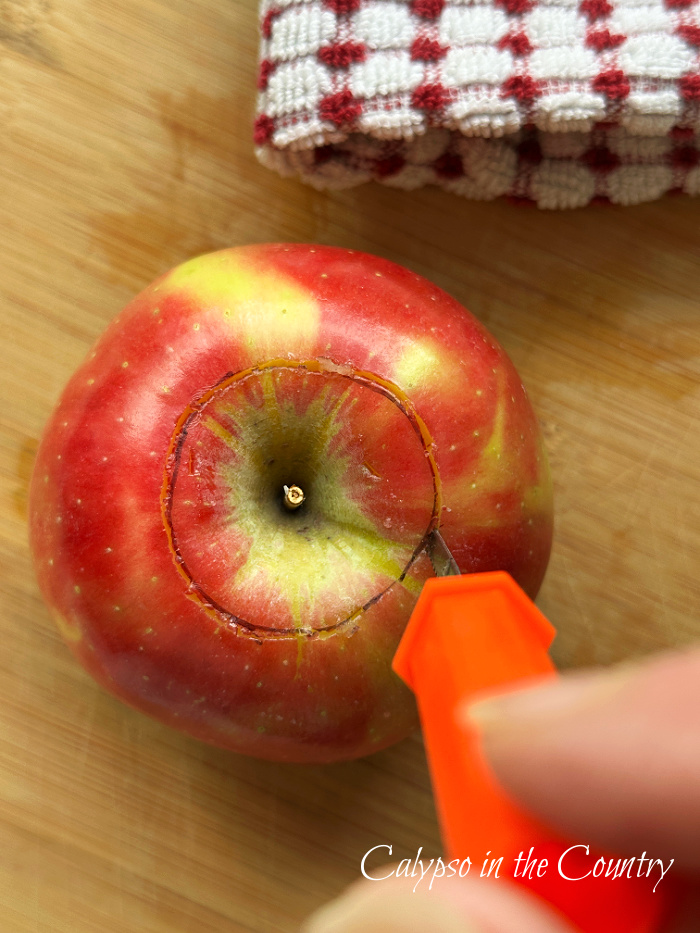
The pumpkin tool made a neat cut for the tea light to fit snugly.
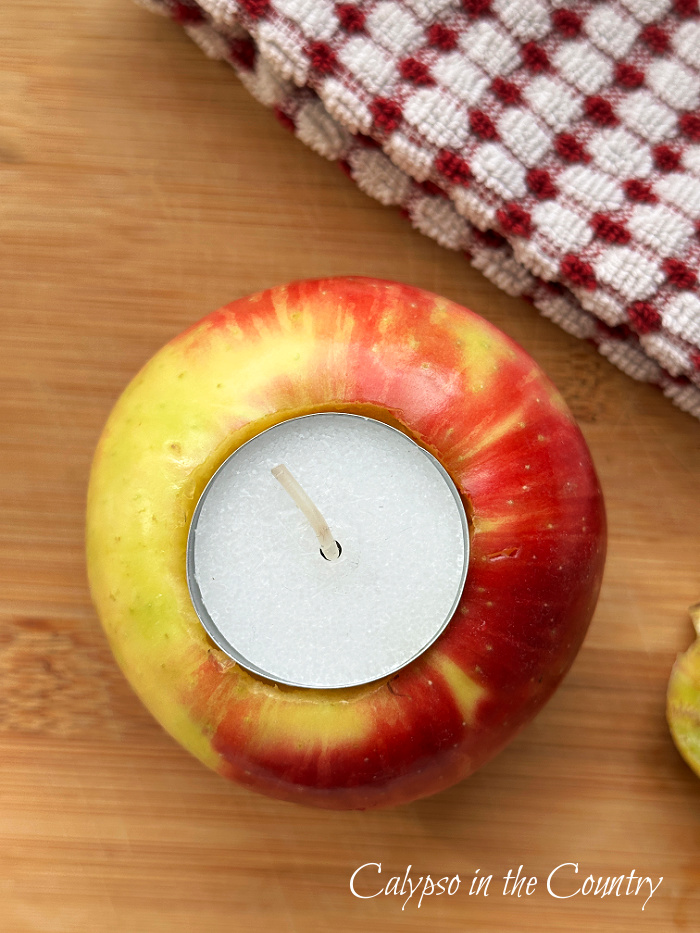
Compare that to method #1 using just melon baller. Obviously, you can see that I ended up with some jagged cuts. Basically, the same thing happened with the cookie cutter when I pulled it out. (Since I didn’t think of using the pumpkin carver until later, most of the styling photos are from my first attempt.)
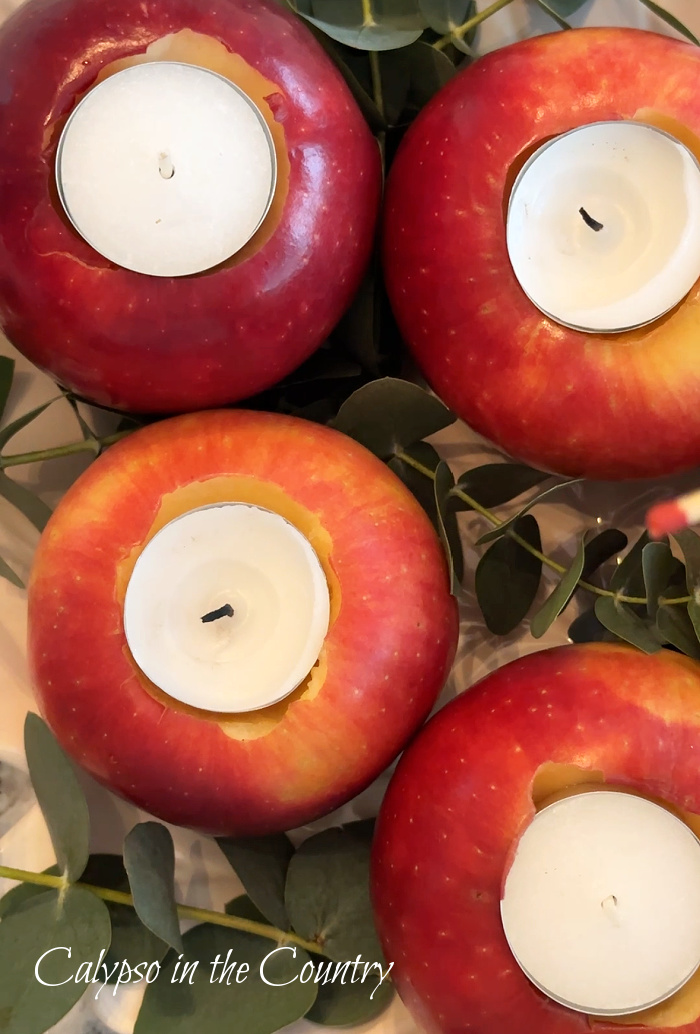
So, Sharpie and pumpkin carver for the win!
Tips for Keeping Your Apple Candle Holders Fresh:
- For best results, carve the apples the same day you plan to display them.
- Add lemon juice to slow browning.
- Keep away from direct heat.
*After 24 hours, my apples had some browning in the cut-out spot but I only noticed it when I lifted up the tealight. (The browning was a little less on the one I added lemon juice).
Styling Ideas for Apple Candle Holders:
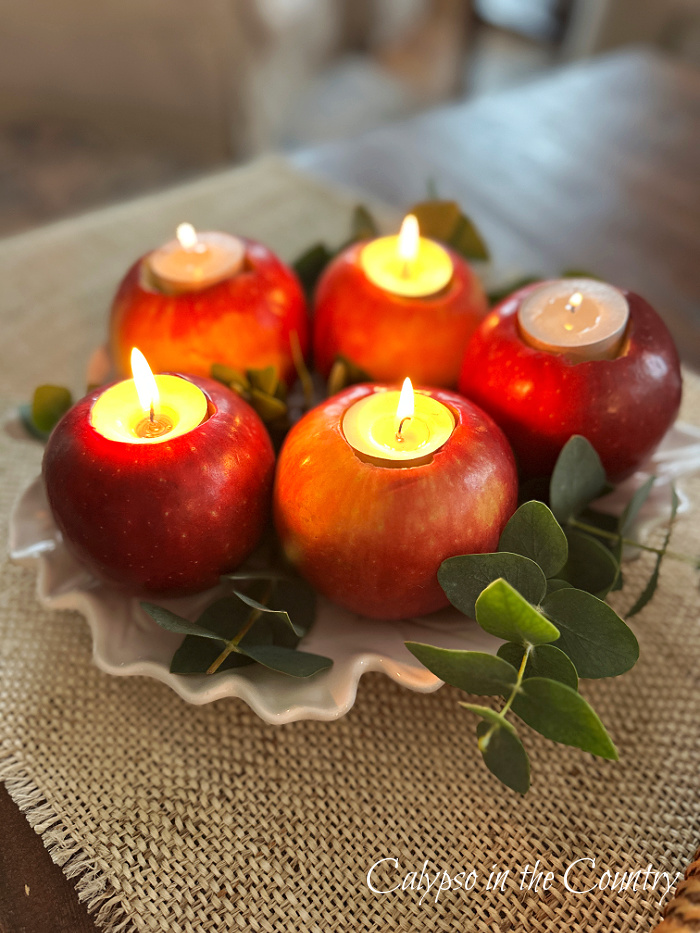
Group them on a dish with eucalyptus…
For an extra touch of fall, I displayed my apple candle holders on a leaf-shaped plate. I added fresh eucalyptus for a lovely scent. Speaking of scents, you could also tuck in some cinnamon sticks.
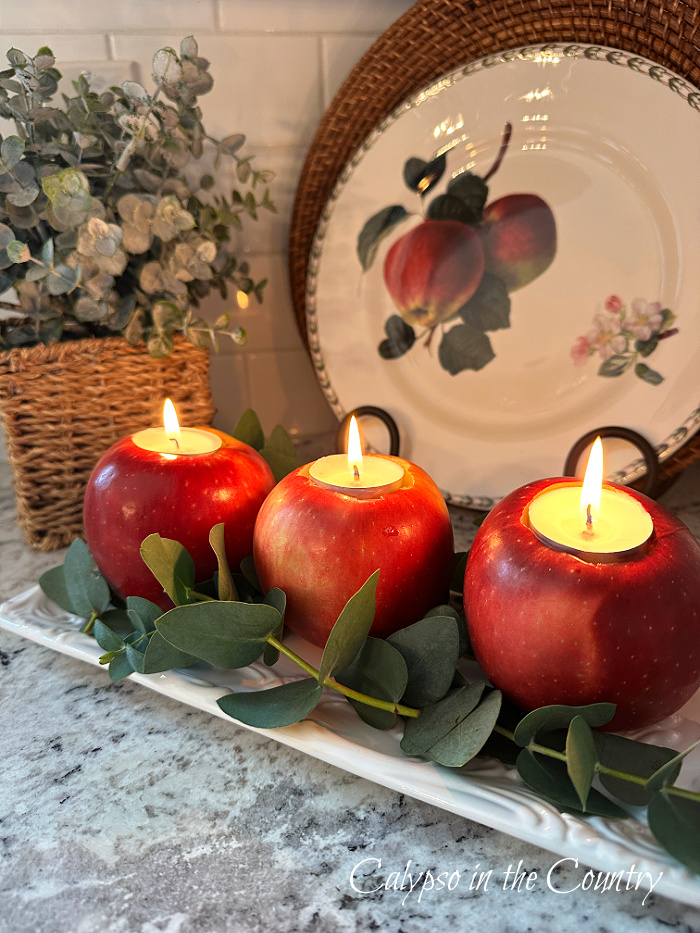
Create a fall vignette on your kitchen counter…
In keeping with the apple theme, I included an apple plate on a stand behind the candle holders. And once again…some eucalyptus.
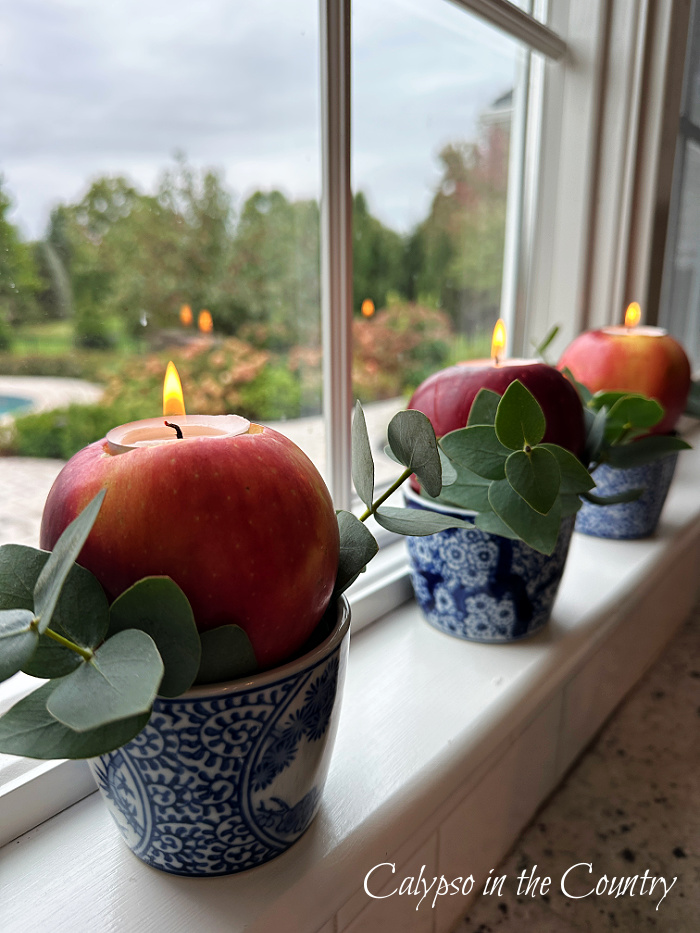
Line up the apples on your kitchen window sill…
Since I love decorated with blue and white year-round, I showcased my apple candles in cute porcelain mini planters. If you don’t have something similar, pretty tea cups would work too!
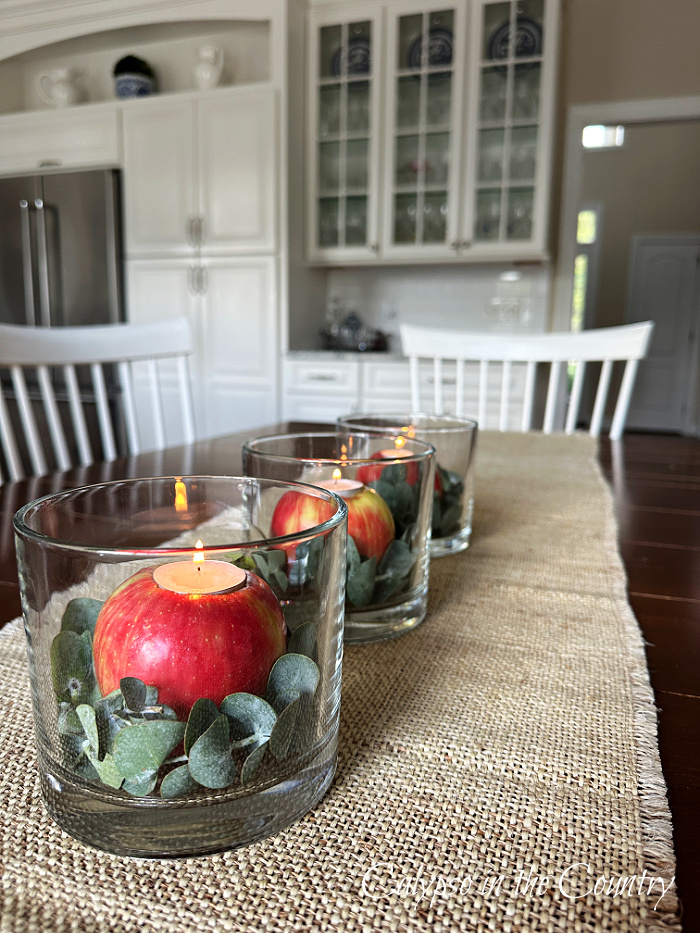
Display the apples in glass hurricane vases down the center of your table…
Now that fall has arrived, it’s been getting dark so early. Add some cozy ambiance to your table with the glow of candles. As I’ve said before, a low centerpiece is great for a dining table.
Additional apple candle tips:
- For safety reasons, display the apple candles where you can keep an eye on them.
- Consider using battery operated candles instead (although they aren’t as cute.)
*If you want even more ideas for decorating with apples, read – Decorating with Apples – Fruits of the Season.
Have you made any apple crafts?

Follow along so you don’t miss a post!
Subscribe by email – HERE
Pinterest/ Instagram / Facebook / Twitter