Easy Decorating Tip – When You Can’t Commit to Artwork
As we head towards the holidays, many of us are scrambling to freshen up our homes for guests. Recently, I came up with an easy decorating tip you might want to try (for artwork).
Easy Decorating Tip for Artwork:
This tip could be helpful if you can’t commit to artwork but still need to fill your walls.
When I shared my Thanksgiving Table recently, you might have noticed that I hadn’t committed to any artwork in my dining room. That’s why I only showed a glimpse of one of the walls…
Yes, this was the only picture I took with that wall in the background.
And for good reason…
As you can see, there are nasty looking nail holes from a mirror that used to hang that spot for many years.
This is what that space used to look like when I had the mirror hanging over a console table…
But one day on a whim, I decided to move the table to the family room for my festive fall vignette and that is where the table has stayed since.
I had always wanted a closed cabinet/buffet for the space in the dining room anyway. But when I moved the table, I also took down the mirror with plans to move it to the living room. Well, I never got around to that and I also never got around to changing the red walls to a lighter color…but that’s a whole other story!
Quick Solution to Hide the Holes in the Wall:
Meanwhile, with the holidays rapidly approaching, I needed to do find a solution for that blank (and beaten up) wall!
Basically, I needed to make another commitment to hang something.
If you are like me, you get inspired to redecorate right before you will be entertaining. Although, I will admit that sometimes it’s helpful to have that deadline to get you motivated. Though, it’s not the best idea to commit to something expensive when you don’t have time to really plan.
Simple and Decorative Solution:
So, just a few days before I was due to host Thanksgiving, I had an idea that would cover the holes…
After all, there was no way I had time to do any painting!
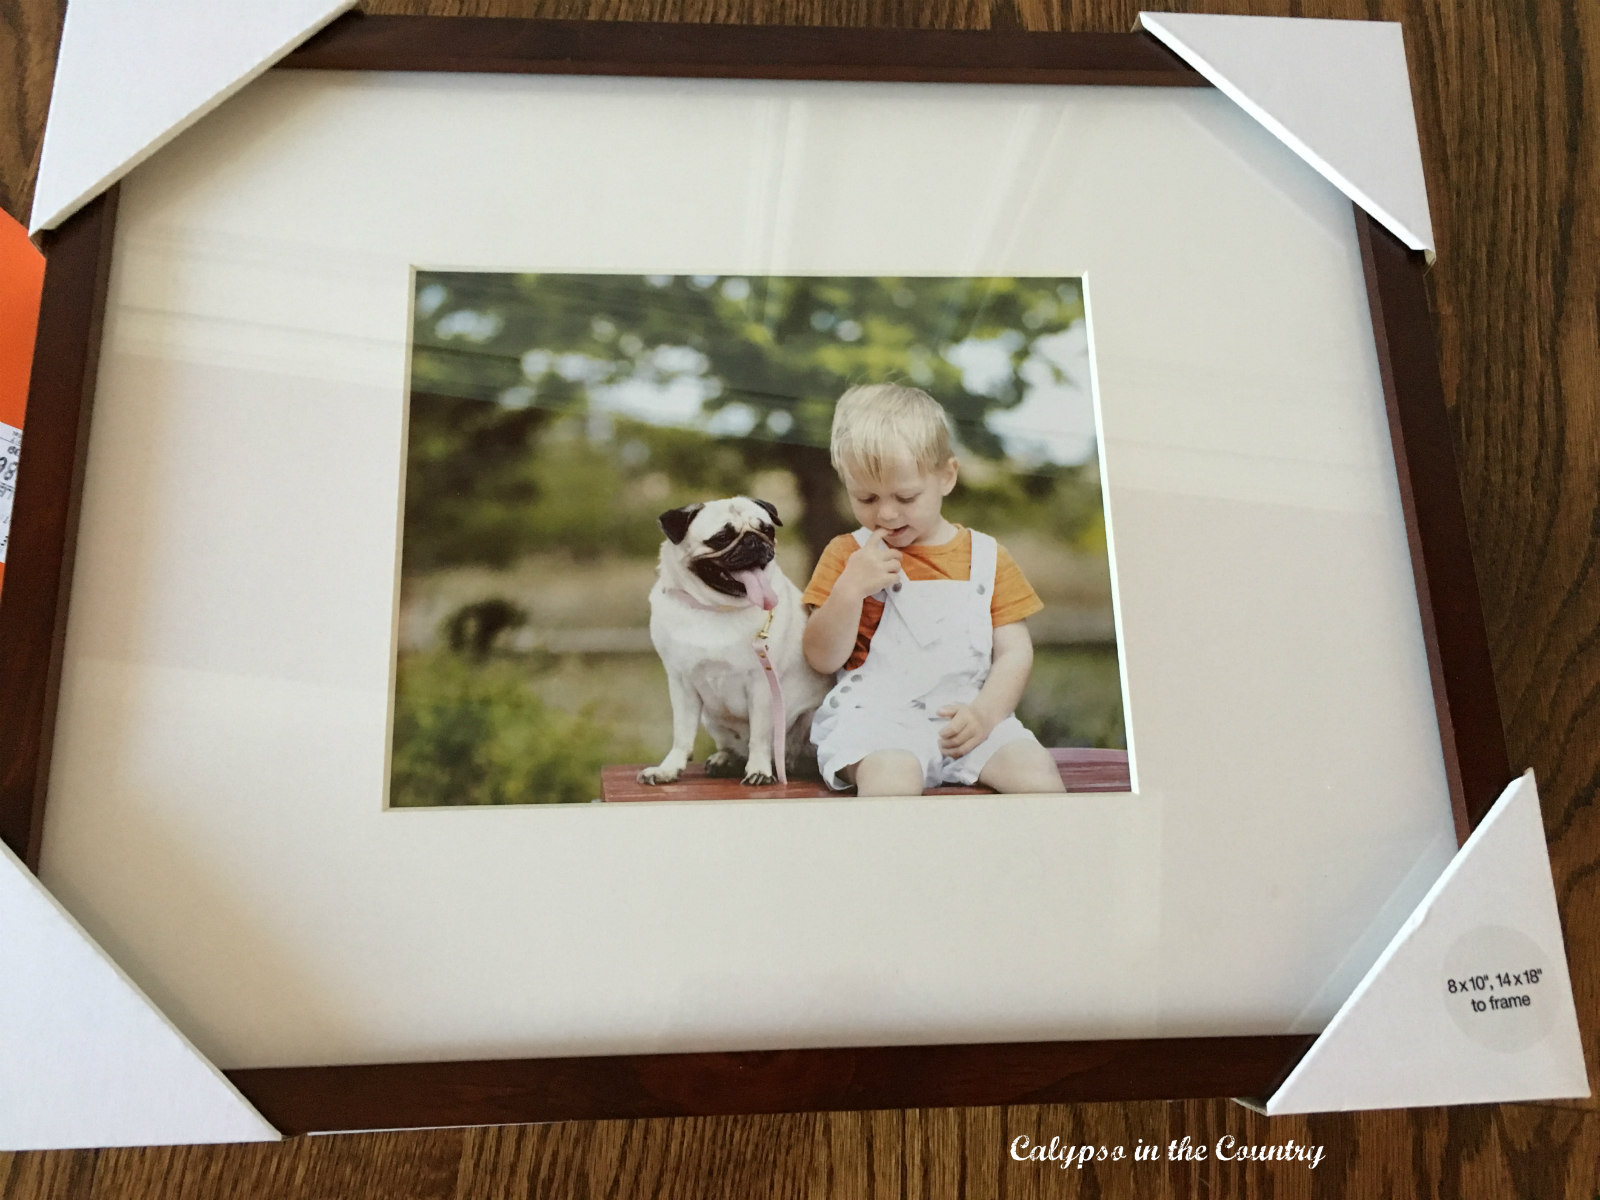
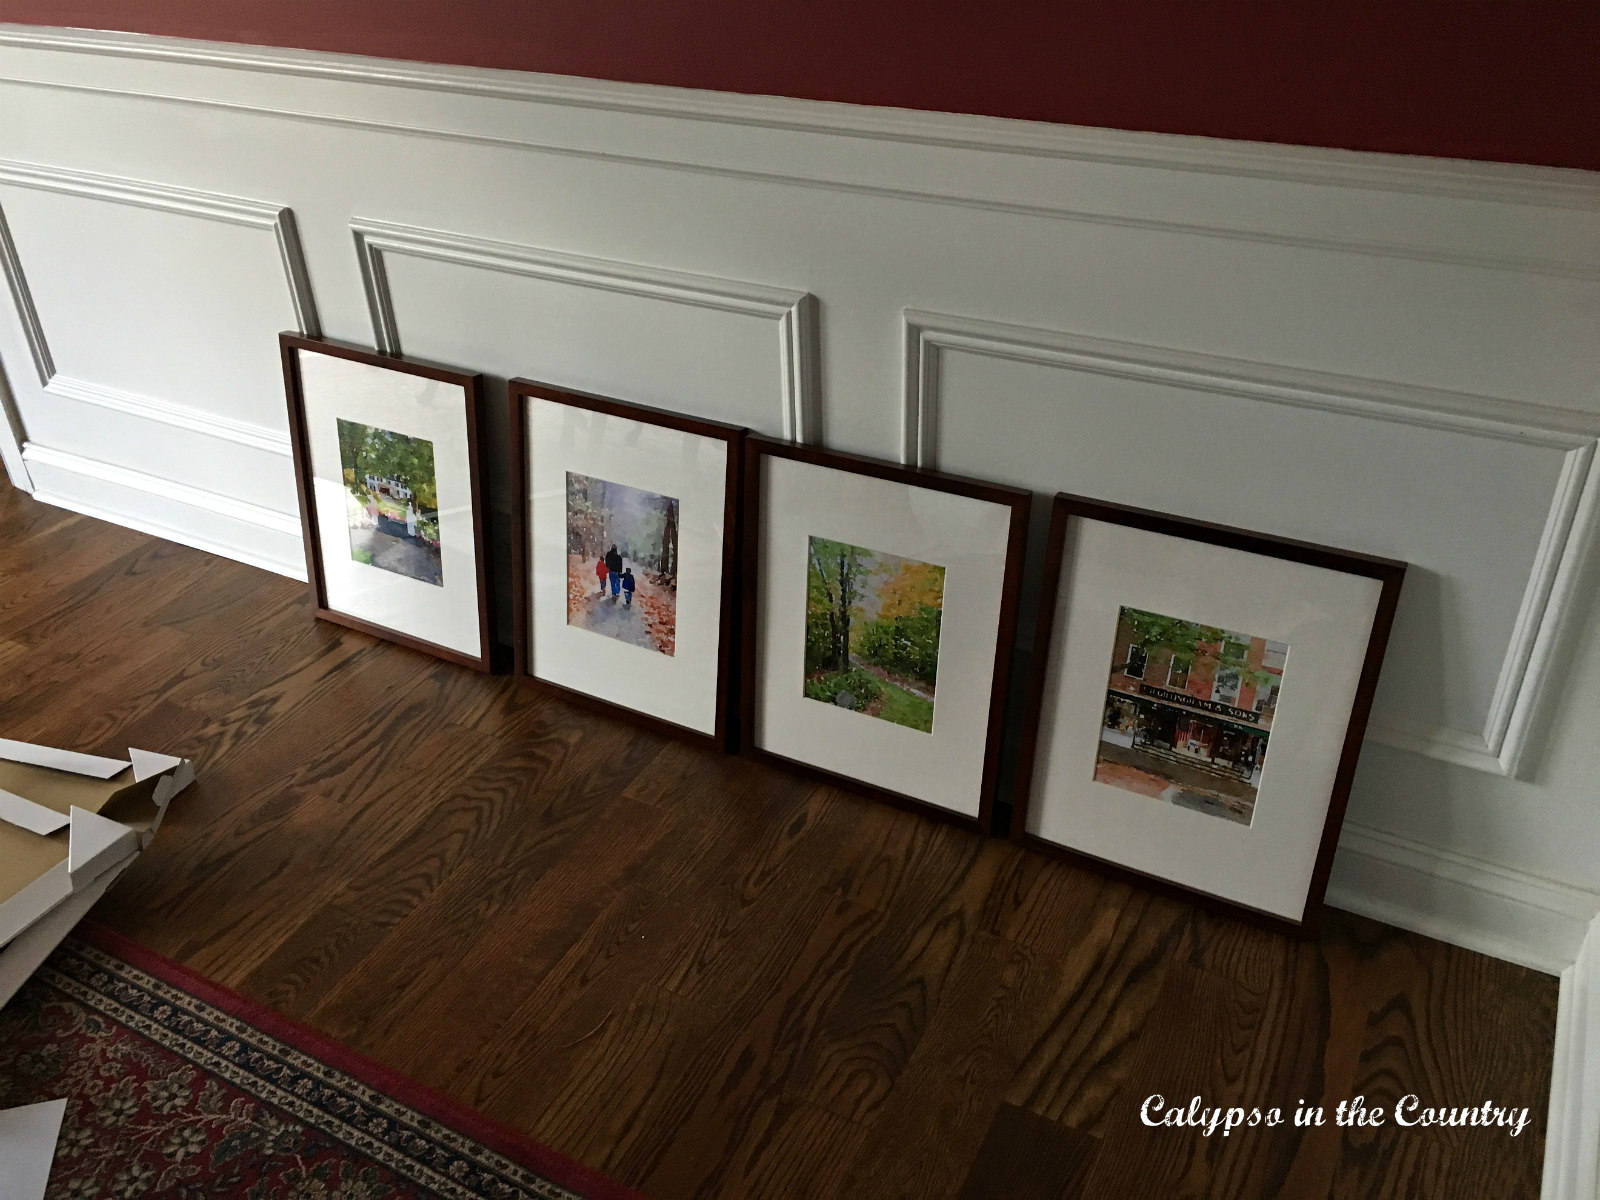
First, I bought a few frames from Target…
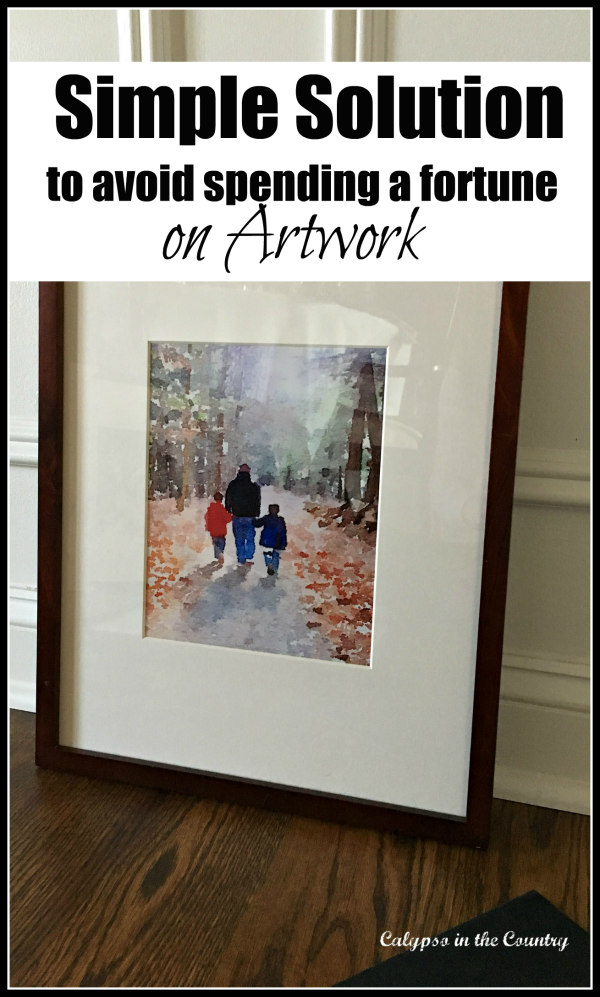
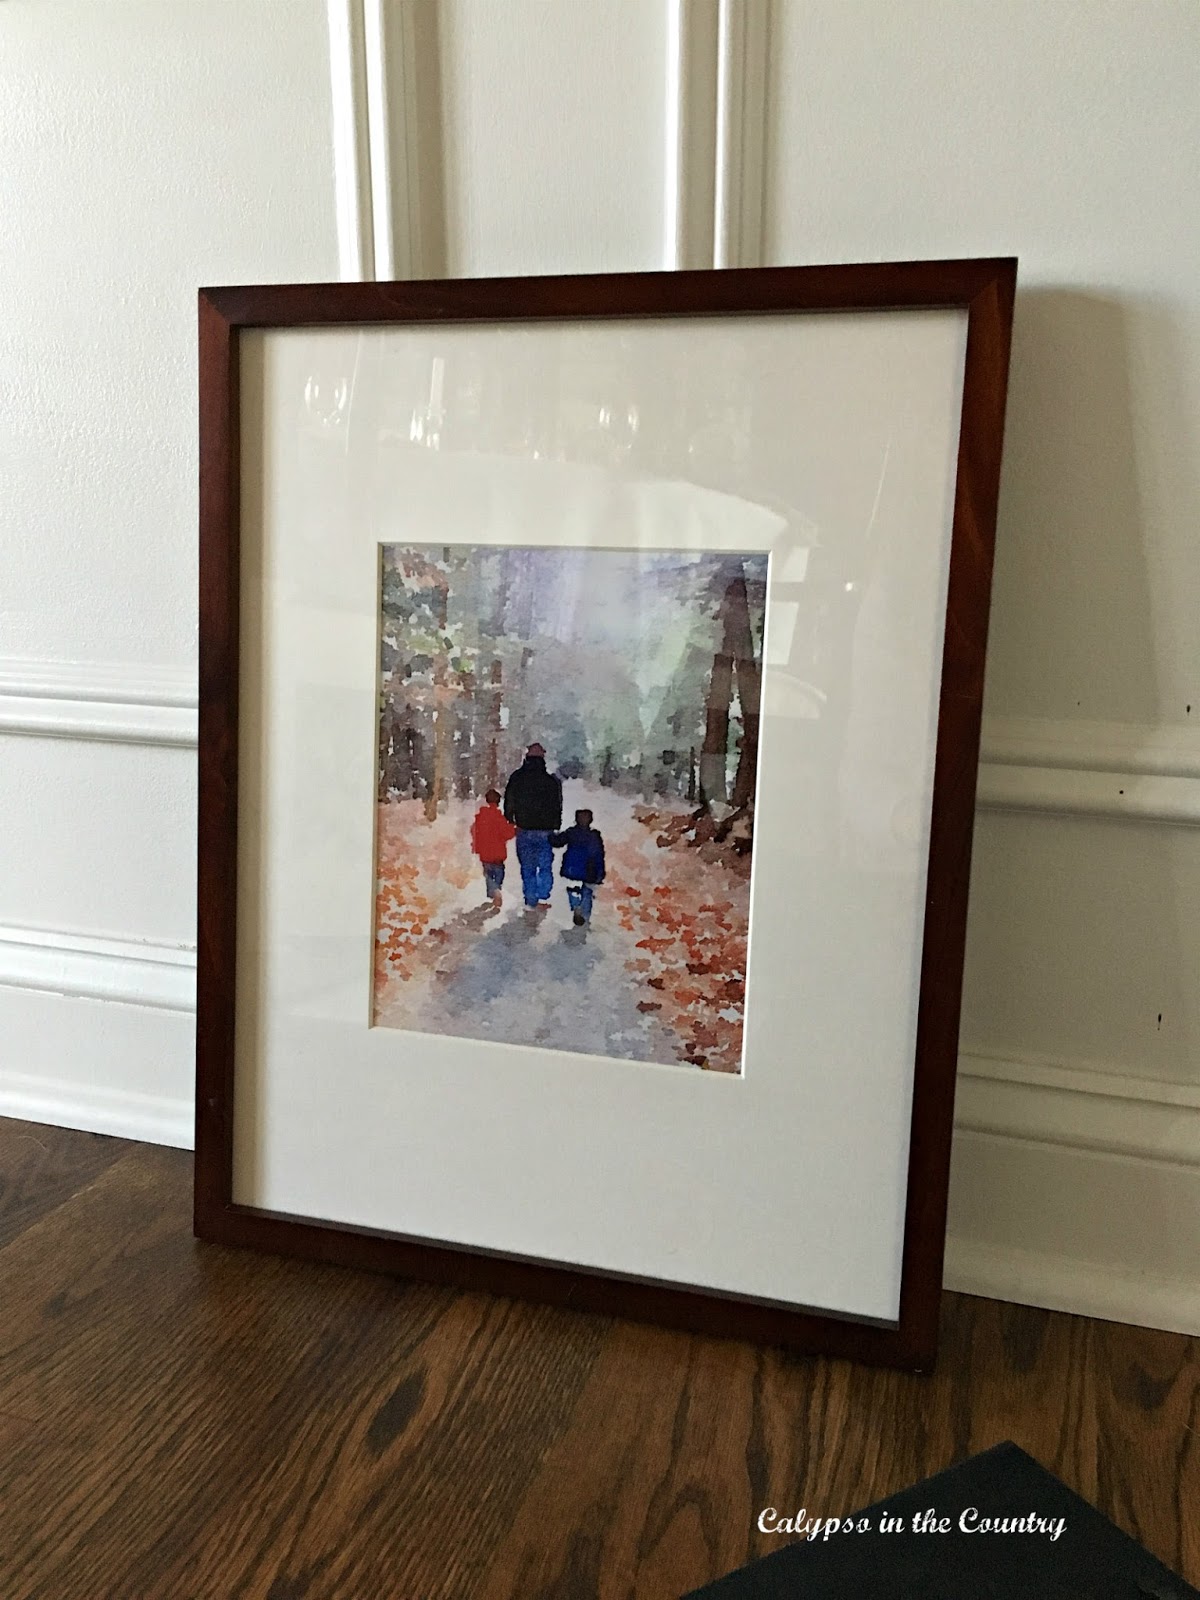
Then, for my simple art solution, I used the Waterlogue app on my phone to turn a bunch of Vermont photos into “watercolor paintings.”
Yes, remember when Waterlogue was all the rage a year or two ago? Well, it really is a great way to make some quick artwork for very little cost.
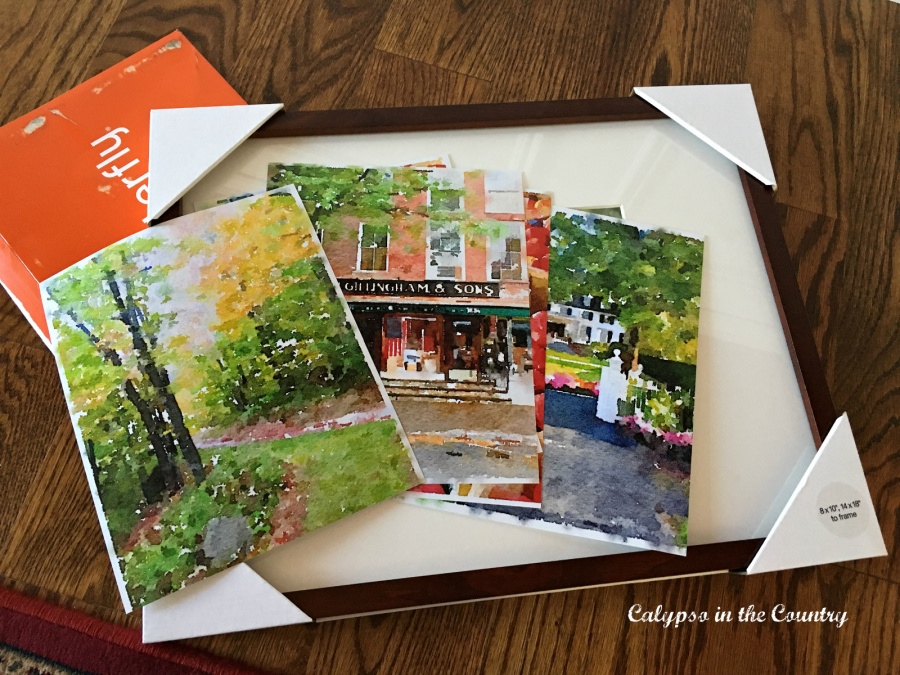
We spend a lot of time in Vermont, so I decided to use that as my theme for the “artwork”. I have taken some great photos over the years and even had some from our recent fall trip up there.
Anyway, I ordered the Waterlogue photos in 8 x 10’s and then put them in the frames.
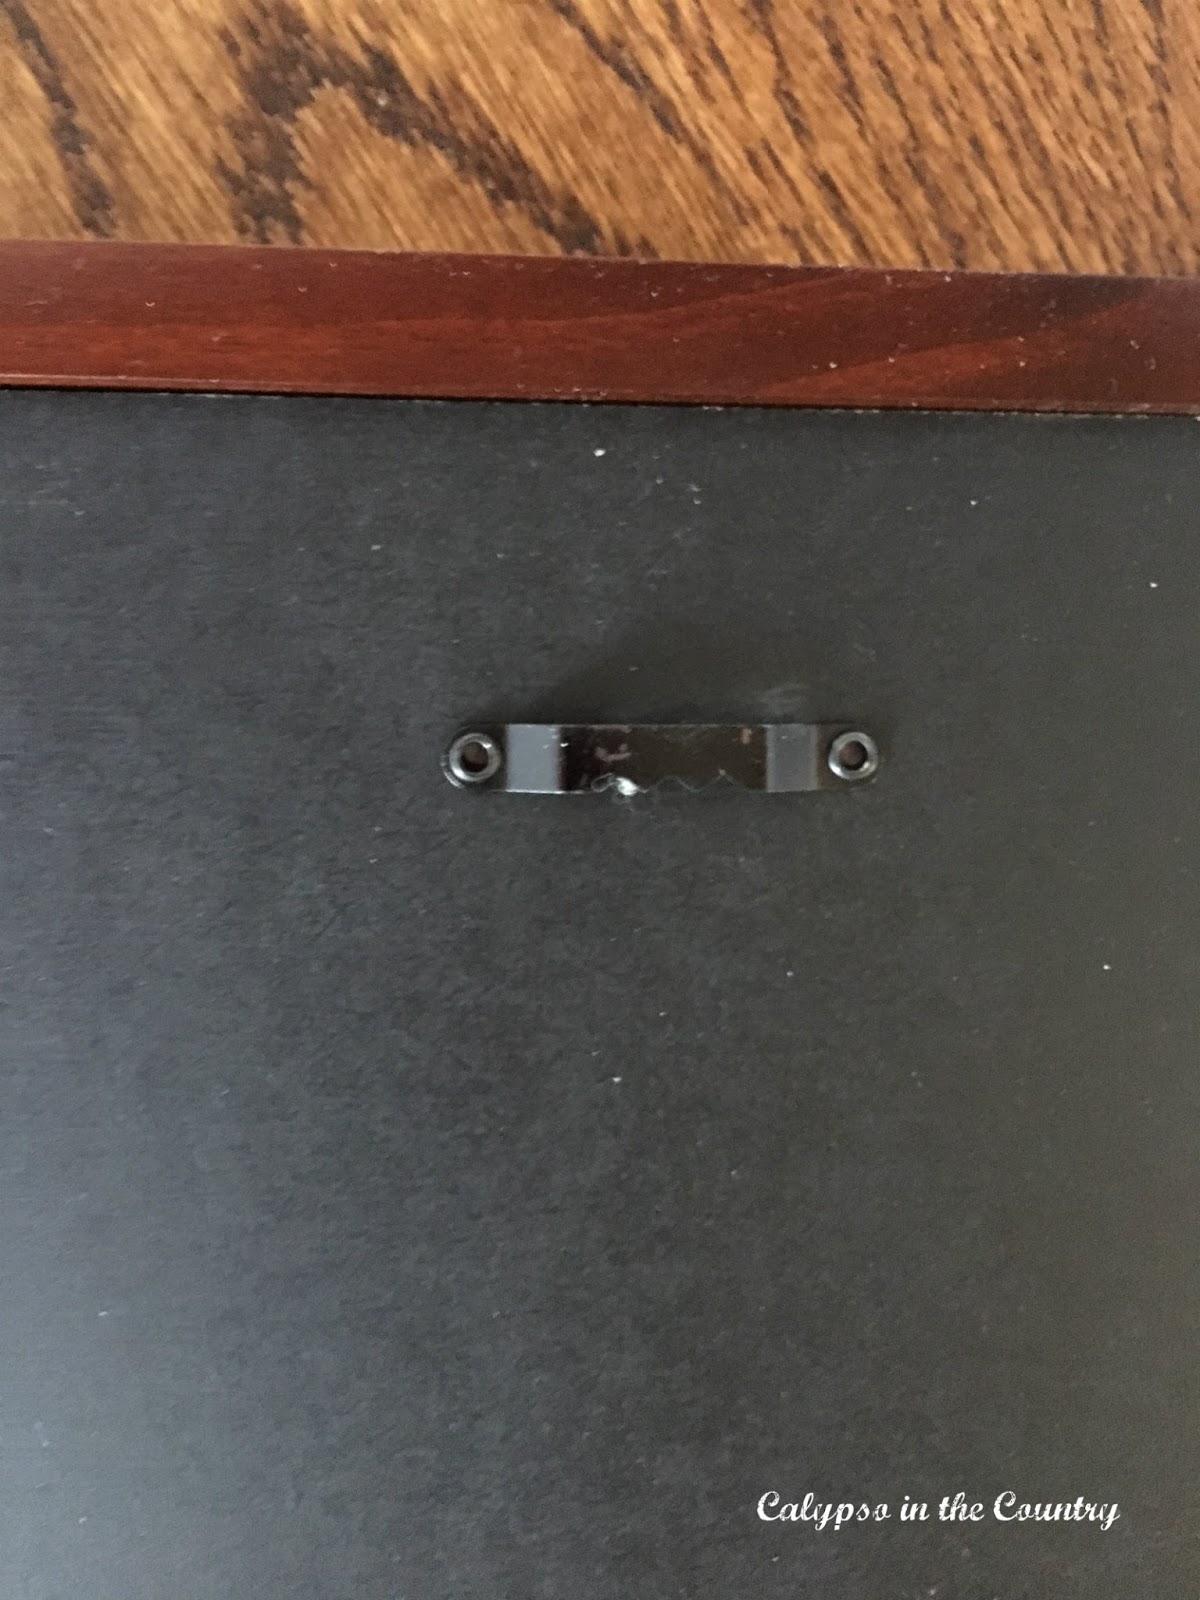
Usually, I buy Target frames because they have the little saw-tooth hook on the back.
For frames, I’ve always preferred that type so much better than the ones with hard-to-line-up little round hooks. Although, I have seen people add picture wire to them, so I really should try them again one of these days.
Anyway, I quickly popped the pictures into the frames and they were ready to hang.
In the photo above, you can see one of my favorite photos of my husband with our boys when they were little. Looking back, it was such a nice Vermont memory!
Hanging the Artwork:
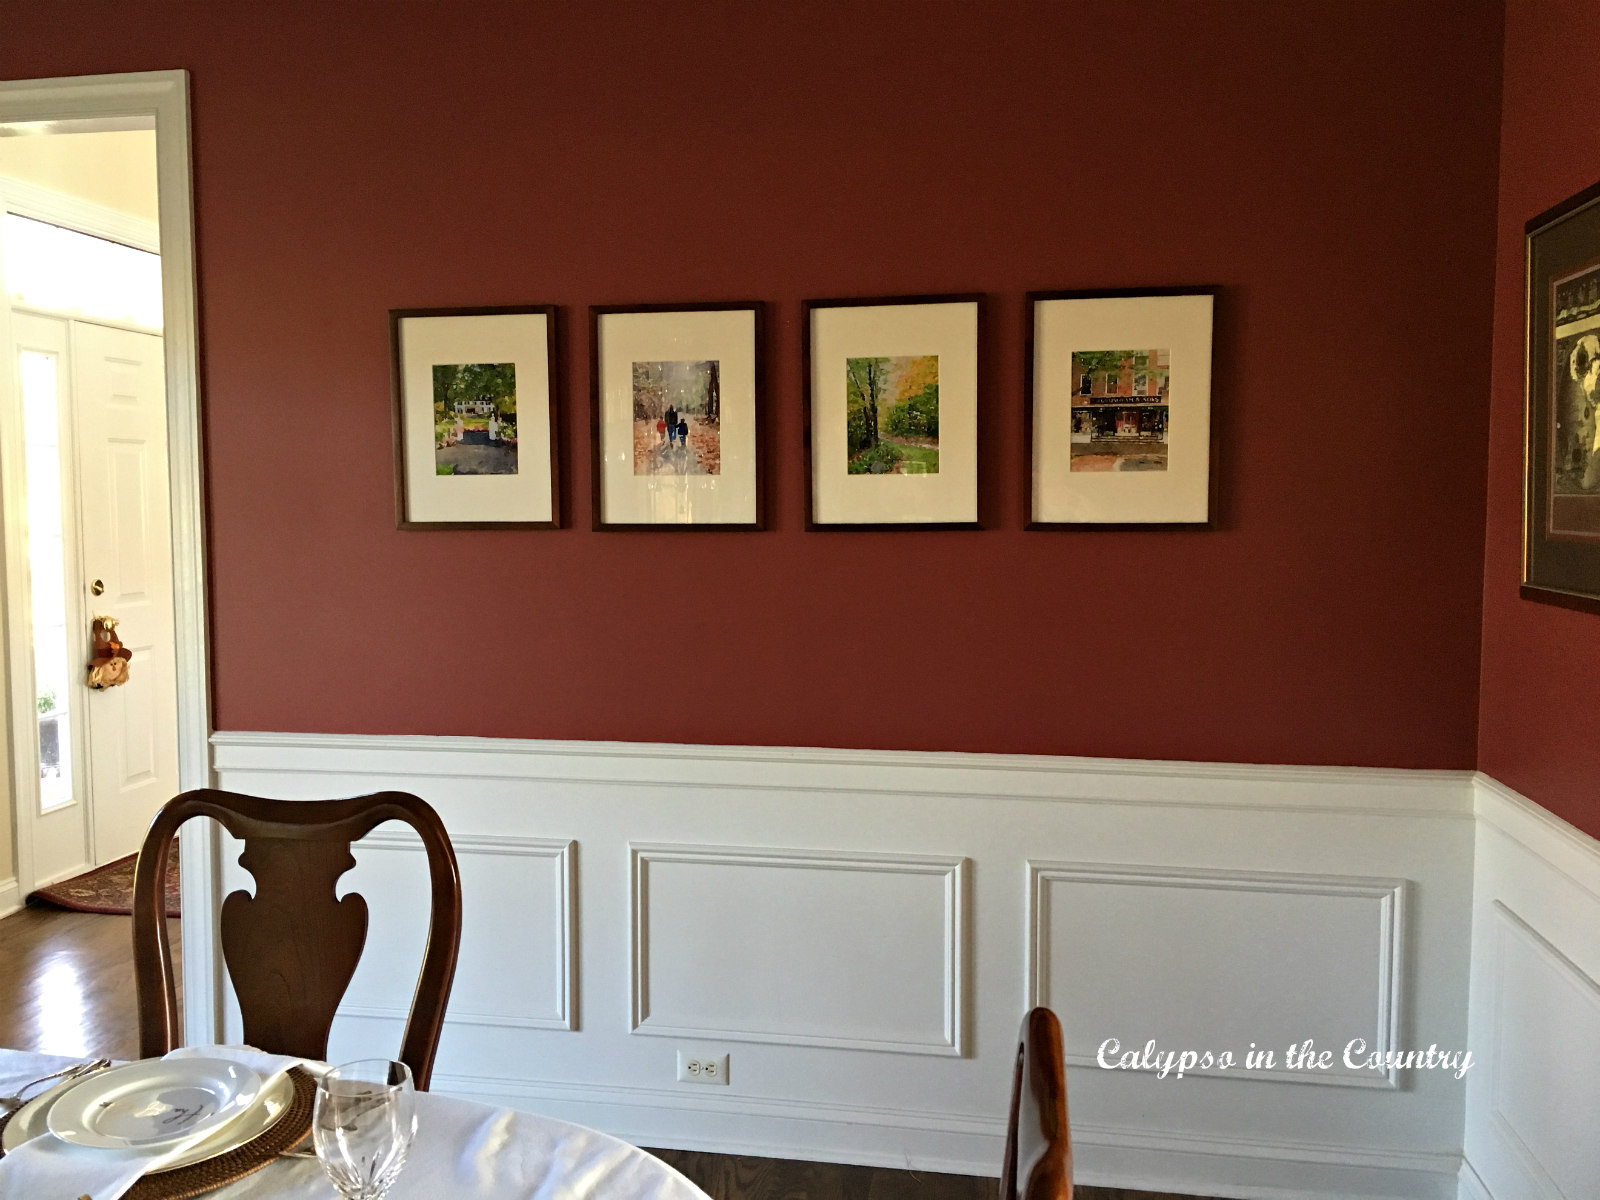
Once the frames were filled, I began the dreaded measuring chore.
After I made a few MORE unnecessary holes in the walls, the new artwork was up! (Wait, did I say this was an easy decorating tip?!! – Ha!)
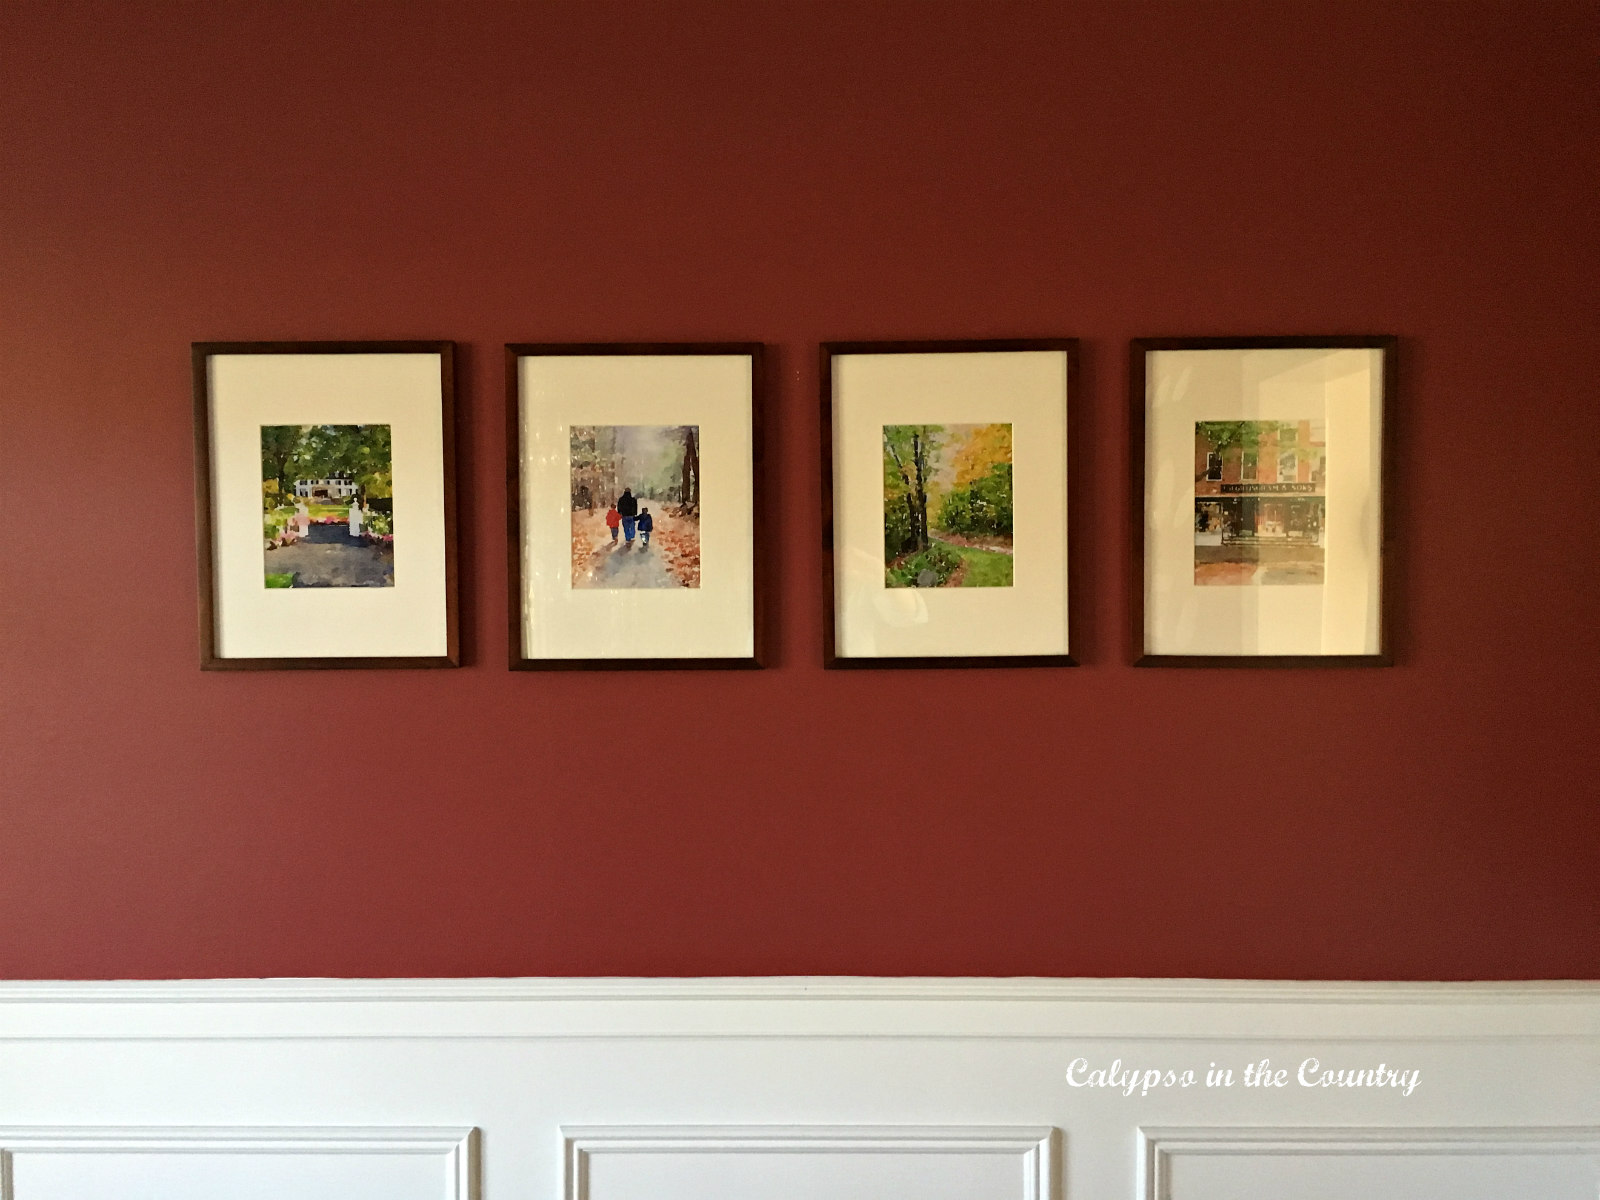
Sure, I probably should have done two rows but overall I was happy with the outcome!
Ta-da – the Wall is finished!
As I look at the empty spot below the photos, it reminds me to keep my eyes open for a buffet or something. Well, at least the wall above isn’t blank anymore. Plus, I managed to cover up almost all the visible nail holes too!
When I finally do have the room painted, I can decide whether the “artwork” will stay here or move somewhere else.
Either way, my “artwork” solution was a cheap and easy way to fill the space!
**Update: We finally changed the wall paint color from red to navy!
To see how it turned out, click over to One Room Challenge – Navy Dining Room Reveal!
Do you start new decorating projects before company comes?
Follow along so you don’t miss a post!
Subscribe by email – HERE
Pinterest/ Instagram / Facebook / Twitter






I like those very much. You should do an entire gallery wall. More is more!
It really looks beautiful.
Beautiful!!!
What a clever idea! I LOVE it. Just sent your link to my girls. Have a wonderful week, Shelley!
I love this idea and yes, I'm one of those who rushes around and tries to get everything ready until the last minute. Wine always helps hahaha By the way your blog looks wonderful!xoLeslie
Love this idea and I second Ron's words, you should do an entire gallery wall! Those pictures are so pretty!
That is just lovely! I like the dark red wall, my guest room has that color, LOL!!
Shelley, that's such a great way to add something personal and beautiful!
Looks great! Our walls are fairly bare…after 16 years!