Slipcover Dye Project – How to Dye a Slipcovered Headboard
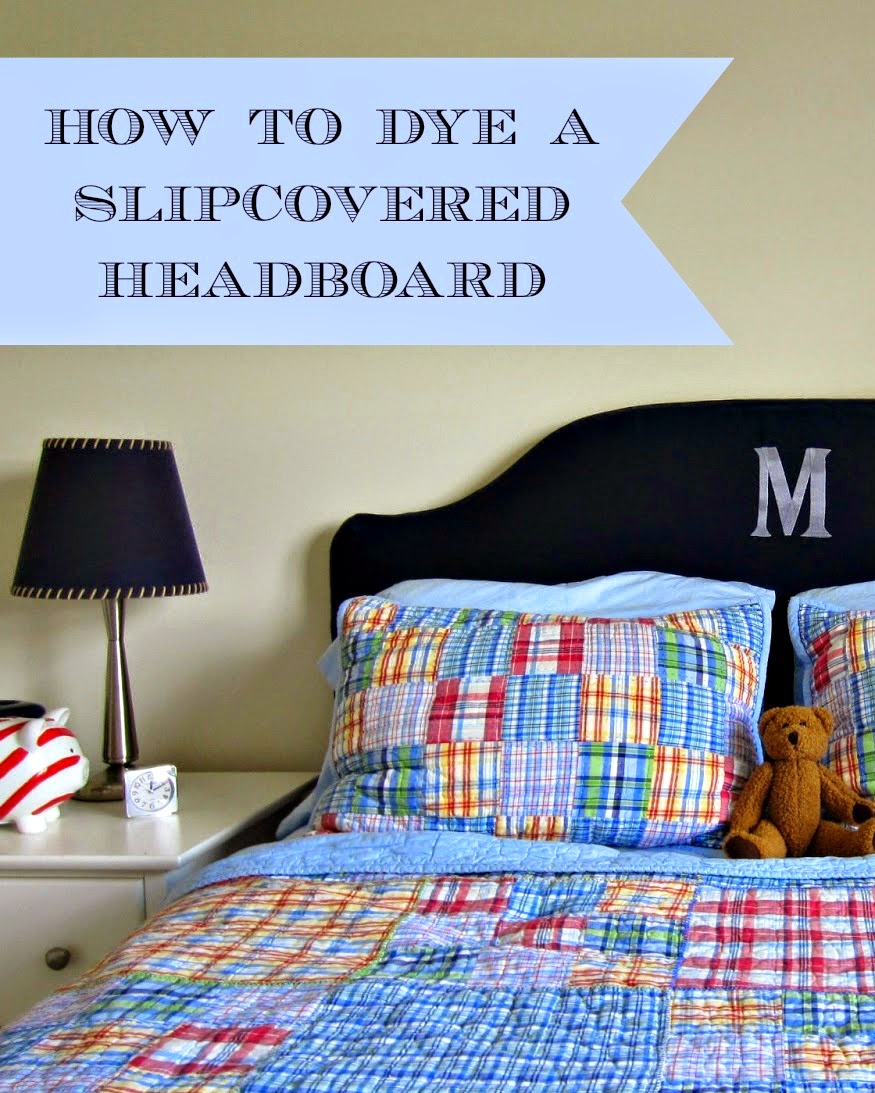
Do you ever have a decorating idea but can’t find the exact item you want in the store? Sometimes, you just have to create the look you want yourself. Today, I’ll share my tips on how to dye a slipcovered headboard!
*For your convenience, please note that this post contains affiliate links. If you make a purchase after clicking my links below, I will receive a small commission (at no additional cost to you).
For awhile, I’ve been headboard shopping for my five year old. Since little kids do a lot of jumping on their beds, I thought a padded headboard was the way to go. (I’d pad the whole room if I could – haha). Because he inherited the queen bed from the guest room, I had to come up with something that wasn’t too grown up looking.
(Camden Headboard Ballard Designs)
After I considered building my own, (I can hear my husband still laughing)…I discovered Ballard Designs was having a sale on their padded Camden Headboards. Yay! They come in light colors like white, off white…but I knew I wanted navy. Then I noticed they now make custom slipcovers…PERFECT!
So I ordered the headboard right away but waited to order the slipcover while deciding on the fabric. The headboard came, my husband set it up and then I went online to order the slipcover. At that point I discovered that the standard slipcover which comes in White, Off White and Super White would cost $69.00 but the CUSTOM slipcover (which I wanted in Navy) would cost $219.00 plus shipping!!! A bit of a difference there! So then I got the bright idea that I would buy the $69.00 slipcover (and use a 15% coupon I found in Southern Living Magazine) and dye it navy. Of course the only thing I have ever dyed in my life were Keds sneakers back in high school when I wanted other colors besides white…
To complicate things more, when going online to order the slipcover, I discovered that the Queen size in white would not be shipped until December!!! I cannot wait till December if I am on a roll! Once I decide to do something, it must be done IMMEDIATELY! If I wait till December I will lose momentum and may be moving on to another project by then! So I ordered the Off White color even though a comment on Ballard’s sight said the Off White was yellowish. I remembered reading on one of my favorite blogs, Young House Love, how they dyed the slipcovers for their dining room chairs green, didn’t like the color and then re-dyed them brown. I thought, well if they came out ok, then I think the navy dye will cover up any yellowish fabric on my slipcover…So I ordered the slipcover, bought the navy dye and crossed my fingers…
I waited until Mr. Calypso went on a business trip because I would hate for him to come walking in while I was up to my elbows in navy blue dye. Plus, I needed time to wipe down the washing machine, run it through with bleach and hold my breath hoping the machine wouldn’t be destroyed. I started having visions of myself explaining to Mr. C. how I saved almost $200 on a slipcover but we would have to spend $1000 on a new washer…
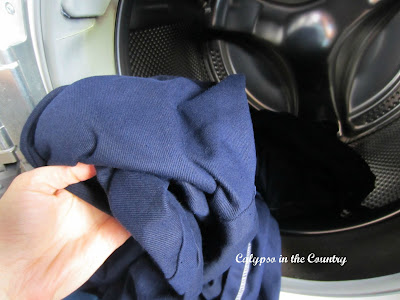
Anyway, I read the directions about 10 times on both the package and their website and even posted a question on Young House Love to get some reassurance that the washer wouldn’t be stained blue forever. Sherry assured me they didn’t have a problem but I was still nervous. I followed the directions for the front loader which consisted of wetting down the slipcover, dissolving the dye into hot water, dissolving a cup of salt in hot water and then pouring them both into the washer. I then threw in the slipcover and set the machine for the hottest setting. This made me nervous because the slipcover is 100% cotton and I kept picturing the thing shrinking down to fit doll-sized furniture.
I kept recalling the episode on Seinfeld where George was working for the Yankees and decided they needed cotton uniforms to be more comfortable but they ended up shrinking after they were washed….
Announcer: “What is with the Yankees? They look like they’re having trouble running, they can’t move!”…
2nd Announcer: “It’s their uniforms, they’re too tight, they’ve shrunk!”)
Then I thought of the other “shrinkage” episode – but in that case, cold water caused the shrinkage…poor George…
Anyway, I tried to do housework and read some blogs but I must have gone into that laundry room 15 times to make sure blue dye wasn’t leaking out or discoloring the rim. Once the cycle was over I was pleasantly surprised to see that the slipcover was completely and perfectly dyed!
I had ordered it with a monogram and just assumed it would turn navy too but was thrilled to see that it stayed white! (Well it had a little tint to it but nothing major!). The inside of the washer was clean too! The rim just needed a quick wipe down. Then I stuck the slipcover in the dryer with no heat and then took it out and hung it to continue drying. The last step would be to slide the cover onto the headboard and hope it the hot water didn’t shrink it…
So this morning, I held my breath again and brought the slipcover up to his room.
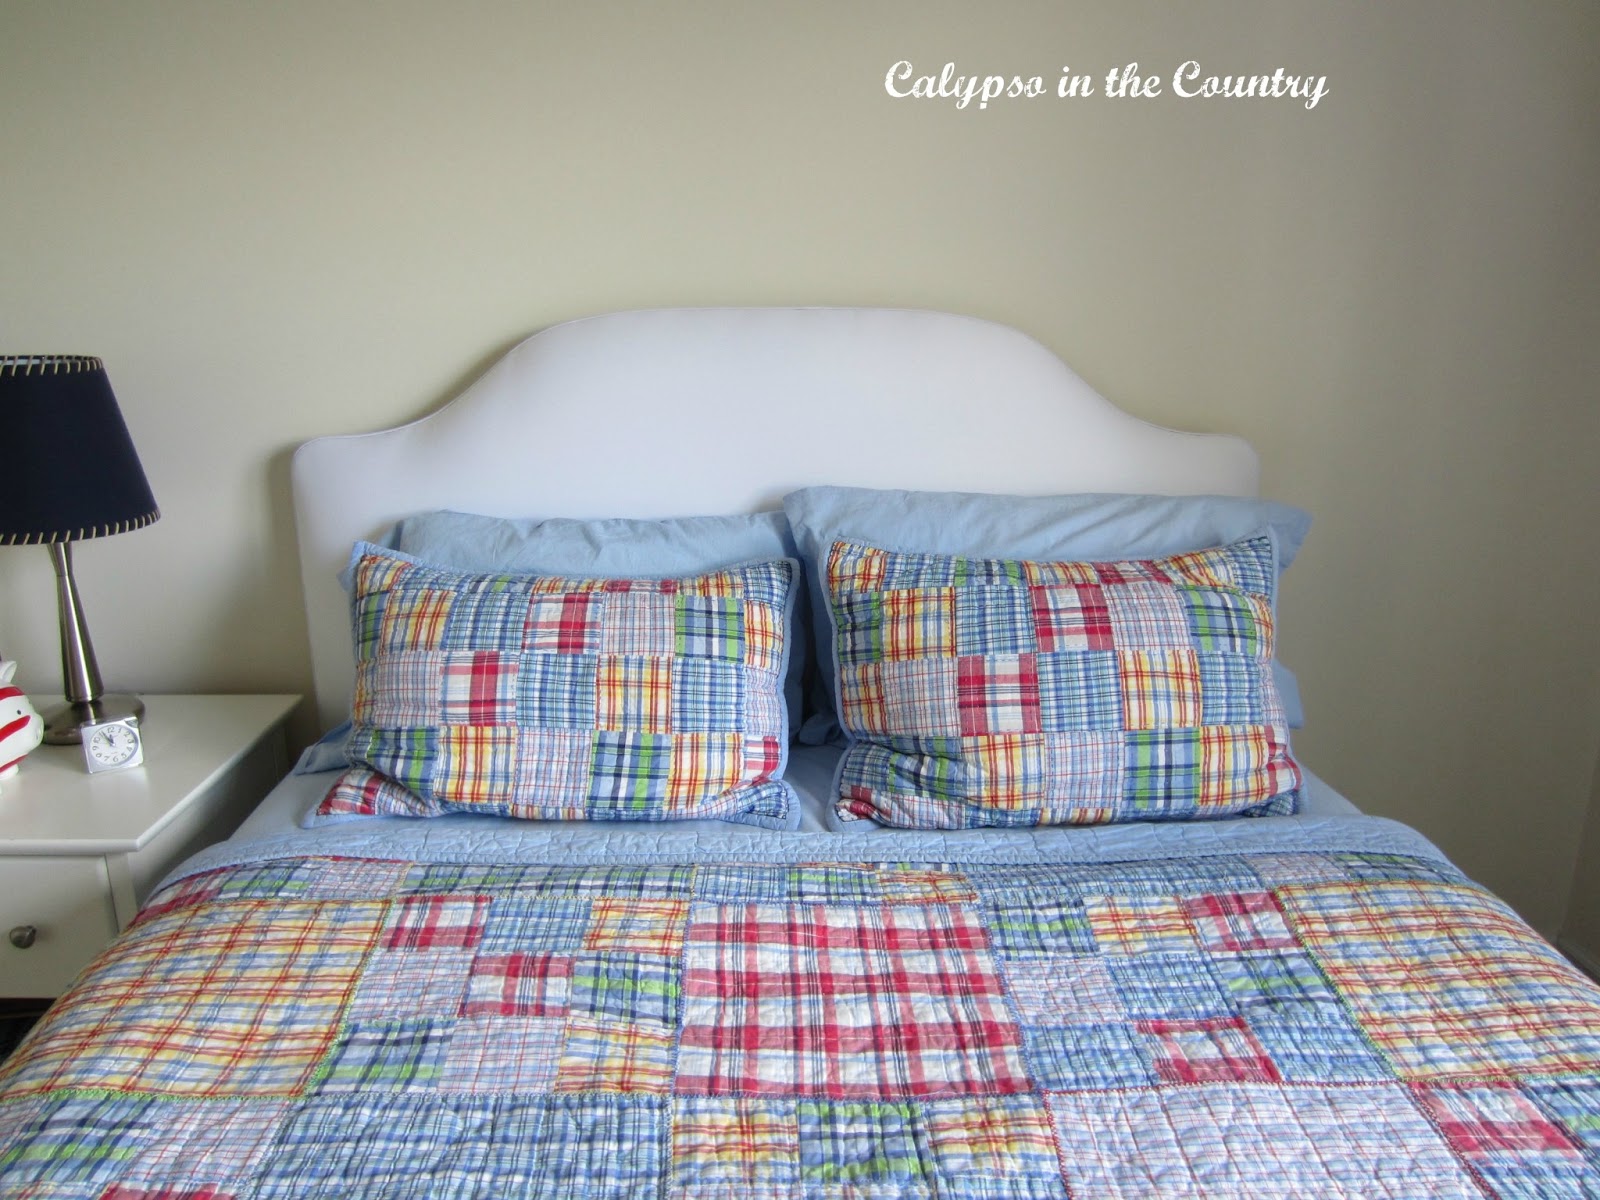
Here is the before shot of his bed.
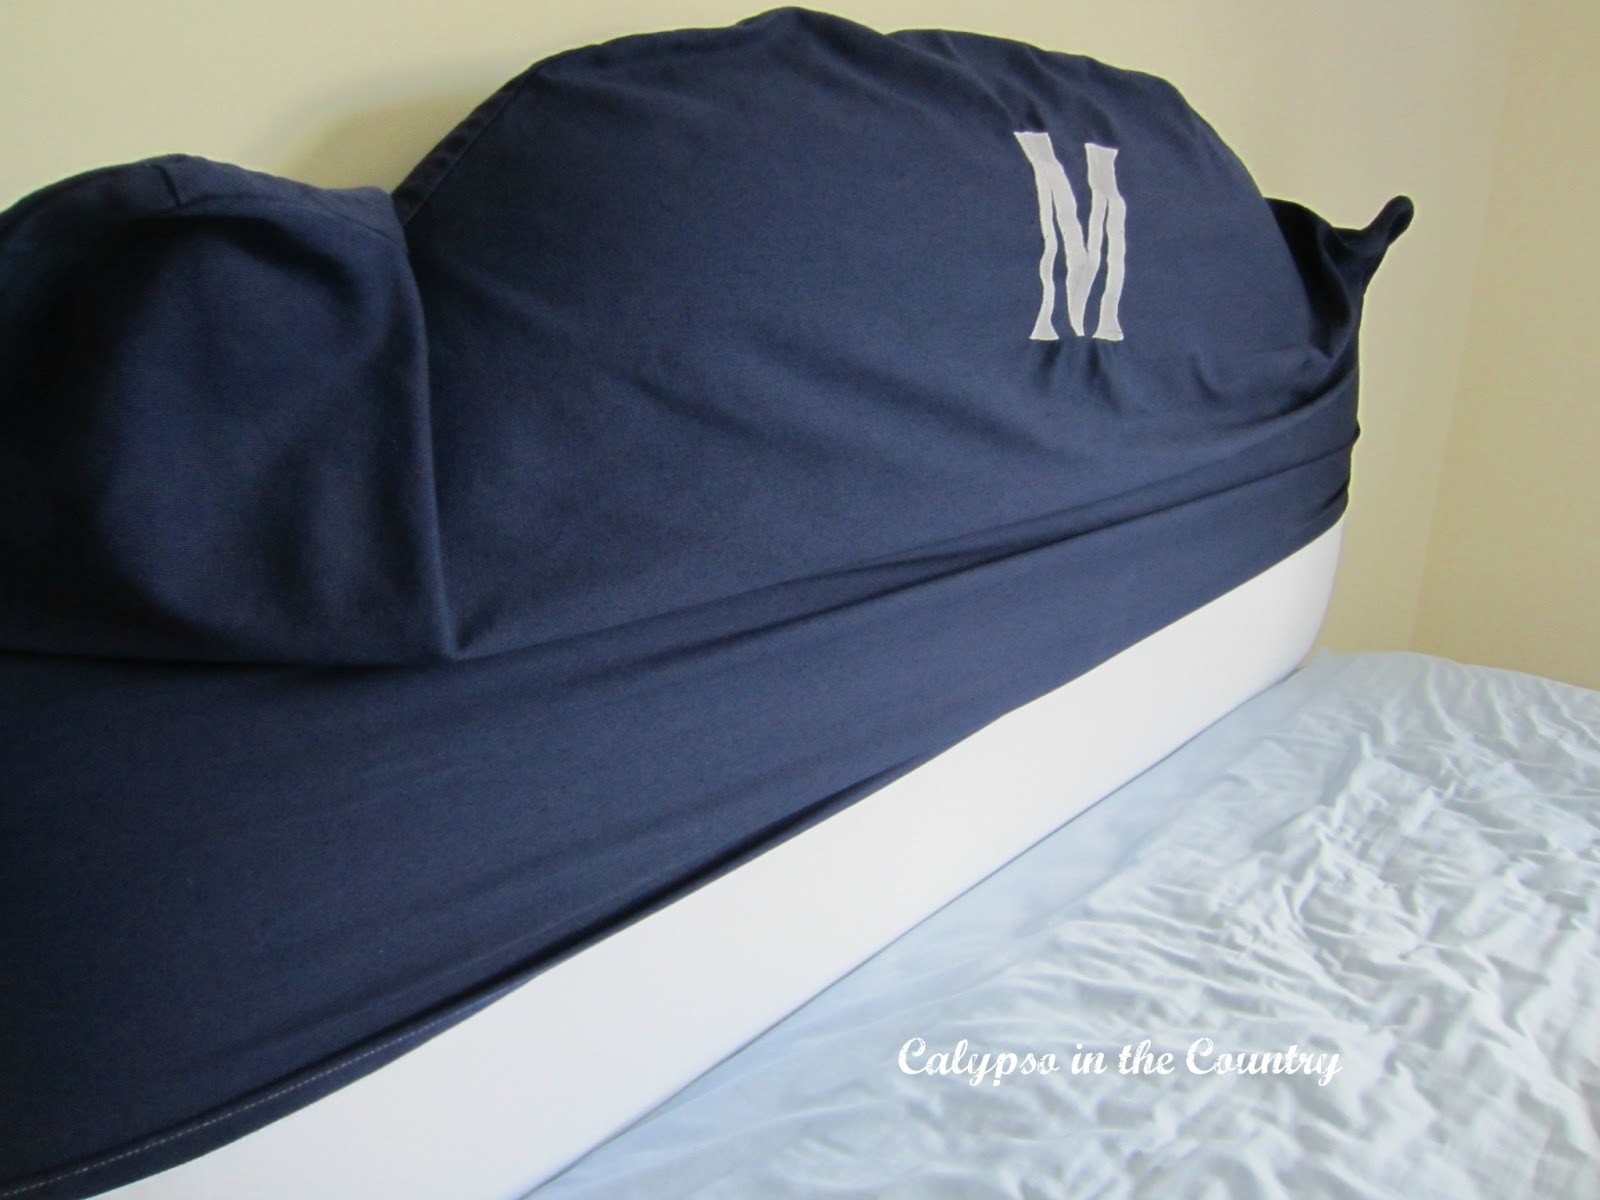
I then discovered “shrinkage” was definitely a problem!
I pulled and pulled until my fingers were red.
But I finally got the thing on!
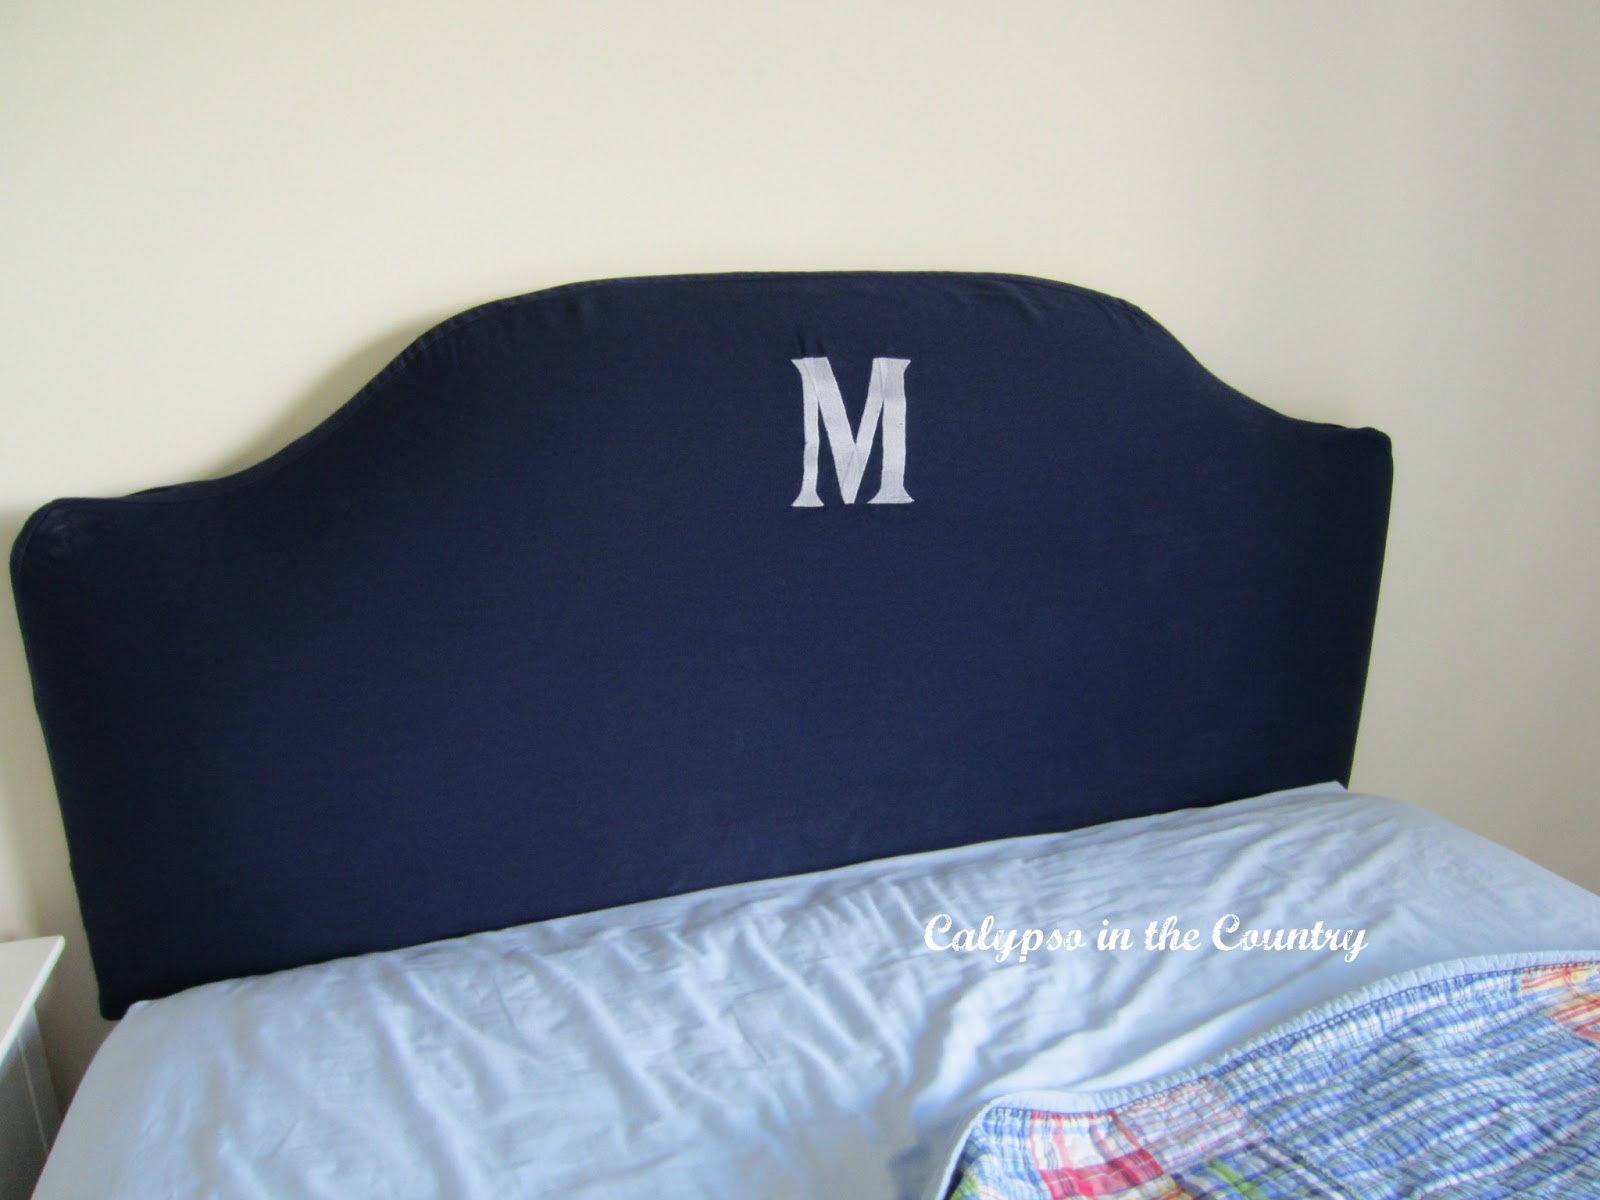
Ta da!!
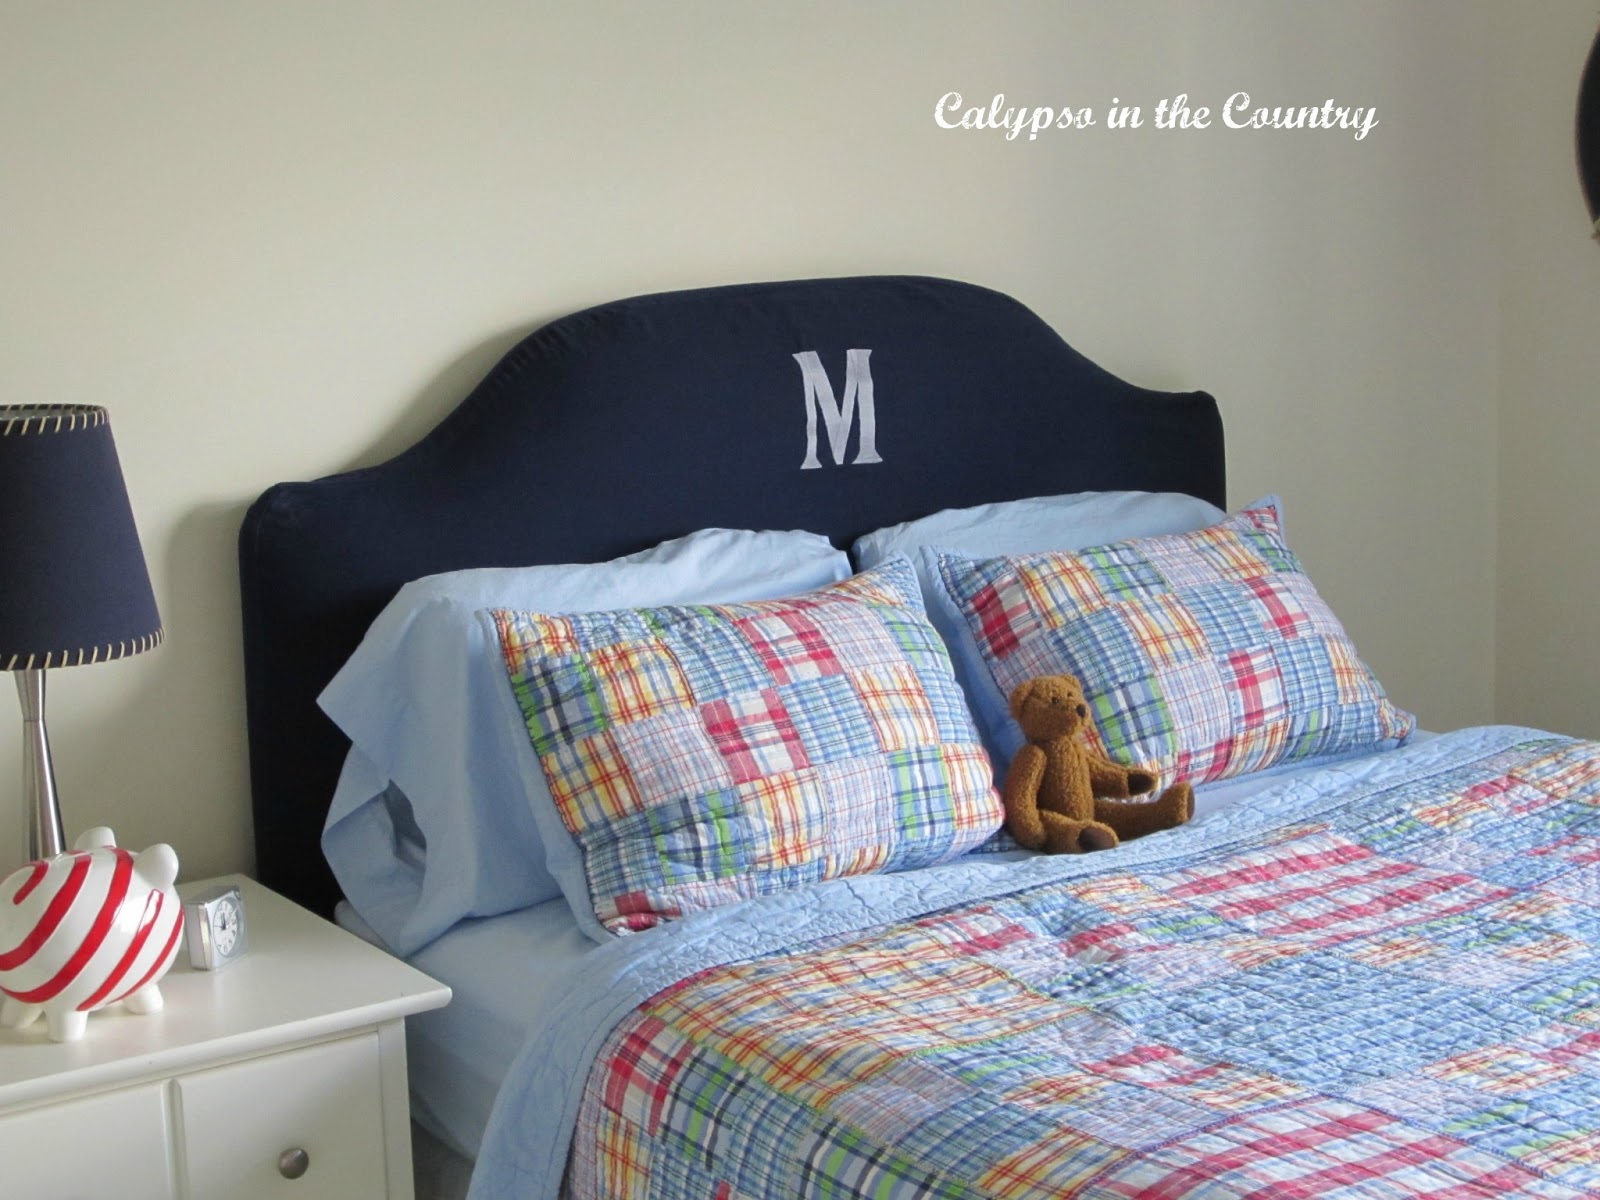
The kid has a headboard!
Once again…
BEFORE:
And…
AFTER:
Now I am looking for a bed skirt in white so I can dye it to match!
I have turned into a dye-ing fool!
Have you ever dyed fabric in your washing machine?
Follow along so you don’t miss a post!
Subscribe by email – HERE
Pinterest/ Instagram / Facebook / Twitter




I havn't dyed anything in so many years I can't even remember. Your slipcover turned out fabulous. I love it. It looks wonderful on the bed. Hugs, Marty
Wow….that is so great!!! Makes the whole bed so comfy looking. You did an amazing job!!!Joni
Thank you so much for being a part of Tales from Bloggeritaville’s Thrifty Thursday! I just LOVED your project and am featuring it in my Friday Flashback! I sincerely appreciate you linking up. It’s not a party without guest! Thank you!I hope you will accept and display the Tales from Bloggeritaville feature button on your blog. YOu can find it on the Friday Flashback Post. It’s my way of saying “Thank YOU!”Live*Love*Laugh,LeighTales from Bloggeritavillewww.lbratina.blogspot.com
Wow! Great idea – it has such an impact on the room.
Such a great project – I love anything with a monogram! I also only like slipcovers if they are super super tight, so that works for you! Navy looks perfect – awesome!
You are brave! I haven't had that good of luck with dye projects but I have not dyed anything in years…they probably have improved the products by now. I love the addition of the Seinfeld "shrinkage" stories! The shrinkage on George himself is in our family lexicon. I saw your post over at Leigh's "Thrifty Thursday".
That slipcover is so clever! Fabric headboars tend to get dirty and this can be washed (as long as you set the dye with a vinegar soak first).I host a party on Wednesdays that is a showcase for bloggers with less than 500 followers…. and I would like to invite you! (the linky is open now)xoxo BunnyJean @ BunnyJean's Decor and More!www.BunnyJeansDecorAndMore.blogspot.comI am # 141 in the Met Monday party.
Now how perfect it THAT?! The Navy is PERFECT and the fit can't be beat!I see you like YOUNG HOUSE LOVE's blog too! Isn't John a hoot?! LOL:)Visiting from Bunny Jean's Linky Party (Bunny Hop)~Suzanne in IL
I cam back to say thanks for joining my party. Hope to see you next week.I am also following you.xoxo BunnyJean @ BunnyJean's Decor and More!www.BunnyJeansDecorAndMore.blogspot.com
How cute. I love the bedding. Been a while since I have popped over. You can still join the newbie party if you like.
Hi! Just discovered your blog from Dixie Delights. This looks amazing! It turned out so well 🙂