How to Paint a Beadboard Ceiling – Helpful Tips
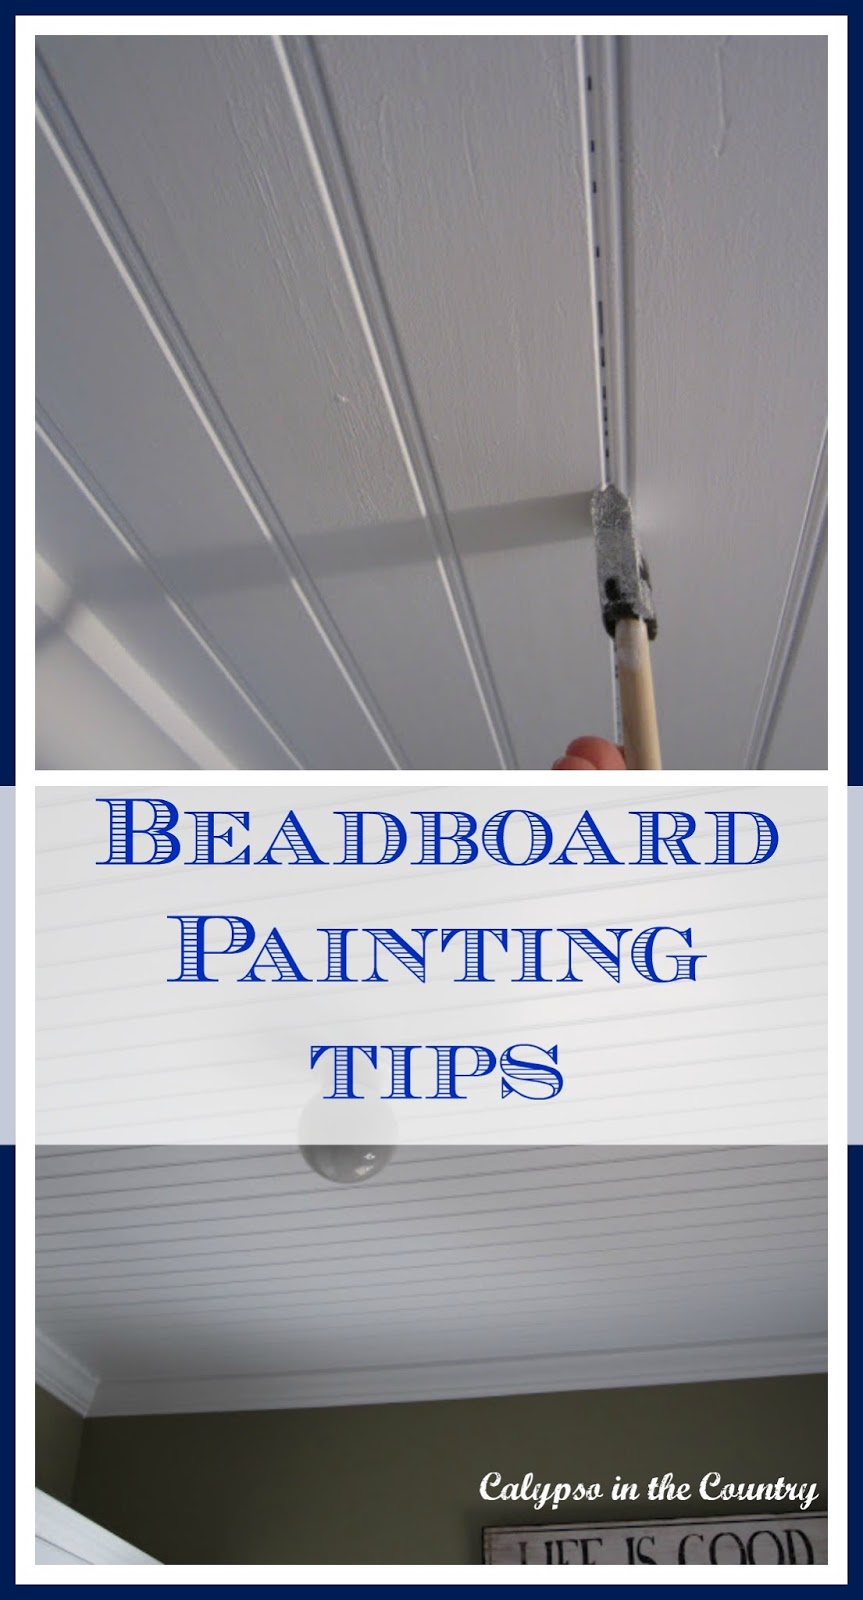
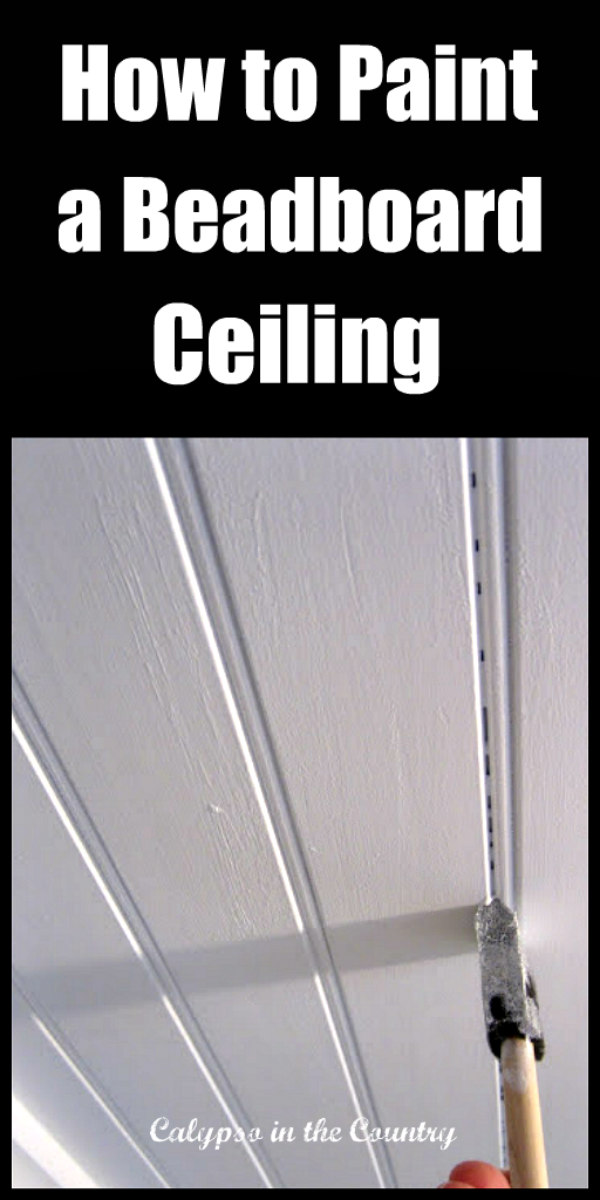
Last week, our contractor installed a beadboard ceiling in our laundry room. From there, I tackled the job of painting the beadboard. Today, I’ll share my tips to paint a beadboard ceiling and let you know what I learned along the way…
Tips to Paint a Beadboad Ceiling:
Buy a beadboard that has already been primed:
If you can skip the priming stage, why not? Do you really want a sore neck from looking up to paint the beadboard? Just don’t get tempted to leave the primed beadboard the way it is without painting (like I almost did). Keep your momentum going and finish the project!
Choose your paint color for the beadboard:
What color should you paint beadboard? Although I love the look of a light blue painted beadboard for porches, I had always planned to go white for this project. For my laundry room ceiling, I used Benjamin Moore Decorator’s White in the semi gloss. Normally, I use a flat white paint for my ceilings but I wanted our beadboard ceiling to be the same color and sheen as my moldings. In my opinion, beadboard looks better in a semi gloss.
Start with the grooves:
First, I took a brush and painted down the grooves of two or three rows at a time. Then I quickly used a small roller brush down those same rows to the end. I kept doing this a few rows at a time until I was finished. (I forgot to take pictures of this step!) My neck was too sore to think of photographing!
I didn’t even attempt to tackle the crown molding at this point.
Touch up the beadboard grooves with an angled sponge brush:
Once the beadboard ceiling dried, I noticed there were many rows where the paint didn’t fill in the grooves completely.
My local (and very helpful) Benjamin Moore dealer suggested I take a small angled sponge brush and fill in the gaps, then take a damp cloth and quickly wipe along the flat part so there wouldn’t be any uneven streaks.
This step was time consuming too, but ended up working out well. Then I went back and painted the molding.
Evaluate the rest of the room:
Once I was finished painting the beadboard ceiling, it was more obvious how the walls needed some touch ups here and there… So, I ended up painting the whole room over!
For the walls, I painted with the same color again (Providence Olive) because I had enough leftover paint from last time I painted.
Luckily, I was able to just bring the paint can to my paint guy and he mixed it up for me. Thankfully, it was as good as new and now the painting job is complete!
Caulk where needed:
Get up close to look at the edges and caulk where needed. Even though you could probably get away with a more rustic cottage look, I wanted my beadboard to look more fresh and finished so I took this extra step.
It ended up being a good move to have the boards running the width of the room. This way, when you are looking in from the doorway, you see a clean, smooth seam where the beadboard meets the molding.
Overall, I am happy with how the beadboard turned out. This new “statement ceiling” really adds so much character to my laundry room!
Hopefully, the tips I learned along the way will help you if you decide to paint a beadboard ceiling in your home.
If you’d like to see the before pictures of this room along with my reasons for running the boards in this direction, read: Beadboard Ceiling.
Have you ever attempted to paint a beadboard ceiling?

Follow along so you don’t miss a post!
Subscribe by email – HERE
Pinterest/ Instagram / Facebook / Twitter



Oh, I feel your pain. I painted the ceiling in the sun room twice and it does kill the neck. I need to paint my kitchen ceiling, but can't bring myself to do it. May have to hire for that one.
Congrats, I saw your feature on Uncommon Slice of Suburbia! It looks fabulous, worth every ache! 🙂
I painted beadboard before only on the walls and I used a brush only. It takes quite a while to do everything but the end result was great! Love the finished look of your ceiling!
Wow! That sounds like a lot of work! You did a fabulous job. Love the bead board ceiling!
Oooh I love it!! It really looks great. The previous owner of our home installed beadboard on the ceiling of one of our guest bedrooms… it is seriously so cute. Great job! PS. Painting ceilings is NO fun so kudos to you! xo
I would be happy too! It looks awesome! I wish we had a good spot for a beadboard ceiling. I just love how they look.
Looks fabulous! Hope you are having a great week!…hugs…Debbie
I lo.o.o.o.ve the beadboard ceiling! So much character and soooo much better than my textured ceilings! You must be so fired up. Your laundry room is fab, Shelley!
I LOVE breadboard ceilings! I'd love to do our kitchen ceiling with it. Maybe some day…far, far away. My husband refuses to retire, knowing I'd turn him into my personal, full-time handy man!
Awesome job! Thanks for the tips!!(and thanks for visiting me, too!!)xox
I've been looking to do bead boarding in our sunroom. I'll keep your tips in mind when I have to paint it. Thanks for sharing.
Wow I love how the beadboard looks on the ceiling.. talk about time consuming.. You must have had such a neck ache when you were done.. I LOVE the color of your walls!. Thanks for sharing the photos.. I think I'm going to look around my home and see where I can use that Providence Olive I really really like it.. Robyn
Your ceiling looks great, Shelley. I can imagine how hard that must have been to paint. It looks like you are a very neat painter. I don't see any olive color on the white which I probably would have done. Take care.—— Shannon
The beadboard ceiling looks great!! Love that it gives it a beachy vibe! 🙂
I have a large beadboard ceiling I've putting off painting. I know how much work it will be! You laundry room looks great. ~ Maureen
Awesome! Love beadboard on the ceiling. Thanks for linking up at the PoPP Party @ Domestically Speaking. Your project is being featured in the Spotlight this weekend.
We used a sponge roller recommended by the men at Sherwin Williams. We use duration paint from there. It is hard and requires some muscle. I think I like your method better. Your ceiling looks great.
Thanks everyone! I am happy to be done with the painting!
Paint it before you install it horizontal on the ground. Then all you have to do is touch up
Hello,
You did a great job with your breadboard—thanks for the great tips! Quick question: If you will, please tell me the brand and and colour name of paint (paint finish too) that you used as your wall colour—it’s exactly the colour I want to use.
Thanks!
Chris B
Montreal, Canada
Thanks so much, Chris! The wall paint in these photos is Benjamin Moore – Providence Olive (flat or matte finish I think) and the ceiling is Benjamin Moore – Decorators White in a semi gloss. Hope that helps!
Great! Thanks for your speedy response! I’ll pick up a small test sample this weekend. 👍🏻
Great! Glad I could help!