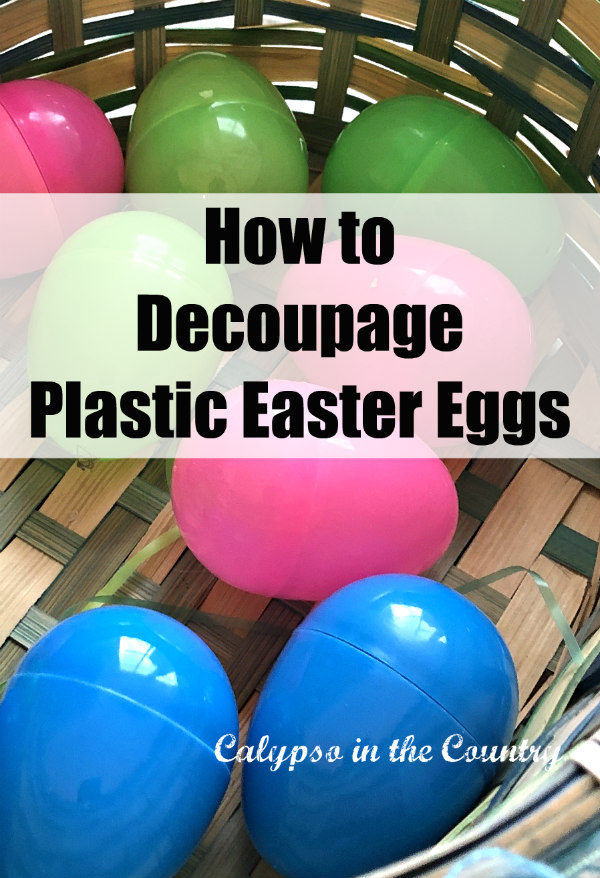
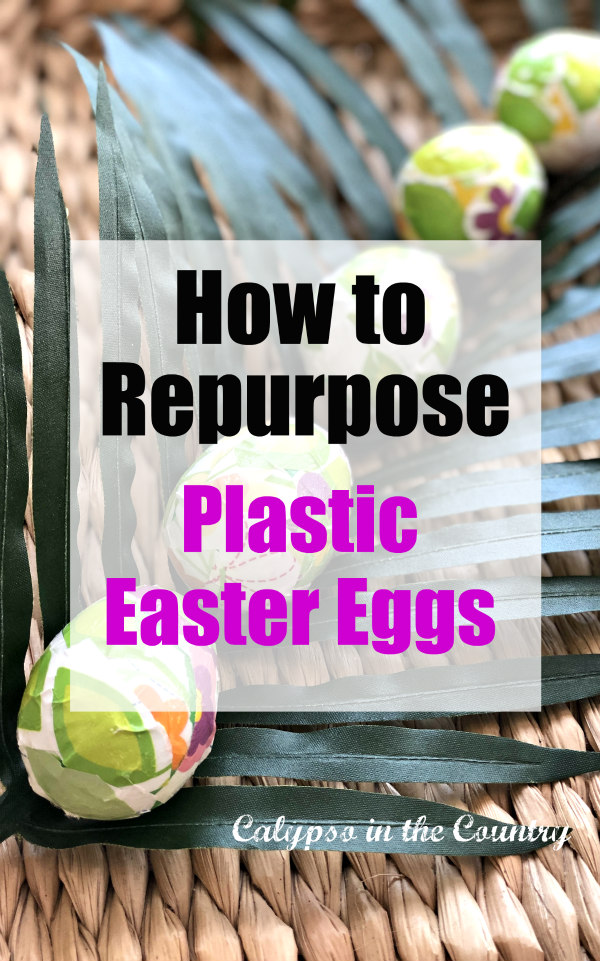
How to Decoupage Your Plastic Easter Eggs (Easy DIY)
Do you have hundreds of those cheap plastic Easter eggs packed away somewhere? If you’re like me, you’ve used them for your Easter morning egg hunts but that’s about it. This year, why not try decorating your plastic eggs? Yesterday, I experimented a little and I came up with some ways to decoupage plastic eggs. Today, I’ll show you what technique worked best for me…
How to Decoupage Plastic Easter Eggs:
*Please note that this post contains affiliate links. If you make a purchase after clicking my links below, I will receive a small commission (at no additional cost to you).
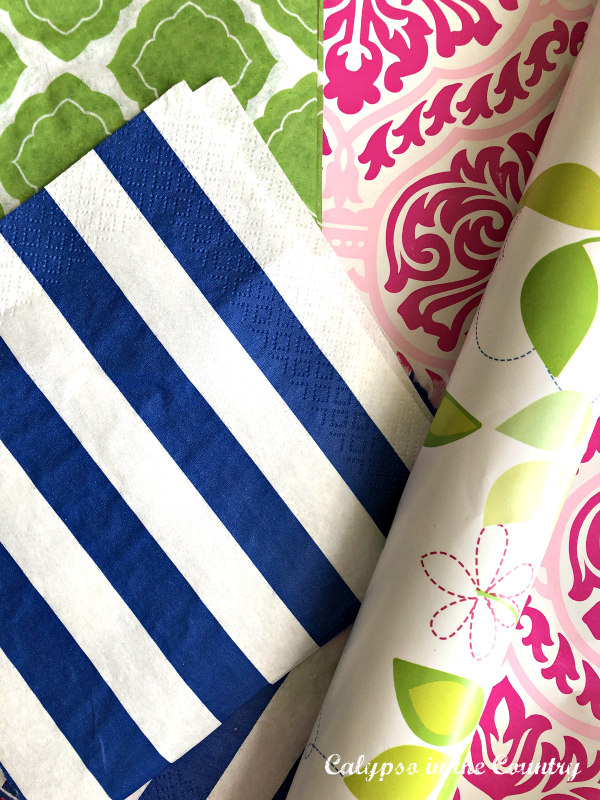
Napkins and Wrapping Paper to Decoupage Plastic Eggs:
Since we’re stuck home these days, I had to dig around the house to come up with some supplies. I’ve seen people use napkins to decoupage Easter eggs so I pulled out some blue and white ones from my stash. That gave me the idea to look for some tissue paper and even some wrapping paper. In the past, I have used wrapping paper for holiday decorating so why not give it at try on the eggs!
Luckily, I happened to have some Mod Podge in one of my craft bins along with plenty of foam brushes. From what I have seen on Pinterest, that’s about all I needed for the project…besides the eggs!
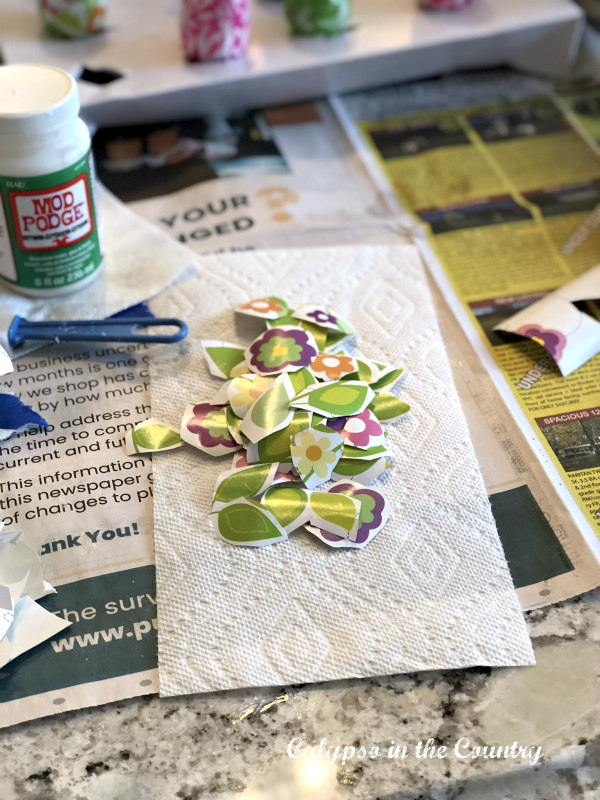
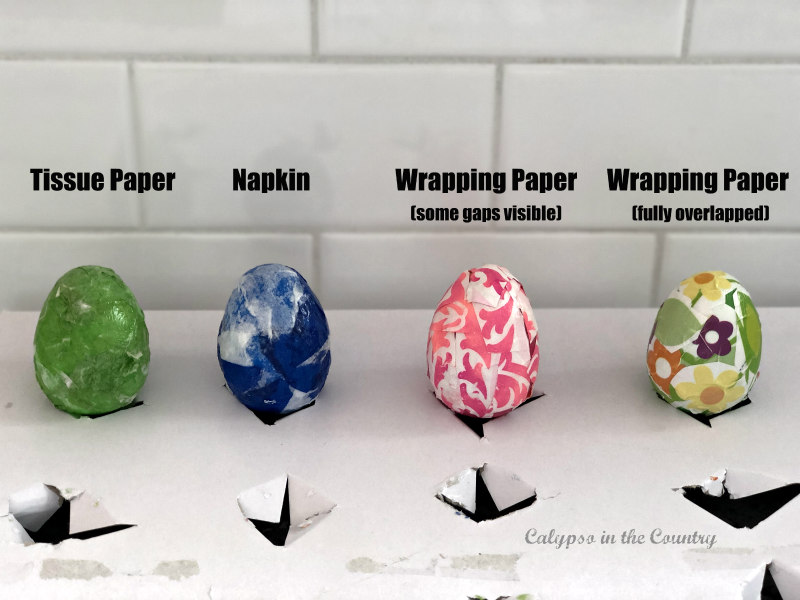
For my first decoupage attempt, I ripped up some napkins and tissue paper:
Then I brushed the Mod Podge onto the eggs and placed the pieces of paper on top. From there I brushed more Mod Podge over to saturate the paper. It was a messy job (which is why I don’t have any “action shots” to show you!) Here is how those eggs turned out…
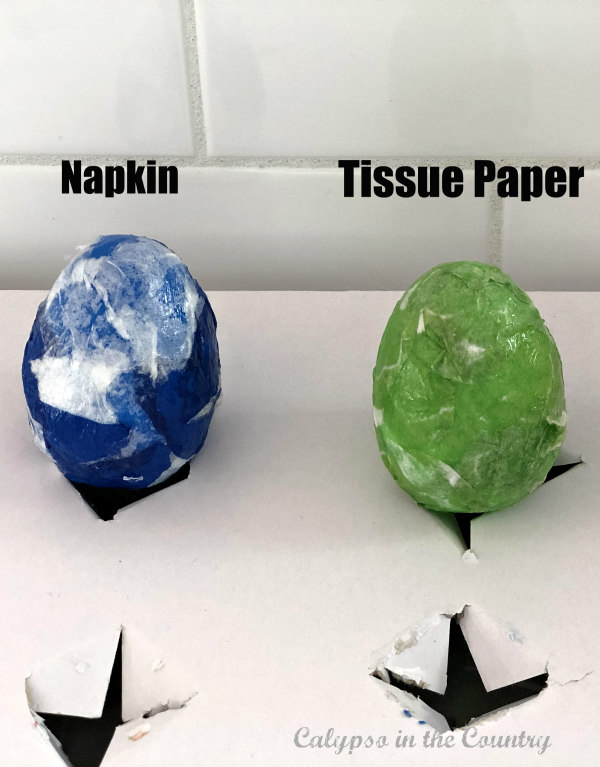
Umm…this wasn’t exactly what I had imagined!
Apparently, for most of the “successful” napkin and egg decoupage projects, people were using real eggs or craft eggs. Of course, I was using plastic eggs which I guess are a little slippery. As I brushed on the Mod Podge, the paper slid around and bunched up. That’s why my eggs ended up all lumpy and messy…an obvious “Pinterest fail”.
Then I decided to try the wrapping paper on the eggs:
First, I used the pink and white paper because it was thicker than the other – and I love pink. This time instead of ripping the paper, I cut small pieces to preserve the pattern. Once again, I brushed the egg with Mod Podge, placed the pieces of paper over the egg and then brushed over the top of the paper.
This attempt was a little better because the paper didn’t bunch up as much as the napkin or tissue paper. Unfortunately, the paper did shift around a little and I noticed some gaps after the adhesive dried. It’s a good thing I used a pink egg because it’s not too noticeable…but I was still not thrilled.
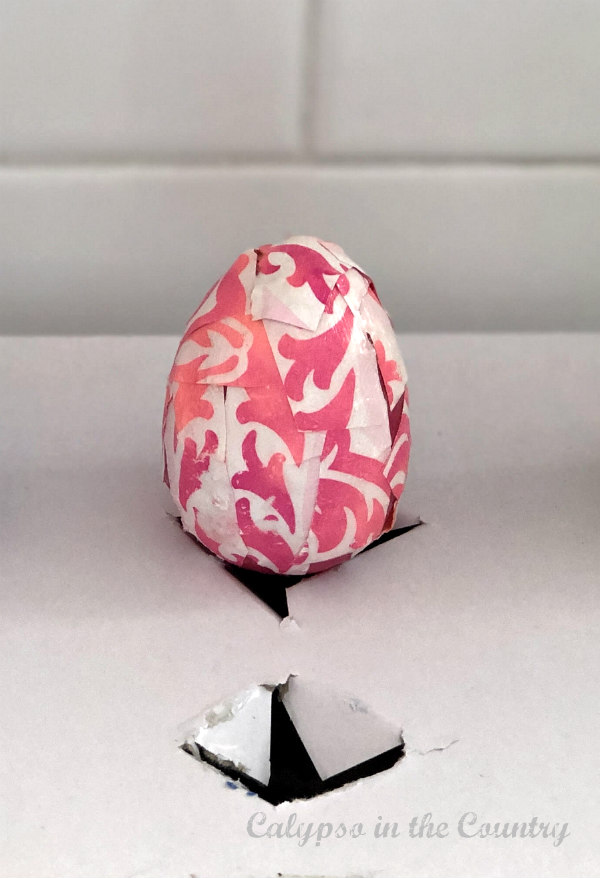
For my last decoupage attempt, I decided to try the green and floral printed wrapping paper:
This wrapping paper was a little lighter in weight than the pink one. Although I don’t know the brand, I would say the weight was equivalent to your typical everyday wrapping paper you’d find at Homegoods or a card store.
Once again, I cut up the paper into small pieces, preserving the pattern…
From there, I covered the plastic egg with Mod Podge and placed the wrapping paper pieces on the egg. This time I made sure I overlapped each piece. Then I spread more Mod Podge over the egg. (My son was nice enough to take an “action photo” for me this time!)…

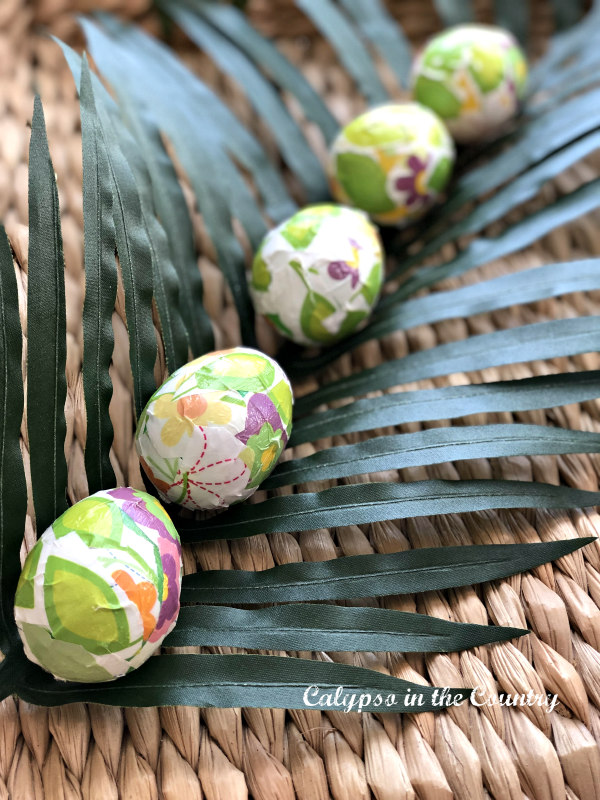
Finally, I was happy with the way this technique worked! So, I decoupaged a bunch with the green wrapping paper and set them all out to dry.
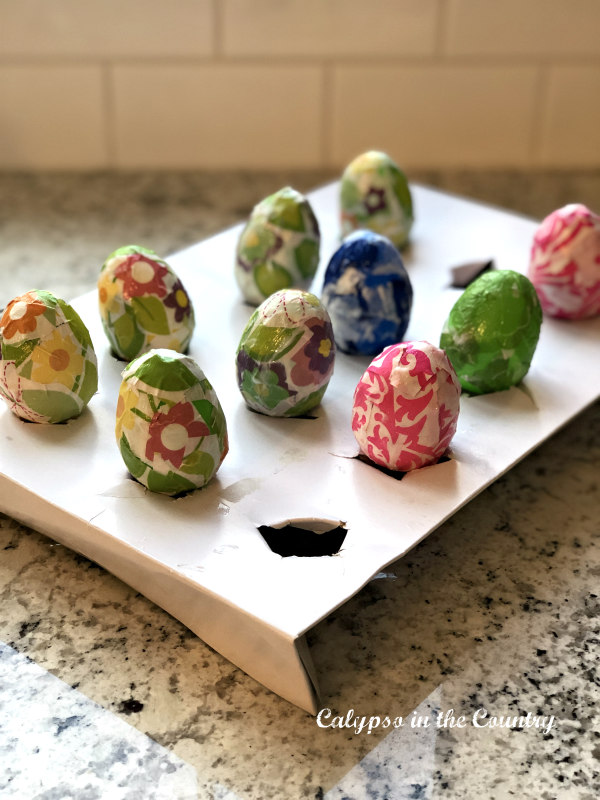
Do you like my homemade drying tray? I just cut some holes in the top of a cardboard shirt box.
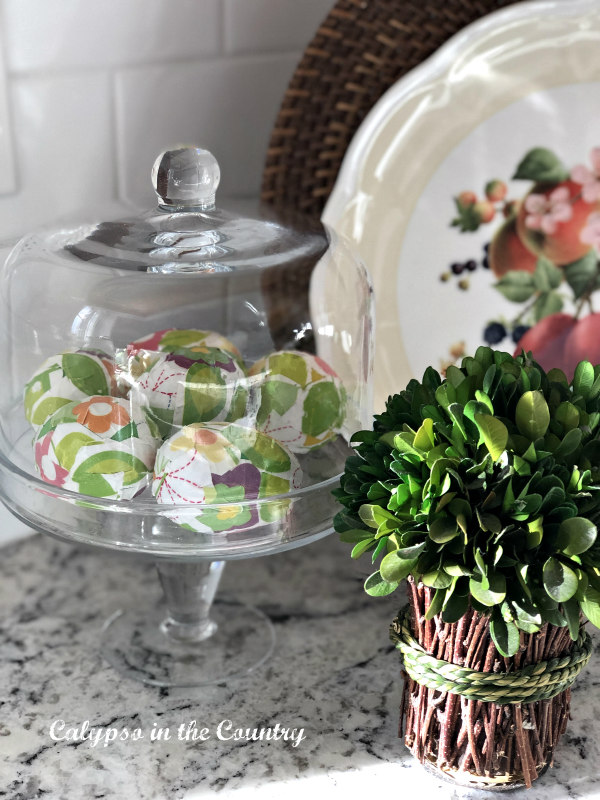
As you can see below, the overlapping medium weight wrapping paper was my most successful attempt at decoupaging Easter eggs…
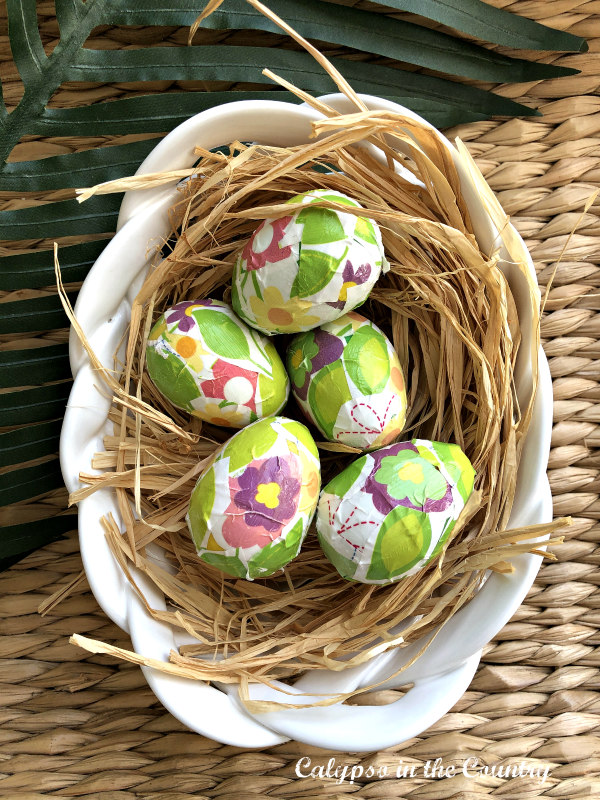
Needless to say, I then tried a few options of displaying those eggs around the house…
Because we all love decorating examples, don’t we?
If you’re like me, you like to try a bunch of options when decorating for Easter…or any holiday for that matter!
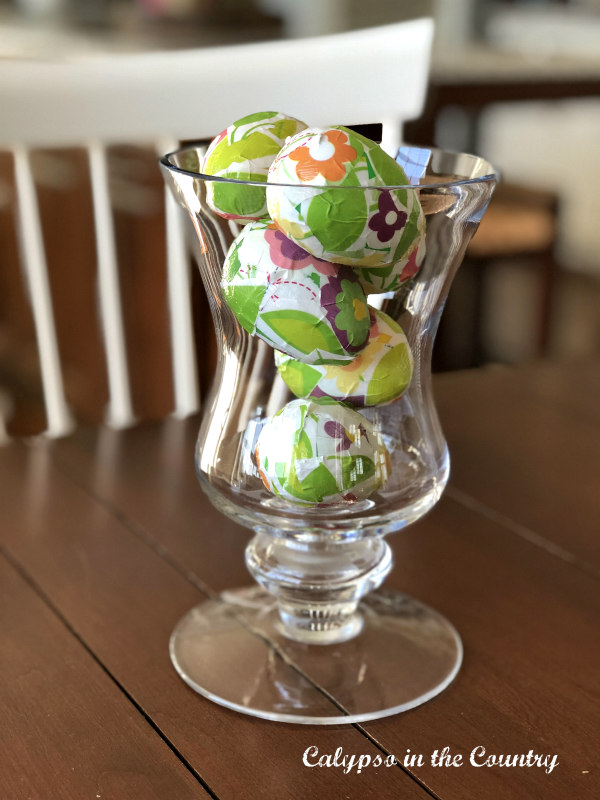
And since I don’t like to go overboard with any holiday decorating, these simple decoupaged Easter eggs were just enough.
Hopefully, I gave you some ideas to use your extra plastic Easter eggs. And hopefully, you can learn from my trials and errors!
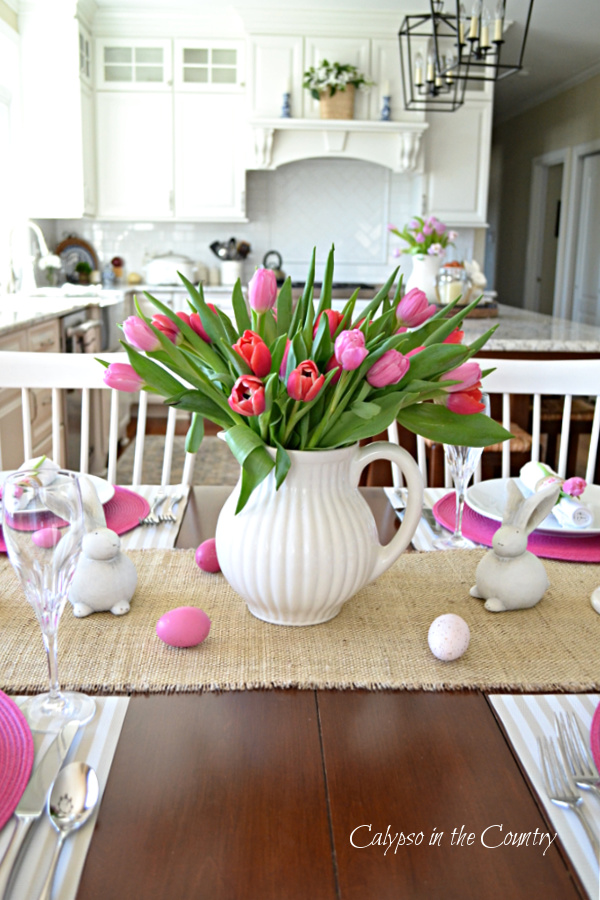
Due to the current pandemic, we decided not to dye real eggs like we do every year. Like most of you, I am trying to minimize my trips to the grocery store and the last thing I want to do is waste food! Recently, I shared ideas to decorate an Easter table reusing last year’s decor. which you might also find helpful. Best wishes for a happy and healthy Easter!
Recap of Supplies Used:
- Wrapping paper
- Mod Podge – (apparently, you can also try 1 cup Elmer’s glue and 1/2 cup water to make homemade but I haven’t tried it yet.)
- Plastic Eggs
- foam brushes
*Funny note – for the longest time, I called Mod Podge – “Modge” Podge! Then one day it occurred to me that I was saying it wrong. Please tell me I’m not the only one who made that mistake!
If you’re not feeling creative, you could always buy eggs that have already been decorated! Here is a great selection of decoupage eggs for Easter!
Have you ever tried to decoupage your plastic Easter eggs?
 Follow along so you don’t miss a post!
Subscribe by email – HERE
Pinterest/ Instagram / Facebook / Twitter


These are super cute Shelley. Have a wonderful weekend and Happy Easter.
Hugs,
Kris
Thanks Kris! Nothing like a fun craft to keep our minds off the world! Stay well and Happy Easter!
I’ve decoupaged with wrapping paper before, but never even thought to use it on Easter eggs. Yours turned out great and I love the bright colors!
Thanks Allyson! With limited resources these days, we have to use what we can! Happy Easter!
I, too, like your overlapped eggs best. I made a bunch this year with 6 ceramic eggs and a bunch of blown out white ones. I like overlapping bits of napkins. I had tulips, forget-me-nots, and pink roses (my fave). I made 1 striped one with a birthday napkins border–came out crooked but loved the bright colors. I used the main part of the napkin to make a (belated) birthday card and put a sentiment card over the crooked seam! Good thing I have a TON of craft supplies!
Thanks Kathy! Sounds like you do have a ton of craft supplies! I like your creative ideas – thanks for sharing and for stopping by!
Thank you for sharing at #OverTheMoon. Pinned and shared. Have a lovely week. I hope to see you at next week’s party too! Please stay safe and healthy. Come party with us at Over The Moon! Catapult your content Over The Moon! @marilyn_lesniak @EclecticRedBarn
Hi Shelley,
How are you doing? I fine except my computer won’t read my camera’s sd card! ahhhh! I’ve never succeeded at decoupaging– people make it look so easy. I”m probably not patient enough.
Liberty
It was definitely messy…but fun! Hope you get your sd card working! Thanks for stopping by, Liberty!